Your freezer’s humming along, but it’s not keeping things cold. That’s bad news for the ice cream stash and the leftovers you just tucked away. Most freezers last a solid 10-20 years, but every now and then, even a top brand like Whirlpool, GE, or Samsung throws a fit. The real head-scratcher? A freezer that looks fine but just isn’t cold. Ignoring it makes food spoil and wastes money. What's even wilder: appliance pros say about 20% of "broken" freezers aren’t broken at all—just suffering from simple issues like a blocked vent or a bad gasket. Fixing this can be straightforward if you know where to look. Time to get your hands a little cold (but not your food!).
What Causes a Freezer to Stop Cooling?
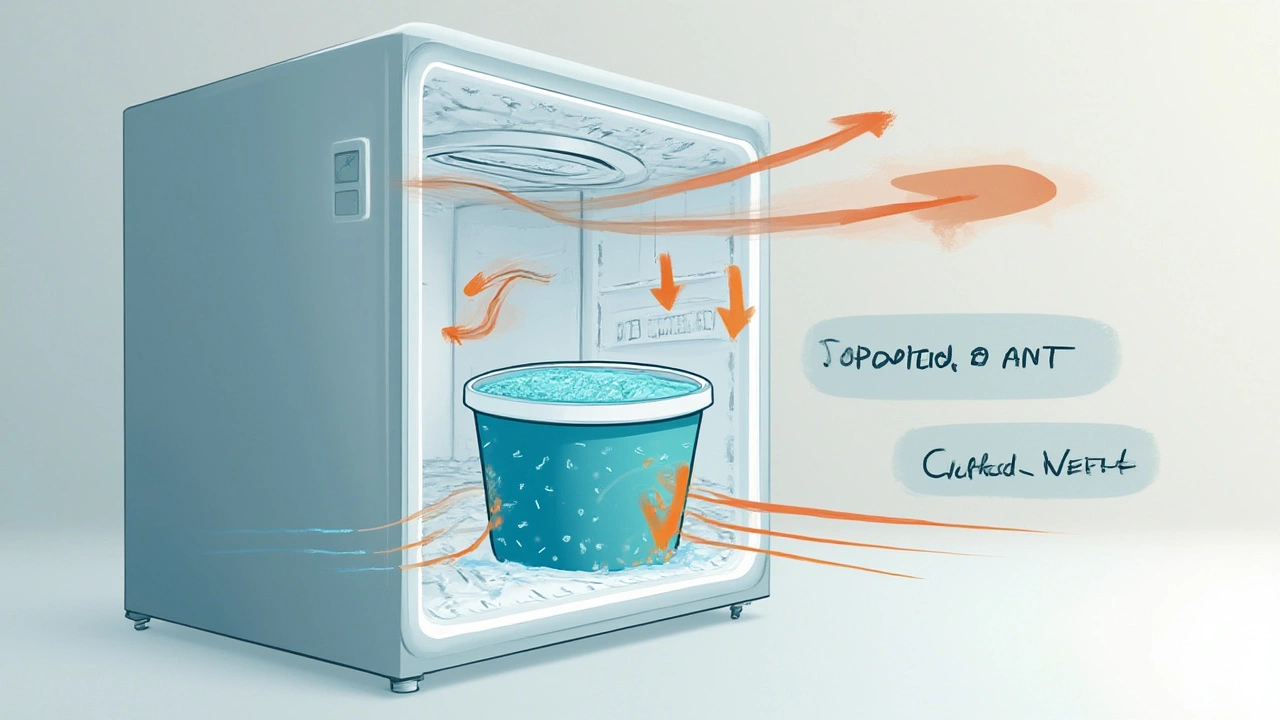
Right off the bat, a warm freezer is usually a red flag for air flow issues, thermostat glitches, or mechanical hiccups. One shocker: leaving your freezer too empty or too jam-packed snowballs into cooling problems. Air needs to circulate; block that, and coldness can’t spread. Now add in a dirty condenser coil, which acts like the radiator in your car. If it’s caked with dust or pet hair (which happens more often than you’d think—especially if you’ve got a golden retriever at home), your freezer works overtime until it overheats or—as is more often the case—just gives up.
Missing or cracked door gaskets (the rubber strip that seals the door) let warm, humid air sneak inside. Every time the seal’s not solid, your freezer’s internal temp creeps up, leading to frost build-up and a half-hearted freeze. In 2022, an appliance repair survey found that worn-out gaskets were behind a surprising 25% of freezer cooling complaints.
Now, if you hear the compressor (that’s the thumping or humming at the back) running but not cooling, the problem might go deeper. Maybe the compressor itself is failing or the start relay is shot. You might notice clicking from the back without steady humming—a classic sign of a compressor issue. Or maybe the evaporator fan, tucked inside the freezer, isn’t spinning, so cold air can’t reach everywhere. About 10% of issues stem from faulty fans.
Don’t forget temperature controls. If the thermostat’s set too high by accident, you’ll quickly notice a thaw. Sometimes those dials get bumped by groceries without anyone noticing. Another one: freezer defrost cycles. Most freezers have an auto-defrost feature, and if that timer or heater isn’t working, you’ll get ice build-up that eventually chokes off cold airflow.
How to Diagnose the Problem Step by Step
Let’s break it down with a hands-on checklist. You don’t have to be a pro for most of these.
- Check power sources and settings. Sounds obvious, but make sure your freezer is plugged in, and the outlet works. Confirm settings aren’t on a "demo" or "vacation" mode. Double-check that the temperature dial is set between 0°F and 5°F (-18°C to -15°C)—optimal for freezing.
- Open the door and listen: is the compressor quiet? Is the fan running? A silent freezer often points to a blown fuse, tripped breaker, or broken component like the main control board.
- Inspect the door gaskets. Run your finger around the edge—do you feel any splits or cracks? Try closing the door on a dollar bill; if you can pull it out without resistance, your gasket isn’t sealing right.
- Look for frost inside or on back wall panels. Heavy frost hints at a failed defrost system or constant warm air leaks. No frost at all? The issue might be in the sealed cooling system or compressor.
- Pull the appliance out carefully. Inspect the back for heat, dust on coils, or loose wires. If you spot serious dust, that’s your cue to clean the coils with a brush or vacuum—just unplug first.
- Listen for unusual sounds: clicking, buzzing, or rattling means components might be trying (and failing) to turn on. If you keep hearing clicks every few minutes, suspect the compressor relay.
Use the table below to match symptoms to likely causes:
| Symptom | Likely Cause | Quick Fix |
|---|---|---|
| No cooling at all | Power issue, thermostat, compressor failure | Check power, adjust settings, listen for noises |
| Ice/frost everywhere | Bad gasket, failed defrost, door left ajar | Replace gasket, check door, test defrost heater |
| Warm spots | Blocked vents, fan issue, overloaded freezer | Redistribute food, inspect vent, replace fan if needed |
| Buzzing/clicking sound | Compressor/rely problem | Test relay/overload parts, call a pro if needed |

Essential Tools and Parts for DIY Fixes
Ready to tackle a freezer fix yourself? Good news: you won’t need a truckload of oddball tools. But a few basics make a big difference. Grab a flashlight—sometimes the clues hide in dark freezer corners. Screwdrivers (Phillips and flathead), needle-nose pliers, a vacuum cleaner, and an appliance-safe coil brush are essentials. For electrical checks, a basic multimeter helps big time if you want to check the continuity of things like defrost heaters or fans.
When it comes to parts, gaskets are usually easy to order straight from the manufacturer site. Same goes for relays, thermostats, or evaporator fans—most home supply stores keep these in stock, especially for popular brands. Always triple-check your model number before buying parts. Getting the wrong part happens to nearly 15% of DIYers and always means delays.
For old or particularly stubborn freezers, WD-40 can help loosen stuck hinges. Rubbing alcohol and a soft cloth clean sticky residue off gaskets. And don’t forget a towel if you’re defrosting by hand—ice chunks melt fast when you unplug. Isopropyl alcohol actually speeds up the de-icing process—just spray, let sit, and wait for the frost to pull away.
For anyone dealing with compressor issues, you might need a socket set, but honestly, this is the spot where most people call in a pro. A blown compressor can cost $200-$400 to replace, and unless your freezer is high-end, sometimes it’s cheaper to replace the unit.
Step-by-Step Guide: Fixing the Most Common Freezer Issues
Tackling a freezer that isn’t cooling comes down to ruling out easy stuff first. Here’s a rundown on each fix, along with pro tips.”
- Power and Settings: After checking the plug and settings, test the outlet by plugging in a lamp. No light? Flip your circuit breaker.
- Gasket Replacement: If your gasket is shot, gently heat it with a hairdryer to soften it before removing. Wipe the surface clean, then fit the new gasket, making sure it sits flush.
- Clean Coils: Unplug the freezer, use your vacuum and coil brush to clear dust. Wipe away grime with a damp cloth. Don’t bend the thin fins—they help release heat.
- Clear Vents and Organize Food: Space items so cold air can flow freely. Too many frozen boxes pressed up against vents block airflow. Even spacing a hand between stacks helps equalize temps.
- Test the Thermostat: If it doesn’t click when you rotate it from cold to warm and back, chances are it’s dead. Replace it following your user manual.
- Check Defrost Heater/Timer: If you see thick frost on coils, you’re likely looking at a stuck defrost timer or failed heater. Use your multimeter to check the heater element for continuity. Defrost cycles should run every 8-12 hours; if you can manually trigger it using the timer, you’ll know if that part’s the culprit.
- Inspect Fan Motors: Open the back panel inside the freezer. If the fan isn’t spinning (and the power’s on, door switch held shut), try giving it a nudge. If it protests, swap the fan motor out—don’t try to oil or force it; that only delays the inevitable.
If you’re facing a compressor start relay problem (you’ll often hear a click and a brief hum, then silence), this is usually accessible right at the back of the freezer. Pull off the start relay (it looks like a small plastic cube), give it a shake—if it rattles, that’s bad. New ones cost around $20-$40 and plug in easily. If you install a new one and your freezer still won’t start, chances are the compressor itself is finished.
Here’s a quick list of parts you can typically replace in under an hour:
- Door gasket
- Defrost timer
- Evaporator fan motor
- Temperature thermostat
- Compressor start relay (if accessible)
If you get stuck, most brand websites now offer chat support and parts guides, often including short how-to videos. Don’t be shy about searching your specific freezer model number—the exact part location can vary from one brand to the next.
When to Call the Pros and How to Prevent Future Problems
Sometimes, despite your best efforts, the problem goes beyond an easy DIY fix. Here’s a good rule: if you smell burning, see scorched wires, or if the freezer compressor is hot enough to fry an egg, unplug right away and call a tech. Refrigerant leaks (think hissing noises, oil puddles, or no frost anywhere) need pro attention—special EPA rules mean you can’t just buy refrigerant or crank open sealed systems yourself.
Many shops charge a flat $80-$150 for diagnostics. Nationwide, replacing a compressor on a mid-range upright runs about $350. New main control boards usually set you back $150-$250. If the freezer is over ten years old or out of warranty, compare the repair cost to the price of a new one. Energy efficiency has improved a lot—replacing a 2009 freezer could save you $50 a year in electricity costs alone. According to EPA stats, a newer Energy Star model uses about half the power of one bought in the early 2000s.
Avoid future problems with a few simple habits:
- Vacuum coils twice a year, especially if you have pets
- Don’t overload the freezer; keep air channels clear
- Double-check the door was shut every time
- Defrost manually if you see more than ¼ inch of frost
- Level your freezer—tilt can mess with doors sealing properly
- Wipe gasket clean and dry; a little spritz of food-grade silicone spray keeps it flexible
It’s amazing how a tiny fix, like cleaning coils or tweaking a door seal, brings a freezer back from the brink. Don’t wait until everything’s defrosted—catching a *fix freezer not cooling* problem early means less food waste, fewer headaches, and a lot fewer emergency grocery runs.