Learn how to verify if your water heater is functioning correctly with a step‑by‑step DIY checklist, safety tips, and key tests for temperature, valves, and heating elements.
Water Heater Test – DIY Guide and What to Expect
When working with water heater test, a step‑by‑step diagnostic that checks temperature, pressure, and safety controls. Also known as hot water system test, it catches problems early and saves money. Watching the gauge, listening for odd noises, and feeling the water can tell you a lot before a technician arrives. This test gives you a clear picture of whether the unit is ready for another season or needs immediate attention.
A typical water heater, the tank that stores and heats water for showers, dishes, and laundry relies on a few key parts. The most common failure points are the thermostat, the heating element, and the high‑limit switch. If any of these misbehave, the test will flag it and point you toward the right fix. Understanding how these components interact is the foundation of any reliable diagnosis.
The heating element, the electric coil or gas burner that actually raises water temperature is easy to inspect. A multimeter reading of zero resistance means a broken coil, while a high reading suggests scale buildup that insulates the element. Cleaning or replacing the element often restores hot water instantly, and the test will confirm the temperature rebounds to the set point.
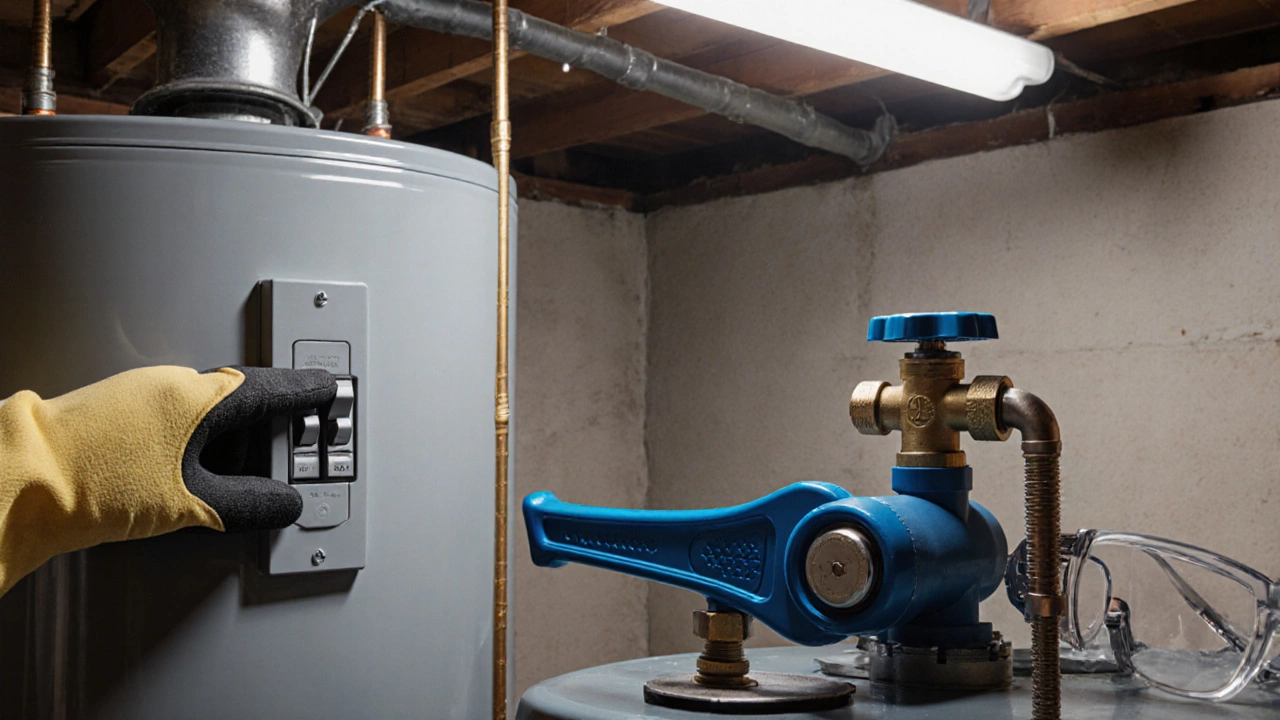
Most modern units include a reset button, a safety lever that shuts off power when temperature spikes. When the test shows the water is colder than the thermostat setting, pressing the reset can clear a tripped high‑limit switch. If it trips again, the thermostat likely needs replacement or the element is overheating.
In practice, a water heater test requires three tools: a thermometer, a pressure gauge, and a multimeter. First, you verify the temperature at the tap against the thermostat setting – that’s temperature verification. Next, you check the pressure reading; low pressure often points to a valve issue or sediment blockage. Finally, you use the multimeter on the heating element and thermostat. These steps form a complete diagnostic loop, ensuring you catch both electrical and mechanical faults.
Common culprits include sediment buildup, a faulty thermostat, or a tripped high‑limit switch. Sediment acts like an insulator, making the element work harder and eventually fail. Regular flushing removes that layer and keeps efficiency high. If the test shows a steady temperature but the water runs out quickly, the tank might be undersized for your household or the dip tube could be damaged.
If any reading is out of spec, or you’re uncomfortable handling electricity, call a professional. A qualified tech can replace the heating element, recalibrate the thermostat, or reinstall a new reset button. Preventive maintenance—once a year flushing, visual inspection of the pressure relief valve, and checking the anode rod—keeps the test simple and extends the heater’s life.
What You’ll Find Below
Below is a curated set of guides that cover everything from troubleshooting a cold‑water shower to resetting a stuck high‑limit switch. Whether you’re a DIY enthusiast or just want to know when to call a repair service, the articles explore deeper fixes, cost factors, and safety tips. Dive in to get actionable steps and avoid costly surprises.