Water Heater Health Check Tool
Is Your Water Heater Working Properly?
Enter your water heater's current conditions to get a quick health assessment
Water Heater Symptoms
Select all conditions you're experiencing
Your Water Heater Assessment
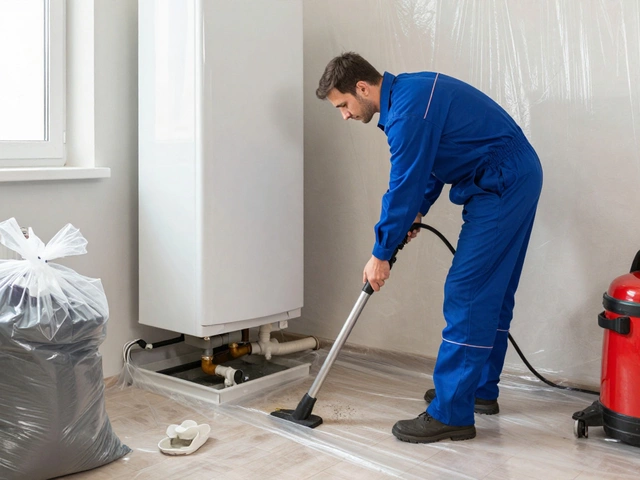
When your water heater is a appliance that heats and stores water for household use, you expect a steady stream of hot water whenever you turn on the tap. But what do you do when the water feels lukewarm, the heater makes odd noises, or you see water leaking around the unit? This guide walks you through a practical, DIY check‑list so you can tell whether your system is still healthy or needs a professional’s attention. Follow the steps, stay safe, and you’ll save time (and maybe a repair bill).
Quick Takeaways
- Turn off power or gas and water supply before inspecting.
- Check thermostat settings - 120‑130 °F is typical.
- Listen for clicking or popping sounds; they often mean sediment buildup.
- Inspect the pressure‑relief valve, dip tube, and anode rod for corrosion or blockages.
- If any test fails, call a qualified technician.
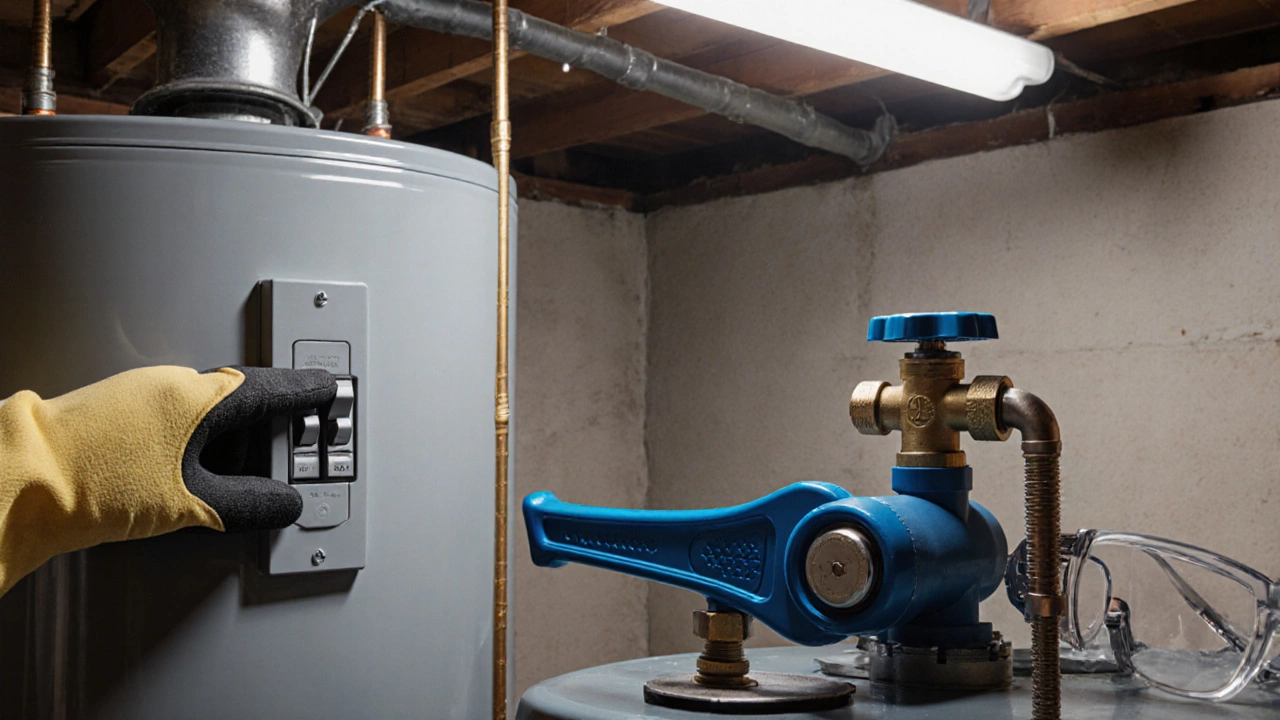
Safety First: Power, Gas, and Water Shut‑Off
Before you lift a panel or touch a wire, make sure the heater is completely isolated. For electric units, switch off the breaker in the main panel. For gas models, locate the gas valve (usually a round knob near the burner) and turn it to the OFF position. Finally, close the cold‑water supply valve on the top of the tank. This triple‑lock prevents accidental burns, shorts, or water damage while you work.
Visual Inspection Checklist
Take a step back and look at the whole unit. A healthy heater should have no obvious leaks, rust patches, or loose wires. Below is a quick visual checklist that covers the most common failure points.
- Exterior Condition: Look for water stains, corrosion, or mineral buildup on the tank's surface.
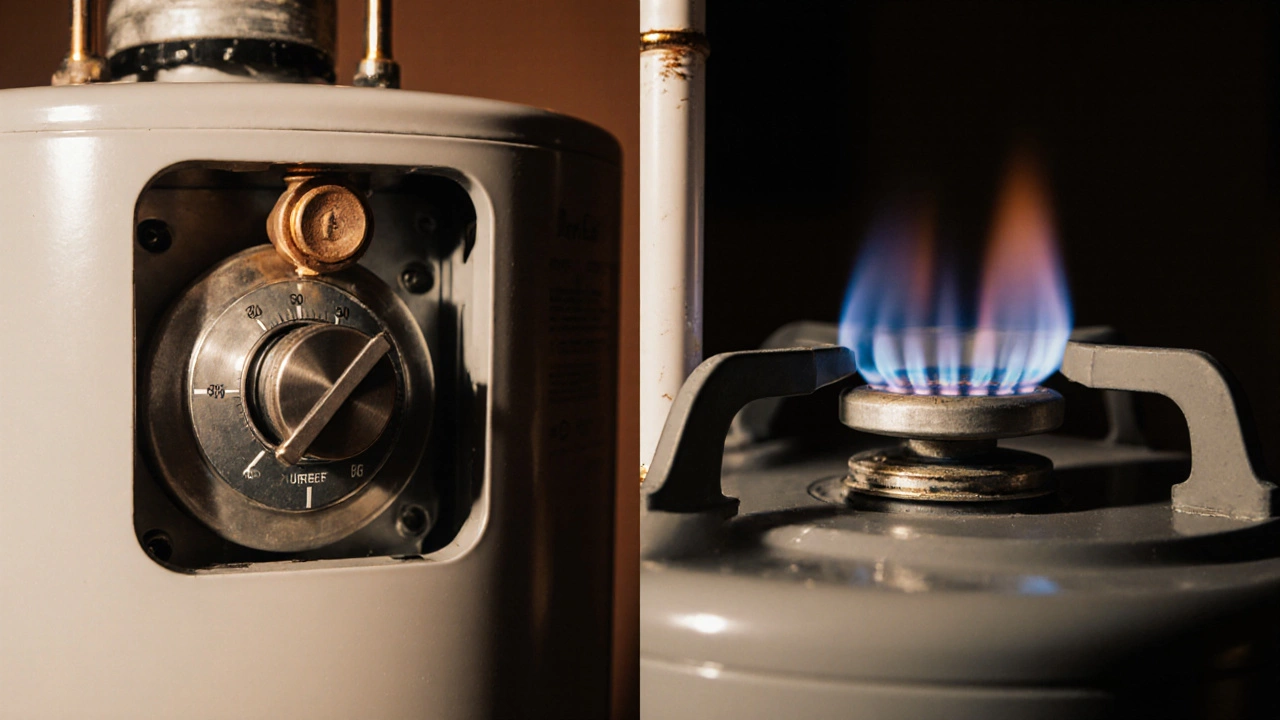
- Gas Valve (if applicable): Gas valve is a control that regulates the flow of natural gas or propane to the burner. Ensure the knob moves freely and isn’t covered in soot.
- Thermostat: Thermostat is a device that sets the desired water temperature. Verify the dial isn’t jammed and is set within the 120‑130 °F range.
- Pressure‑Relief Valve (PRV): Pressure relief valve is a safety valve that releases excess pressure to prevent tank rupture. Pull the test lever; water should flow out smoothly for a few seconds and then stop.
- Expansion Tank: Expansion tank is a sealed container that absorbs water expansion as it heats. Check that it’s not full of water (a full tank indicates a failed diaphragm).
- Heating Element (electric) or Burner (gas): For electric models, remove the access panel and look at the heating element is a metal coil that converts electric current to heat. It should be free of heavy scaling. For gas units, the burner should have a clean, even flame without yellow tips.
- Dip Tube: Dip tube is a plastic pipe that delivers cold water to the bottom of the tank. Pull it out; if it’s cracked or broken, cold water may mix with hot water prematurely.
- Anode Rod: Anode rod is a sacrificial metal rod that protects the tank from corrosion. Use a socket wrench to loosen it; a heavily corroded rod needs replacement.
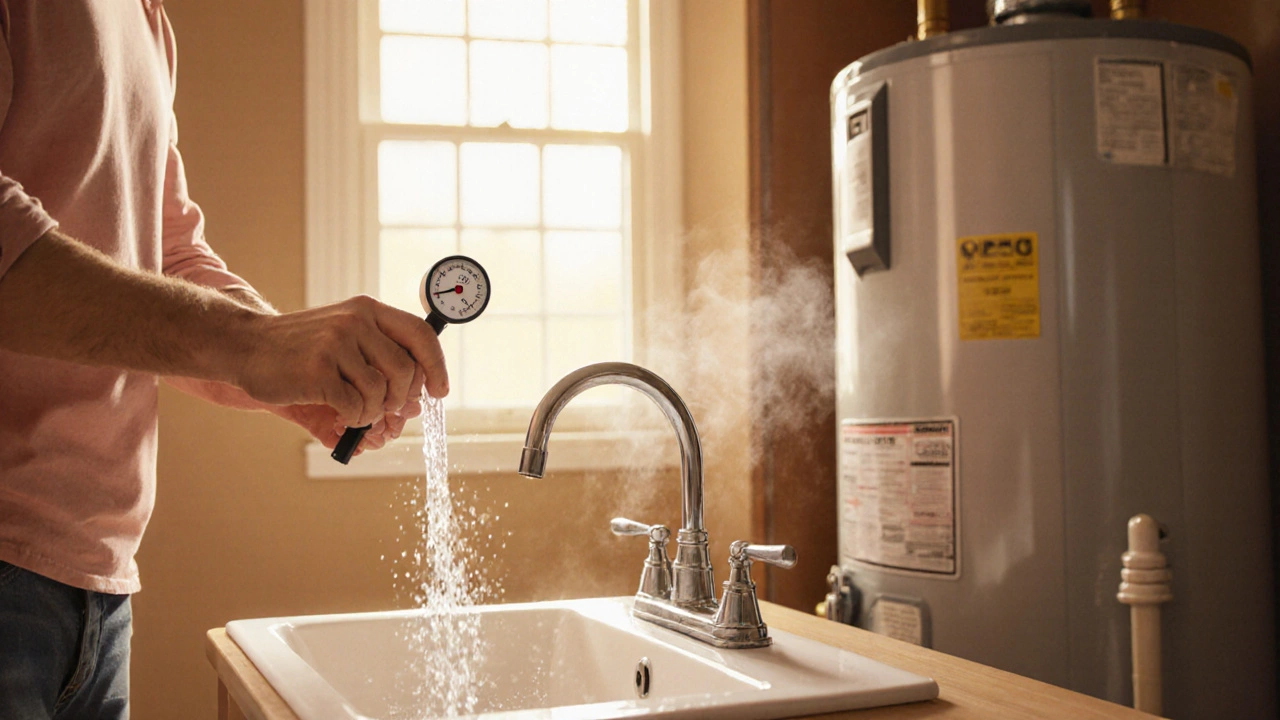
Testing Temperature Settings and Hot‑Water Output
After the visual check, restore the water supply but keep the power/gas off. Turn the cold‑water tap on and let the water run for a minute to flush out any stagnant water. Then, turn the hot‑water tap on and place a kitchen‑grade thermometer under the stream. You should see a temperature between 120 °F and 130 °F. If it’s lower, the heater may be under‑heating (faulty element or burner) or the thermostat could be set too low.
Electrical Tests for Electric Water Heaters
With the power still off, use a multimeter to check the heating element’s resistance. Disconnect the element’s wires, set the meter to the ohms (Ω) setting, and touch the probes to the element terminals. A healthy 4500‑watt element typically reads 10‑12 Ω. Anything significantly higher or infinite indicates a broken coil that needs replacement.
Flame Inspection for Gas Water Heaters
Once the gas valve is back on, turn the thermostat knob a few degrees higher to ignite the burner. A proper flame is blue with a faint orange tip. A yellow or flickering flame signals dirty burners, improper gas‑air mixture, or a failing ignitor. Clean the burner ports with a soft brush and vacuum; if the flame stays yellow, shut off the gas and call a technician.
Checking the Pressure Relief Valve and Expansion Tank
Even if the PRV seemed fine during the visual test, it’s worth a deeper check. Place a bucket under the valve, lift the test lever, and watch the water flow. It should stop when you release the lever. Continuous flow means the valve is stuck open and must be replaced.
The expansion tank should have air pressure (measured with a tire gauge) equal to the household water pressure-usually around 12‑15 psi. If the pressure is low, add air with a bike pump; if the tank is water‑filled, replace it.
When to Call the Pros
If any of the following conditions appear, stop DIY work and call a licensed plumber or heating specialist:
- Persistent leaks from the tank or connections.
- Corroded or severely scaled heating element/burner that you cannot clean.
- Faulty PRV that won’t reseat.
- Repeated low‑temperature output even after adjusting the thermostat.
- Unusual noises (rumbling, popping) that continue after flushing the tank.
Professional technicians have the tools to replace anodes, dip tubes, and internal components safely, and they can perform a full pressure‑test to ensure the system complies with local codes.
Quick Comparison: Healthy vs. Problematic Signs
| Indicator | Healthy | Problematic |
|---|---|---|
| Temperature | 120‑130 °F | Below 110 °F |
| Noise | Quiet or faint humming | Rumbling, popping, hissing |
| Leaks | None | Visible puddles, drips at joints |
| PRV Test | Water releases briefly and stops | Continuous flow or no flow |
| Burner/Element | Clean, even flame or 10‑12 Ω resistance | Yellow flame, heavy scaling, open circuit |
Final Checklist Before You Power Up
- All panels and covers replaced securely.
- Water supply opened and any air bled from the system.
- Power or gas restored.
- Thermostat set to 120‑130 °F.
- Listen for abnormal sounds during the first heating cycle.
If everything looks and sounds normal, you’ve successfully verified that your water heater is in good shape.
Frequently Asked Questions
How often should I flush my water heater?
A full flush once a year removes sediment that can cause overheating and noisy operation. In areas with very hard water, twice a year is advisable.
What does a clicking sound mean?
The clicking is usually the thermostat’s internal switch turning on and off as the water reaches the set temperature. Excessive clicking can signal a failing thermostat or a buildup of sediment causing uneven heating.
Can I replace the anode rod myself?
Yes, most standard anode rods are accessed from the top of the tank with a 1½‑inch socket. Make sure the power/gas is off, drain a few gallons of water, and replace the rod with a new magnesium or aluminum one.
What should I do if the pressure relief valve leaks?
A leaking PRV often means the tank’s pressure is too high or the valve is worn out. First, check the expansion tank’s pressure and adjust if needed. If the valve still leaks, replace it-this is a safety‑critical component.
Why does my water heater take a long time to heat water?
Long heating times can be caused by a failing heating element (electric), a dirty burner (gas), low thermostat setting, or a partially clogged dip tube that allows cold water to mix with hot water at the top of the tank.