Nothing ruins your morning routine like stepping into an ice-cold shower, just to realize your hot water heater wants a break. Before you panic and imagine a giant repair bill, there are a few simple things you can check yourself. You don’t need to be a technician to spot the basics—sometimes the fix is easier than you think.
Start by checking if your water heater is actually getting power. It sounds obvious, but sometimes a tripped breaker or a blown fuse is all it takes to shut things down. If you’ve got a gas heater, peek at the pilot light. Is it out? Relighting it can solve the problem in minutes, and you’ll want to make sure the gas supply is fully open.
Most water heater headaches come from these pretty basic issues, so don’t overlook them. If you find that resetting a breaker or relighting the pilot fixes everything, you just saved yourself a call (and a chunk of change). If not, keep reading—there’s more you can try before calling in the pros.
- Start With Power and Fuel
- Check the Thermostat and Settings
- Look for Water Leaks or Moisture
- Listen and Watch for Warning Signs
- When to DIY and When to Call for Help
Start With Power and Fuel
This is where most people trip up—literally. If your water heater isn’t firing up, the first step is to check if it’s actually getting power (for electric) or fuel (for gas). Nine times out of ten, a simple power glitch or gas hiccup is the bad guy.
- Electric Water Heater: Head to your electrical panel and look for a tripped breaker. Water heaters usually have their own dedicated breaker, so if it’s off, flip it all the way off and then on. If you use an older fuse box, see if a fuse has blown and replace it.
- Gas Water Heater: Peek at the pilot light. If it’s out, your heater won’t work. Usually, instructions for relighting are printed on the side of the unit. Make sure the gas valve is in the “on” position. If you smell gas at any point, stop and call a pro. Safety first.
If your heater is plugged into an outlet (some smaller models are), make sure the plug hasn’t been knocked out—sounds silly, but it happens.
For a quick look at what commonly goes wrong, here’s a table with some stats. According to a 2024 survey by the Home Repair Network, nearly 25% of water heater failures in homes start with a power or fuel issue:
| Problem Area | % Reported Cases |
|---|---|
| Tripped Breaker/Blown Fuse | 15% |
| Pilot Light Out | 8% |
| Unplugged Unit | 2% |
Bottom line: tackling these basics might get your water heater repair job done before you have to touch a wrench or call the cavalry.
Check the Thermostat and Settings
If your hot water heater still isn’t working after checking the power, the next stop is the thermostat. It’s surprising how often the problem is just a wrong setting or a tiny adjustment. Every water heater, whether it’s electric or gas, has a thermostat that controls the temperature. Some models even have two—one at the top and another at the bottom.
Start by finding your thermostat. On electric heaters, you’ll usually need to remove a small access panel (just make sure to turn off the power at the breaker first). Gas heaters often have a knob sticking out near the bottom labeled "Temperature" or "Control." Set the temperature between 120°F and 140°F for the sweet spot. If it’s much lower, you might only get lukewarm water.
- If your model has a vacation or "eco" mode, check that it’s not accidentally switched on. Sometimes, folks forget to change this after coming back from a trip.
- Spin the temperature dial back and forth a couple times. This can shake loose a stuck contact inside an older thermostat.
- For water heater repair, make sure both upper and lower thermostats are set to the same temperature. If they’re wildly different, you’ll end up with inconsistent hot water.
If adjusting the settings doesn’t help, and the dial doesn’t seem to respond at all, your thermostat could be faulty. Replacing a thermostat isn't the wildest DIY task, but if you're iffy about dealing with wires or gas connections, it’s better to let a pro handle it. Remember, a small mistake with electrical parts can mean bigger headaches and even safety risks later on.
Look for Water Leaks or Moisture
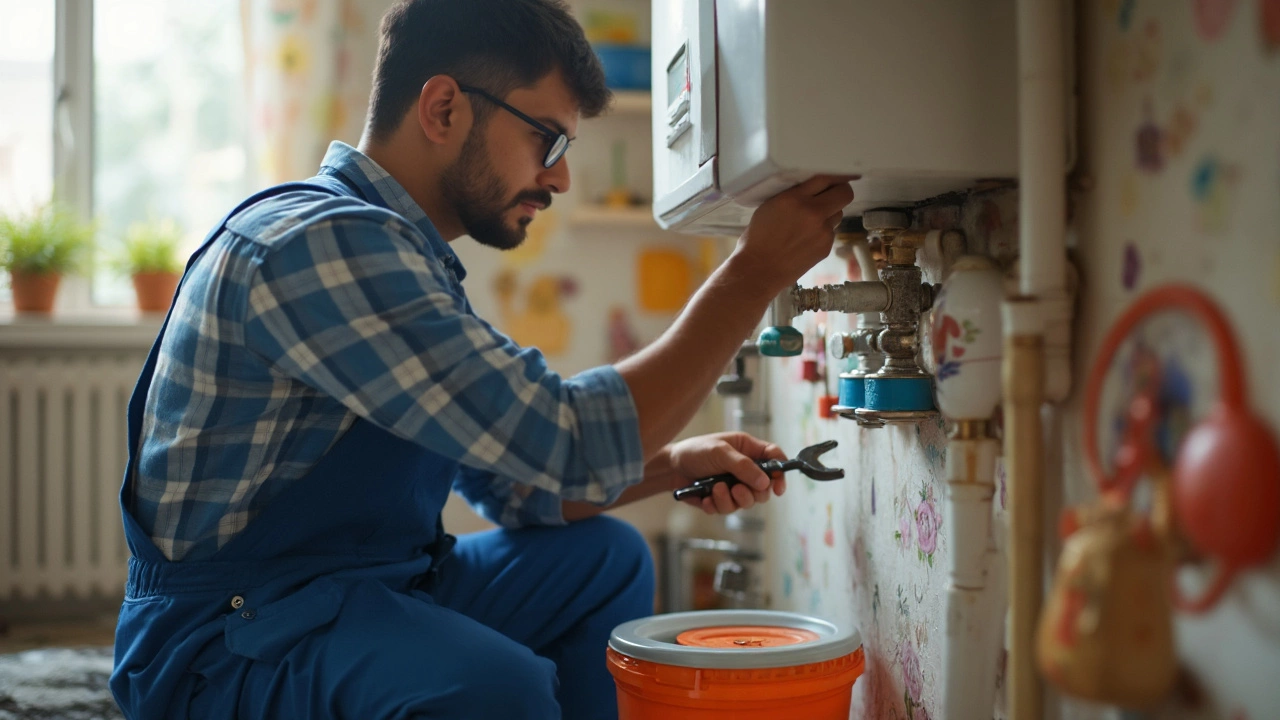
Leaks turn a small water heater repair job into a big one if you don’t catch them early. Grab a flashlight and check all around the base and sides of your heater. Puddles or even a little moisture under or around the unit usually mean there’s a problem you need to handle ASAP.
Start where connections and valves meet the tank. Look at the cold-water inlet and hot-water outlet pipes—these spots love to drip when fittings get loose or gaskets wear out. Catching a minor leak here means tightening a nut or swapping a washer, which is way easier than dealing with a busted tank later.
Don’t skip the temperature and pressure relief valve (usually mounted on the side near the top). If it’s leaking, that’s a warning sign the pressure inside may be too high or that the valve is failing. These valves can fail with age—a Consumer Reports test found about 7% fail after 5 years, so checking them early makes sense.
Rust spots and odd stains on or under your heater also tell a story. If you see rusty water on the floor or the tank itself is corroded, the heater could be nearing the end of its life. Sometimes, leaks inside the tank aren’t visible, but rust on the exterior and water pooled below is a big clue.
| What to Check | Common Problem | Quick Fix |
|---|---|---|
| Pipes/Fittings | Loose or worn connectors | Tighten fittings, replace washers |
| Relief Valve | Dripping/leaking | Test valve, replace if faulty |
| Tank Bottom | Rust or puddles | Internal leak—replace heater |
If you spot any leaks and you’re not sure what to do next, turn off the power or gas supply and shut off the cold-water inlet valve until you figure it out or get help. A little investigation now can save you hundreds—sometimes thousands—down the line.
Listen and Watch for Warning Signs
Your water heater sometimes gives you hints it needs help—if you know what to look and listen for. Odd noises, strange smells, and visible wear can mean trouble is brewing.
Start by standing near your heater and really listening. A healthy unit should run quietly, maybe with a soft hum. If you hear popping, banging, or rumbling—like marbles rolling around—it might be a sign of sediment buildup inside the tank. Over time, hard water minerals settle at the bottom and “cook,” causing these sounds. This isn't just annoying; it can make the heater less efficient and even shorten its life.
Screeching or whistling usually comes from a valve that's not fully open or a pipe restriction. Sometimes it’s as simple as a loose valve or a partially closed water supply—you might be able to spot and tighten it yourself.
Now, use your eyes. Look for leaks or water pooling near the base of the unit. Even just a few drops can mean there’s a crack or faulty seal somewhere. Take a close look at the pressure relief valve and temperature gauge—if you see rust or heavy corrosion around fittings, get it checked. If you ever sniff out a sulfur or rotten egg smell near a gas heater (or smell burning near an electric unit), shut things down and call a pro. Gas leaks and wiring issues aren’t worth risking.
- Water heater repair pros recommend checking for visible rust stains on the tank and pipes—this is a red flag for corrosion inside.
- If the water is too hot, cold, or fluctuates, jot down the pattern. Inconsistent temperatures can help you (or a technician) trace the problem to the thermostat or heating element.
- Watch for cloudy or rusty water coming out of the hot tap—this points to mineral buildup, which is common in older models, especially in areas with hard water.
In short, use your senses. Don’t ignore weird noises or new leaks—catching them early can save you a lot of cash and hassle down the road.
When to DIY and When to Call for Help
So you’ve checked breakers, fiddled with the thermostat, and even relit the pilot light—but you’re still stuck with cold water. The big question: should you try to fix it yourself, or is this one of those times to call in a pro?
If the issue is something simple, like adjusting the temperature setting, flipping a breaker, or relighting the pilot, it’s safe to handle on your own. Swapping out the batteries in an electric ignition can also be a quick win. For these quick fixes, you don’t need much skill—just a little patience and the ability to follow basic instructions.
But when things get more complicated, like electrical components burning out, serious leaking, or weird noises that don’t go away, it’s better (and safer) to call someone with real training. For example, a burnt heating element or a faulty thermostat usually means dealing with wiring or plumbing, which can get dangerous fast.
- If water is pooling around the bottom of your heater, don’t try to patch it up with duct tape—shut it down and call a plumber. Leaks can wreck your floors and even lead to mold if you ignore them.
- Smell gas or notice soot around a gas heater? Stop right away and get a pro out. Gas leaks aren’t just inconvenient—they’re dangerous.
- If your water heater is over 10 years old and keeps acting up, repairs can cost more than upgrading. Sometimes, replacement is smarter for safety and your wallet.
According to data from the Department of Energy, 18 percent of a home’s energy bill comes from heating water. Old, faulty units waste even more, so making the right call can save you real money in the long run.
| Problem | DIY-Friendly? | Call a Pro? |
|---|---|---|
| Tripped breaker | Yes | No |
| Pilot light out | Yes | No |
| Water leaking | No | Yes |
| Burnt wiring | No | Yes |
| Gas smell | No | Yes |
When in doubt with water heater repair, don’t mess with gas or electricity unless you know what you’re doing. Quick fixes are fine, but for anything major, a licensed pro is worth every penny. Staying safe and avoiding bigger messes is always the smart move.