Bathroom Fan Service Checklist & Estimator
Preparation Checklist
- 5 min setup
- Essential
- Cleaning
- Lint-free
- Debris removal
- No bleach
- Safety First
Service Time Estimator
Select your fan type to calculate estimated service duration.
Estimated Time
Minutes including disassembly, cleaning, drying, and reassembly.
Complete the checklist to begin safely.
That low humming noise in your bathroom isn’t just annoying; it’s a warning sign. If your mirror fogs up instantly after a hot shower or you catch a whiff of mildew that won’t go away, your bathroom extractor fan is likely clogged with years of accumulated dust and grease. Most people ignore this until the motor burns out, but servicing the unit yourself takes less than an hour and costs nothing but some elbow grease.
You don’t need to be an electrician to handle basic maintenance. In fact, regular cleaning extends the life of the motor significantly. This guide walks you through exactly how to open the casing, clean the impeller, and get your ventilation back to optimal performance without tripping a breaker or breaking anything.
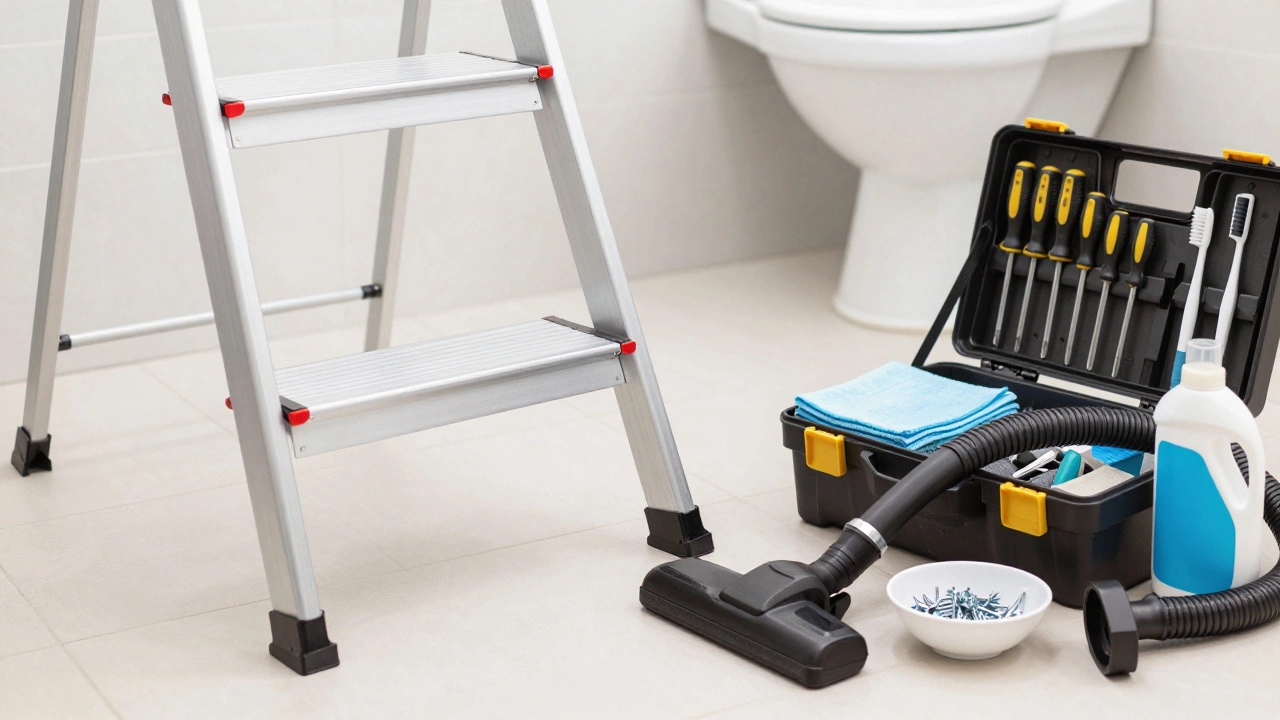
Gather Your Tools Before You Start
Before you climb onto a ladder, make sure you have everything within reach. Running back and forth for tools makes the job frustrating and increases the risk of dropping something on your head. Here is what you need:
- A sturdy step ladder: Make sure it has non-slip feet.
- Screwdrivers: Both flathead and Phillips heads cover most screw types found in housing units.
- Soft-bristled brush: An old toothbrush works perfectly for scrubbing tight spaces.
- Microfiber cloths: Regular paper towels leave lint behind, which defeats the purpose.
- Vacuum cleaner with a hose attachment: Essential for sucking up loose debris before it falls into the ceiling cavity.
- Mild detergent and warm water: Avoid harsh chemicals like bleach, which can damage plastic components over time.
- Silicone lubricant: Optional, but helpful if the motor bearings feel stiff.
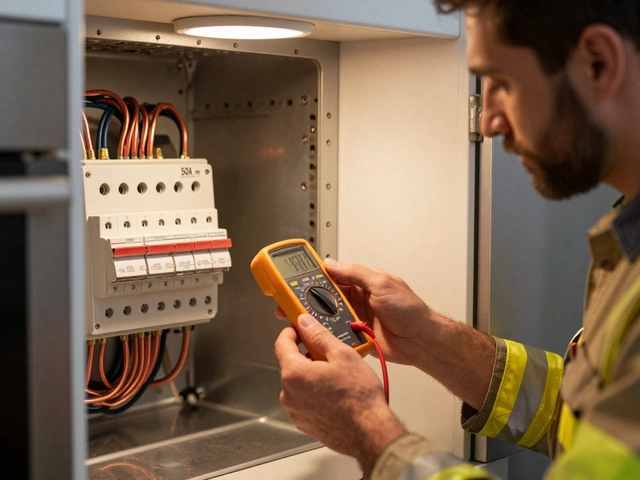
Safety First: Cut the Power
This cannot be stressed enough: always turn off the electricity at the circuit breaker before touching any part of the fan. Even though the voltage is standard household current, working near live wires while standing on a metal ladder is a recipe for disaster. Flip the switch for the bathroom circuit, then test the fan by trying to turn it on. If it stays silent, you are safe to proceed. If it still runs, double-check your breaker panel-you might have misidentified the correct switch.
Removing the Fan Cover
The method for removing the cover depends entirely on the model you have installed. There are generally two common designs: screw-mounted covers and clip-on grilles.
For screw-mounted covers, look for small screws around the perimeter of the grille. Remove them carefully and place them in a magnetic tray or a small bowl so they don’t roll under the bathmat. Once the screws are out, gently pull the cover downward. It may be stuck due to suction or dried adhesive, so wiggle it slightly rather than forcing it.
For clip-on grilles, there are no visible screws. Instead, there are spring-loaded clips holding the faceplate against the housing. Use a flathead screwdriver to gently pry one corner loose. Once one side pops free, the rest usually releases easily. Be gentle here-plastic clips become brittle with age and can snap if you apply too much leverage.
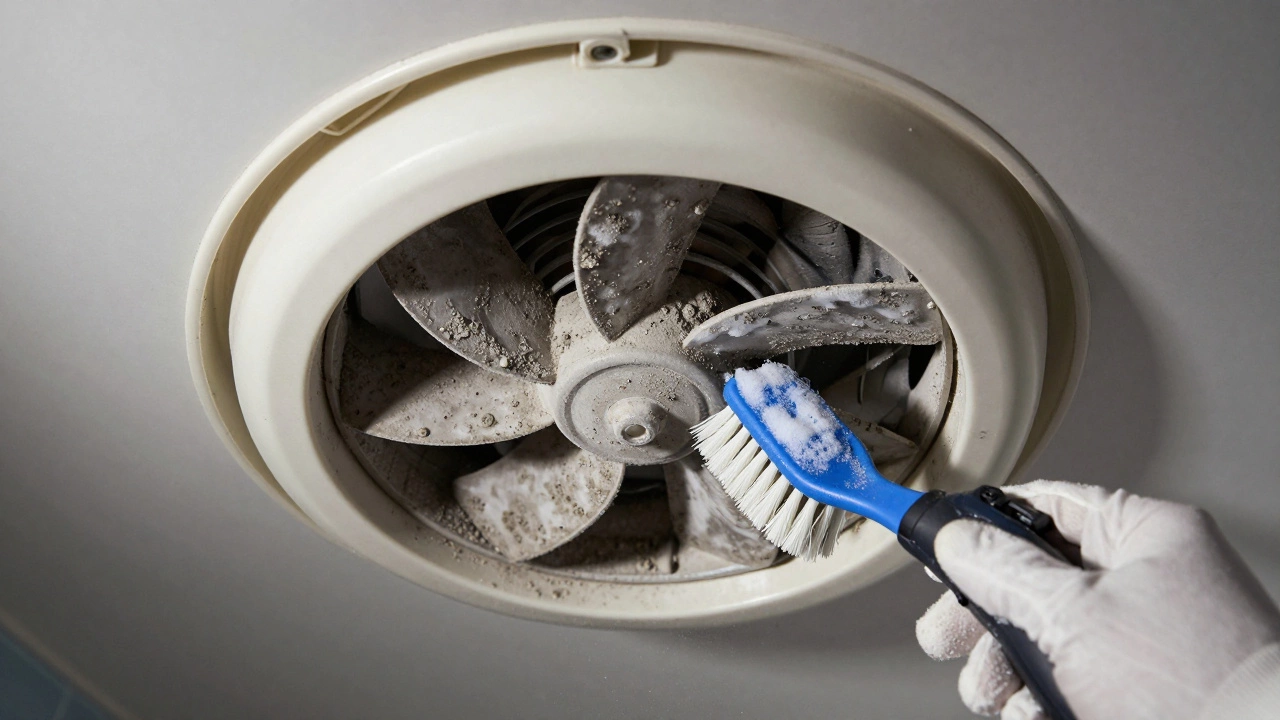
Cleaning the Impeller and Housing
Now that the cover is off, you’ll see the impeller, which is the spinning blade assembly inside the fan. This is where most of the dirt accumulates. Dust sticks to the blades because of static electricity and moisture, creating a heavy buildup that slows down rotation and strains the motor.
- Vacuum first: Use your vacuum hose to suck up loose dust from the impeller and the surrounding housing. Do this before wet cleaning to avoid creating a muddy sludge that is harder to remove.
- Wet cleaning: Dip your soft-bristled brush into warm soapy water. Gently scrub each blade of the impeller. Rotate the blades by hand to access all sides. Pay special attention to the center hub, where grease often collects.
- Clean the housing: Wipe down the interior walls of the fan housing with a damp microfiber cloth. Check the exhaust duct opening for blockages like bird nests or insulation material.
- Dry thoroughly: Use a dry cloth to wipe away any remaining moisture. Let the unit air dry for 15-20 minutes before reassembly. Water left inside can cause electrical shorts or rust metal parts.
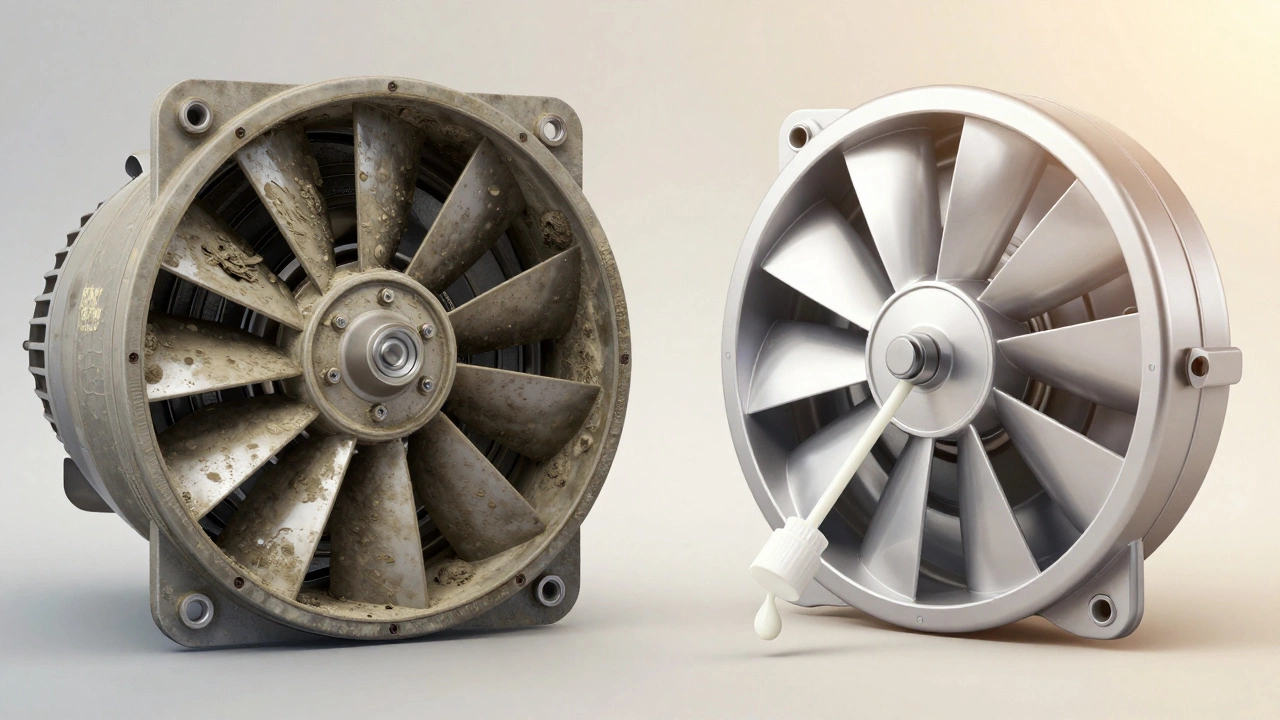
Inspecting for Wear and Tear
While the fan is disassembled, take a moment to inspect critical components. Look for cracks in the plastic housing, frayed wires, or signs of burning on the motor terminals. If you notice any discoloration or smell burnt insulation, the motor may be failing. In such cases, cleaning won’t fix the problem-you’ll need to replace the entire fan unit.
Check the bearings by spinning the impeller by hand. It should rotate smoothly with minimal resistance. If it feels gritty or wobbles excessively, the bearings are worn out. You can try applying a drop of silicone lubricant to the shaft, but if the noise persists, replacement is the safer long-term solution.
Reassembling the Unit
Once everything is clean and completely dry, put the fan back together. Align the cover with the mounting brackets and press it firmly into place. If your model uses screws, tighten them evenly but don’t overtighten-stripped threads are a common mistake. For clip-on models, ensure all corners snap securely into their slots.
Restore power at the circuit breaker and test the fan. Listen for unusual noises. A well-serviced fan should run quietly and efficiently. If the airflow feels weak despite cleaning, check the external vent outside your house. Debris like leaves or snow can block the outlet, restricting air movement regardless of how clean the internal fan is.
When to Call a Professional
Most homeowners can handle basic cleaning and minor repairs. However, call a qualified electrician if you encounter any of these issues:
- The fan trips the circuit breaker repeatedly.
- You find damaged wiring or exposed copper strands.
- The motor hums loudly but doesn’t spin, even after lubrication.
- You’re unsure about the electrical connections inside the junction box.
Electrical work carries serious risks. If you’re not comfortable handling live circuits or interpreting wiring diagrams, professional help ensures safety and compliance with local building codes.
How often should I service my bathroom extractor fan?
It’s recommended to clean your bathroom extractor fan every six months. In high-humidity environments or homes with pets, quarterly cleaning may be necessary to prevent mold growth and maintain efficient airflow.
Can I use WD-40 to lubricate the fan motor?
No, avoid using WD-40 as a lubricant. It attracts dust and can degrade plastic components over time. Instead, use a dedicated silicone-based lubricant designed for electric motors, which provides longer-lasting protection without residue buildup.
What if my fan has no removable cover?
Some modern fans feature sealed housings for better aesthetics. In these cases, you can clean the exterior grille with a damp cloth and use compressed air to blow dust out of the vents. Deep cleaning may require removing the entire unit from the ceiling, which involves disconnecting electrical wires.
Is it normal for the fan to vibrate slightly?
Minor vibration can occur due to unbalanced blades or loose mounting screws. Tighten all screws and check for debris on the impeller. If vibration persists after cleaning and balancing, the motor bearings may be worn and need replacement.
How do I know if my fan needs replacing instead of cleaning?
If the fan runs continuously but produces little to no airflow, or if it makes grinding/screeching noises that don’t stop after lubrication, the motor is likely failing. Also, consider upgrading to a more energy-efficient model if your current unit is over ten years old.