Tackling washing machine repairs can sound intimidating, but with a bit of patience and the right knowledge, it becomes a rewarding DIY project. Unforeseen breakdowns can throw a wrench into your routine, especially when laundry starts piling up. Fear not, for this guide will arm you with the necessary skills to handle those interruptions.
Understanding your washing machine from the inside out is crucial. Knowing what's under the hood will make it easier to pinpoint problems and decide whether you can solve them yourself or if it’s time to call in an expert. Let’s embark on this hands-on journey together and reveal how you can save both time and money by becoming your own appliance handyman.
- Understanding Washing Machine Basics
- Common Problems and Diagnoses
- Essential Tools and Supplies
- Step-by-Step Repair Guide
Understanding Washing Machine Basics
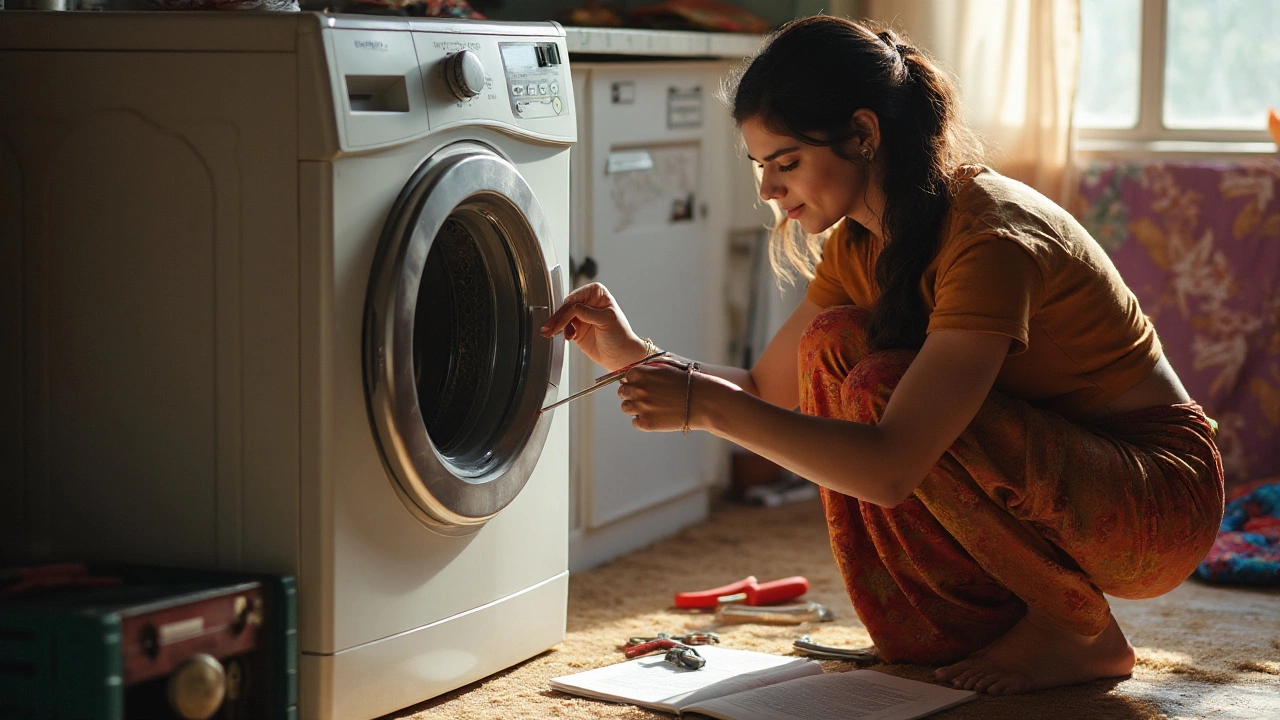
First and foremost, let's get acquainted with the inner workings of a washing machine. At its core, a washing machine operates using three main components: the drum, the motor, and the control panel. The drum is where all the magic happens, tossing and turning your clothes in soapy water to remove dirt and stains. It's essential to check the drum for any blockages or foreign objects if your washer isn't functioning as expected.
The motor is the heart of the appliance, driving the drum's rotation. If your washing machine suddenly stops mid-cycle, the motor might be the culprit. However, before panicking, examine any visible belts connected to the motor, as a simple adjustment might solve the issue. Always remember, appliances run on electricity, so ensure safety first by turning off the power supply before diving into any repairs.
Now, the control panel acts as the brain of the appliance, instructing how the motor and drum should operate. These panels have evolved with technology, featuring a myriad of settings from cycle length to specific cleaning modes. A misbehaving control panel could be due to electric glitches or water moisture accumulation. Finally, listen to your washing machine; odd noises or shakiness could hint at underlying problems. Investigate immediately to avert severe breakdowns later.
Understanding how each part works can save time and money on repairs. As a wise technician once quipped, "A little knowledge in appliance mechanics is a surefire way to become your home's hero."
When examining the mechanics deeper, it's worth noting that how water is used and drained in the machine is vital. There are usually two hoses – one for bringing water in and another for letting it out. Regularly inspect these hoses for any leaks, blockages, or wear and tear. Improving your knowledge about the operational sequences might uncover simple reasons for non-performance issues such as a malfunctioning door sensor preventing starts. Take note: different models might have unique settings, but the fundamentals remain the same.
Common Problems and Diagnoses
When your washing machine stops functioning properly, it can throw your entire household off balance. However, understanding the common issues that arise helps you diagnose and rectify these problems swiftly. DIY appliance repair becomes simpler when you recognize the frequent culprits and know how to address them. One common issue is the machine's failure to spin, often caused by a lid switch malfunction, motor coupling damage, or an unbalanced load. Your first step is to pause the cycle and evenly distribute your laundry. If the problem persists, inspect the lid switch – a small, often overlooked component that halts operations if not engaged.
Another prevalent concern is water drainage issues. Imagine the frustration of opening the machine only to find water still pooled within. Typically, this indicates a clogged drain hose or filter, or a faltering pump. Cleaning out any blockages often solves this issue, but the pump might need replacing if the machine continues to struggle. Given the importance of seamless drainage, it's wise to maintain these parts regularly. A poignant quote from appliance specialist John G. reiterates,
"The key to longevity in washing machines lies in consistent maintenance and prompt address of minor issues before they escalate."
Then there’s the challenge of a machine that won't start at all. This can range from simple fixes like ensuring the door is shut tightly, to complexities involving the machine's electronic control board. Ensuring proper power supply by checking circuit breakers is essential. Occasionally, the door latch becomes jammed or misaligned, preventing the cycle from initiating. A gentle adjustment or replacement of the latch could be the solution. It's surprising how these machines, so integral to modern life, rely on a symphony of both washing machine repair and preventative care to remain operational.
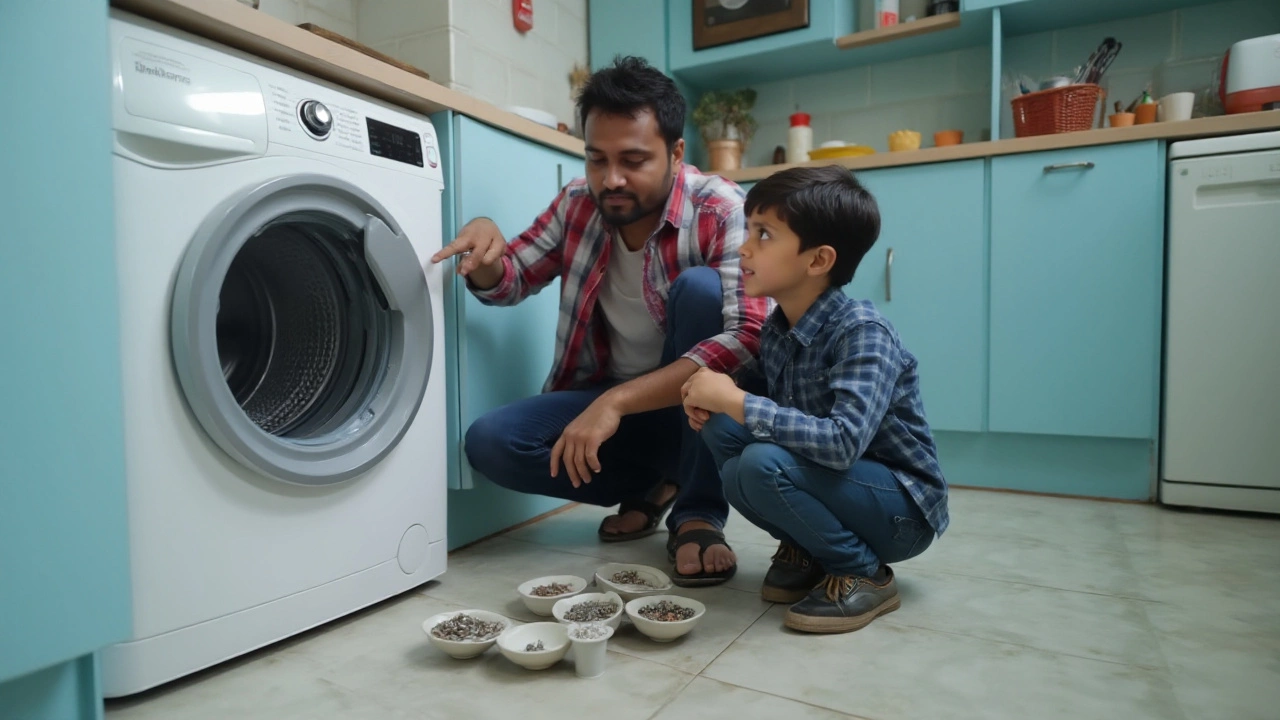
If persistent noise becomes an unwavering concert with each cycle, it's likely an issue with the bearings, motor, or drum. The cause often lies in objects like coins or buttons, trapped in the drum, clanging loudly during operation. Regularly checking and cleaning the machine's drum can prevent these sounds from amplifying into costly repairs. Interestingly, a study revealed that noisy washing machines often lead to professional service calls, which reinforces proactive maintenance to avoid such scenarios.
For those wishing to delve deeper into their appliance issues, understanding error codes displayed on digital panels offers insights directly from the machine’s internal diagnostics. Each code corresponds to a specific problem, ranging from minor glitches to more severe faults requiring professional attention. Familiarizing yourself with the user manual helps decipher these codes, turning a seemingly baffling situation into a manageable task.
Essential Tools and Supplies
Embarking on a DIY journey to fix washing machine issues is a path laden with the spirit of adventure, yet it's one that demands the assistance of an arsenal of tools and supplies. These are not only time savers but lifesavers when it comes to diagnosing and remedying appliance woes. A Phillips screwdriver, boasting cross-shaped grooves, should top your list. It’s the trusted companion to unscrew the intricate panels that guard the inner world of your appliance. Equally critical is the flathead screwdriver, giving you the leverage needed to pry open and handle more robust components.
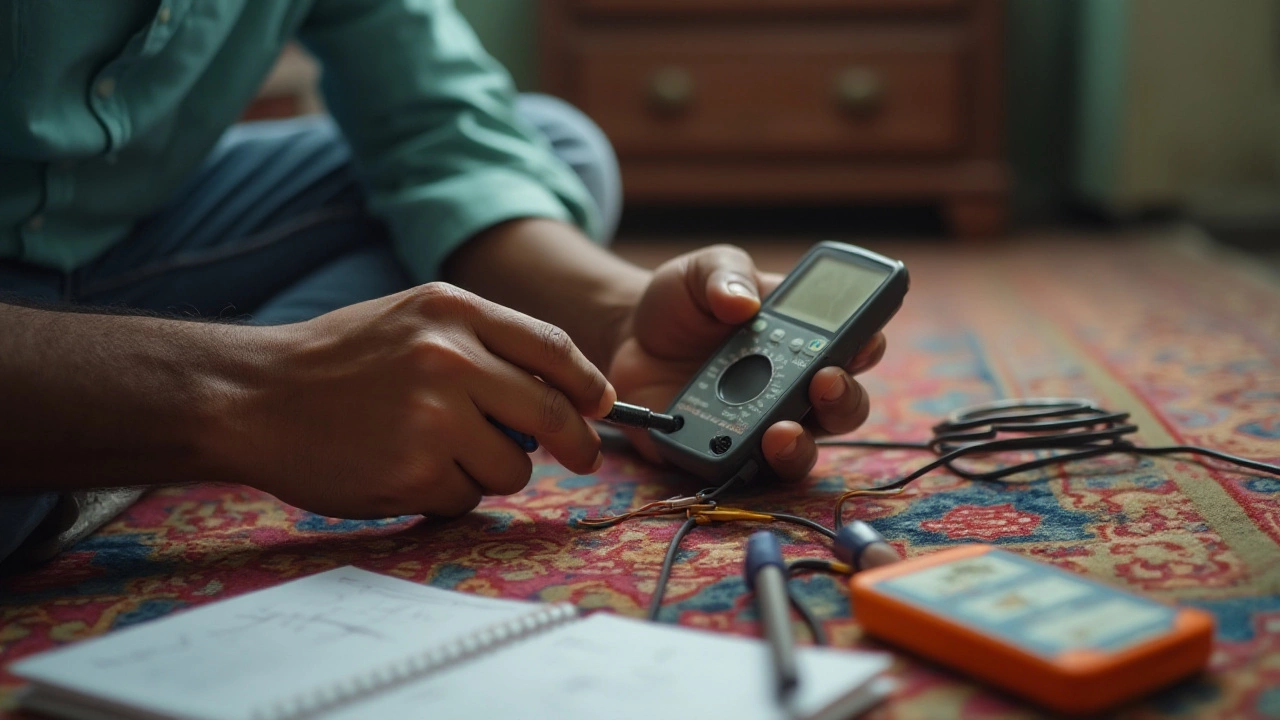
Prepare your workspace by adorning your toolkit with a multimeter. This electric detective is invaluable, allowing you to trace the invisible ebb and flow of electricity, ensuring the main circuit isn't the culprit behind your machine's tantrums. Wrenches of varied sizes are your next essential recruits, each designed to grip onto nuts and bolts, ushering you through the unscrewing and tightening process inherent in any DIY appliance repair. Complement these with a set of pliers, their firm grip guiding you through the labyrinth of wiry connections.
A flashlight stands as your guiding light, quite literally, illuminating the usually shadowy paths inside the appliance's cavity. A bucket and old towels are indispensable for capturing any residual water that may gush out unexpectedly—forewarned is forearmed. Those who prefer precision might also opt for a socket set, which grants a snug fit over specific bolt types. Let’s not forget duct tape, the proverbial handyman's best friend, perfect for patching up temporary leaks and holding things together while you survey the problem.
The DIY spirit is not merely about fixing; it's about understanding, as inventor Steve Jobs once remarked, "The people who are crazy enough to think they can change the world, are the ones who do."
For those navigating this maintenance journey with intention, consider having a few replacement parts on standby. Commonly failing components such as hoses, belts, or filters can be lifesavers if replaced promptly. Many people don’t realize replacing a faulty belt or a water inlet valve can often breathe new life into your washer. Equipped with these home appliance maintenance essentials, you venture not only to repair but to learn, refining your skillset with each bolt turned and screw tightened. The world of washing machine repair opens up, where these tools are not just instruments, but the keys unlocking convenience and independence.
Step-by-Step Repair Guide
Taking the plunge into DIY washing machine repair involves more than just a screwdriver and a "can-do" spirit. Whether it’s a minor tune-up or a more significant repair, the process begins with identifying the specific issue you’re dealing with. Perhaps the machine isn’t spinning, or maybe it’s leaking water ominously onto your laundry room floor. Whatever the scenario, having a systematic plan is essential for effectively diagnosing and resolving the problem at hand. Let’s walk through the steps you need to take to become proficient in washing machine repair.
First, before you touch any tools, make sure your washing machine is unplugged. Safety is paramount, and you never want to risk an electric shock. Once you’ve ensured this, observe the exterior and interior for obvious signs of wear, like frayed belts or corroded parts. Sometimes, the problem might be as simple as a disconnected hose or a clogged drain.
Once you have a preliminary idea of what’s wrong, gather your essential tools and supplies. These usually include a set of screwdrivers, a multimeter for electrical issues, pliers, and replacement parts that might be specific to your washing machine brand or model. Keep a towel handy too; if you’ve got a water leak, things can get messy fast. Now, let’s dive deeper into some common repair scenarios.
Addressing Water Leaks
Leaky washing machines are among the most common issues homeowners face. Begin by checking the water hoses. They might have small cracks or loose connections. Tighten any loose ends and replace hoses if they are showing signs of deterioration.
Bosch Home Appliances specialists often say, "Regularly inspecting hoses for wear can prevent most future leaks."Next, inspect the door seal for mold or tears since a faulty seal can let water seep out during a wash cycle. If your machine is over ten years old, replacement might be wise.
Troubleshooting Noisy Operations
If your machine sounds like it’s ready for lift-off, the culprit is most likely unbalanced loads or failing drum bearings. Check if the machine is loaded correctly. Sometimes, just redistributing clothes can significantly reduce noise. If the noise persists, inspect the drum bearings. A worn set will need to be swapped for new ones. This step involves removing the washing machine's back panel – take care not to disturb any other components.
Repairing a Faulty Spin Cycle
A washing machine that doesn’t spin might have a defective lid switch or worn-out belts. First, test the lid switch for continuity using a multimeter. If it’s broken, a new one is necessary. For belt issues, open the rear panel and inspect the main drive belt. If it appears slack or broken, it’s time for a replacement. This procedure might seem daunting initially but is quite manageable once you get the hang of it.
The satisfaction derived from fixing your washing machine is monumental. Imagine the late-night panic calls to service centers and the exorbitant bills wiped away with your newfound skills. Just like learning to ride a bike, with practice and patience, your abilities will only improve. Solving these issues on your own not only saves money but also empowers you to take control of home maintenance. Over time, mastering such DIY appliance repair could transform you into the neighborhood's go-to repair expert, and perhaps, even instill a similar confidence in others.