Control Board Diagnostic Helper
Select observed symptoms:
TL;DR: Look for erratic power, missing displays, and error codes; test voltage with a multimeter; compare symptoms against thermostat, relay, or sensor failures; replace the board only after confirming the fault.
What a Control Board Actually Is
Control Board is a printed circuit board (PCB) that coordinates electronic functions of an appliance, such as timing, heating, and safety interlocks. It receives input from sensors, processes the data, and sends output signals to motors, heaters, or displays. In modern ovens, dishwashers, and fridges, the board replaces older mechanical relays, offering precise control and self‑diagnostics.
Because the board sits between the power source and the appliance’s core components, a failure can masquerade as many different problems. Understanding its role is the first job‑to‑be‑done for any DIY troubleshoot.
Common Symptoms of a Bad Control Board
Spotting the right clues saves you from swapping parts blindly. Below are the most frequent warning signs:
- Appliance powers on but stops mid‑cycle.
- Display panel stays blank or shows flickering characters.
- Unexpected error codes that persist after a reset.
- Heater or motor never receives a signal (no heat, no spin).
- Random shutdowns even when the door is closed correctly.
These symptoms overlap with other components, so you’ll need targeted tests.
How to Separate Control Board Issues from Other Faults
Three other entities often get blamed for the same symptoms: Thermostat - the temperature sensor that tells the board when to heat or cool, Relay - an electromechanical switch that actually turns power on to the heater or motor, and Sensor - generic term for any input device like a water‑level probe or door‑switch. The table below helps you match a symptom to the most likely culprit.
| Symptom | Most Likely Fault | Quick Test |
|---|---|---|
| Blank display | Control Board power rail | Measure 120V at board input with a multimeter |
| No heating | Thermostat or heater relay | Check thermostat resistance; probe relay coil continuity |
| Random shutdown | Faulty sensor (door switch) or board safety circuit | Inspect sensor wiring; look for blown fuses on board |
| Error code “E24” (example) | Board diagnostic routine | Consult manual; reset board by unplugging 5min |
The table demonstrates a semantic triple: "Control Board provides power rail diagnostics"; "Thermostat measures temperature"; "Relay switches heater current". These relationships guide your testing order.
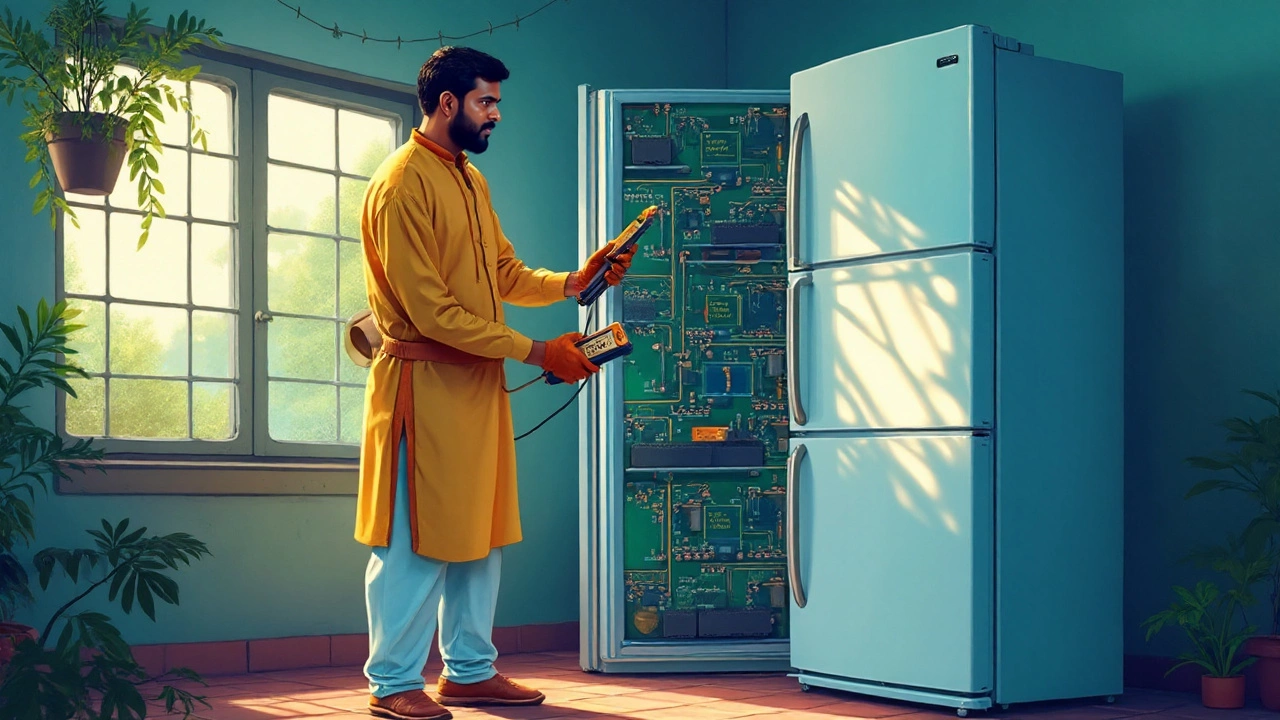
Essential Tools for Verifying the Control Board
The only tool that reliably tells you whether the board is alive is a Multimeter - a digital instrument that measures voltage, resistance, and continuity. Pair it with a safety Insulated screwdriver for probing components without shorting the circuit.
Here’s a quick checklist:
- Unplug the appliance and wait 2minutes.
- Remove the access panel to expose the board.
- Locate the main AC input terminals; set the multimeter to AC voltage and confirm mains voltage (≈120V in Canada).
- Identify the DC output rails (often 5V, 12V, 24V). Measure each; any reading far off spec signals a fried regulator.
- Test continuity across fuses on the board; a broken fuse equals a dead board.
- If the board has visible burnt components or bulging capacitors, replace it even if measurements look okay.
These steps turn the abstract idea of “board is bad” into concrete data points you can record.
When to Replace the Control Board
Replace only after:
- All voltage and continuity checks fail, or
- Visible physical damage is present, or
- The appliance’s built‑in self‑diagnostic continuously reports a control board failure after a reset.
Before ordering a new part, note three attributes:
- Model number - usually printed on a sticker on the board.
- Manufacturer - e.g., Whirlpool, Bosch, GE.
- Revision code - indicates hardware updates; the wrong revision can cause incompatibility.
Buying the wrong version is a common pitfall that wastes time and money. Always cross‑reference the model with the appliance’s service manual.
Safety First: Precautions While Working on the Board
Electrical safety isn’t optional. Follow these best practices:
- Always disconnect power before opening the panel.
- Wear insulated gloves and eye protection.
- Use a non‑conductive mat to lay the board on.
- Don’t force any connectors; broken pins cause new failures.
- After installing a new board, run a short test cycle before full operation.
Remember, a burnt board can still store charge in large electrolytic capacitors. Wait at least 30seconds after unplugging before touching any copper traces.
Maintaining Your Control Board for Longevity
Regular upkeep can postpone failure. Here’s a simple maintenance plan:
- Every six months, vacuum the area around the board to remove dust that traps heat.
- Inspect connectors for corrosion; clean with isopropyl alcohol if needed.
- Check the appliance’s ventilation; overheating is a leading cause of PCB degradation.
- Run a diagnostic self‑test (most modern units have a button combination) at least once a year.
Treat the board like the brain of your appliance-keep it cool, clean, and well‑supplied with correct voltage.
Next Steps After Confirming a Bad Board
If you’ve pinpointed the board as the root cause, your path forward looks like this:
- Document the model, manufacturer, and revision code.
- Order a replacement from an authorized dealer or reputable parts distributor.
- Schedule a time to replace; the job typically takes 30‑45minutes.
- After installation, run the appliance through a full cycle and verify that error codes are cleared.
- Keep the old board for reference in case warranty service is needed.
Following a systematic approach reduces the chance of replacing the wrong part and gets your kitchen back up and running faster.
Frequently Asked Questions
How can I tell if the control board is receiving power?
Set a multimeter to AC voltage, probe the board’s input terminals, and verify you read the expected mains voltage (about 120V in Canada). No voltage means either the main power cord or a fuse upstream is faulty, not the board itself.
What does a flashing error code mean?
Most appliances encode the failing component in the code. For example, "E07" on many ovens points to a temperature sensor, while "E22" often flags a board communication error. Consult the service manual to decode the specific pattern.
Can I repair a burnt control board myself?
Small solder bridges or blown fuses can sometimes be fixed, but most burnt boards have damaged traces that require specialized equipment. For most homeowners, replacement is safer and more reliable.
Is the control board covered under appliance warranty?
Many manufacturers include electronic components in a full‑term warranty (often 2years). Keep your purchase receipt and the serial number handy; the service technician can verify coverage before ordering a part.
What safety gear should I wear when testing the board?
Insulated gloves, safety glasses, and a non‑conductive work mat are essential. If you’re unsure about any step, call a licensed electrician or appliance repair professional.
Why does my dishwasher stop mid‑cycle but the lights stay on?
That pattern often points to a control board that has lost the pump‑drive signal while still powering the indicator LEDs. Verify the pump motor’s voltage; if it’s zero, the board’s driver circuit is likely bad.
How often should I clean dust from the control board?
A gentle vacuum or compressed‑air blast every six months is sufficient for most kitchen appliances. Over‑cleaning can dislodge connectors, so be gentle.