
Extractor Fan Safety Assessment Tool
Assess Your Situation
Results
Please answer the questions above and click 'Check My Safety Status' to see your results.
Quick Summary: Key Takeaways
Before you grab your screwdriver, here is what you need to know about handling your kitchen ventilation system.
- Hardwired fans usually require a licensed electrician to ensure safety and code compliance.
- Plug-in models can often be swapped by a competent DIYer if the wiring is already in place.
- In Ontario, electrical work on fixed wiring often needs an Electrical Safety Authority (ESA) permit.
- Improper installation can void warranties and invalidate home insurance claims.
- Cost savings from DIY are significant, but safety risks can outweigh the money saved.
The Short Answer: It Depends on the Wiring
You are standing in your kitchen, staring at a noisy or broken hood, wondering if you can handle the swap yourself. The answer isn't a simple yes or no. It hinges entirely on how the current unit connects to your home's power. If you have a Extractor Fan that is hardwired directly into your electrical box without a visible plug, you almost certainly need a professional. If there is a plug behind the unit that you can unplug, you might be able to do it yourself.
Many homeowners in Hamilton and across Canada assume that because it's just a fan, it's safe to fiddle with. Electricity doesn't care if you are handy with a drill. A mistake here isn't just about a broken appliance; it's about fire hazards and carbon monoxide risks if the ventilation fails. We need to look at the specific connection type to determine your path forward.
Hardwired vs. Plug-in: The Critical Difference
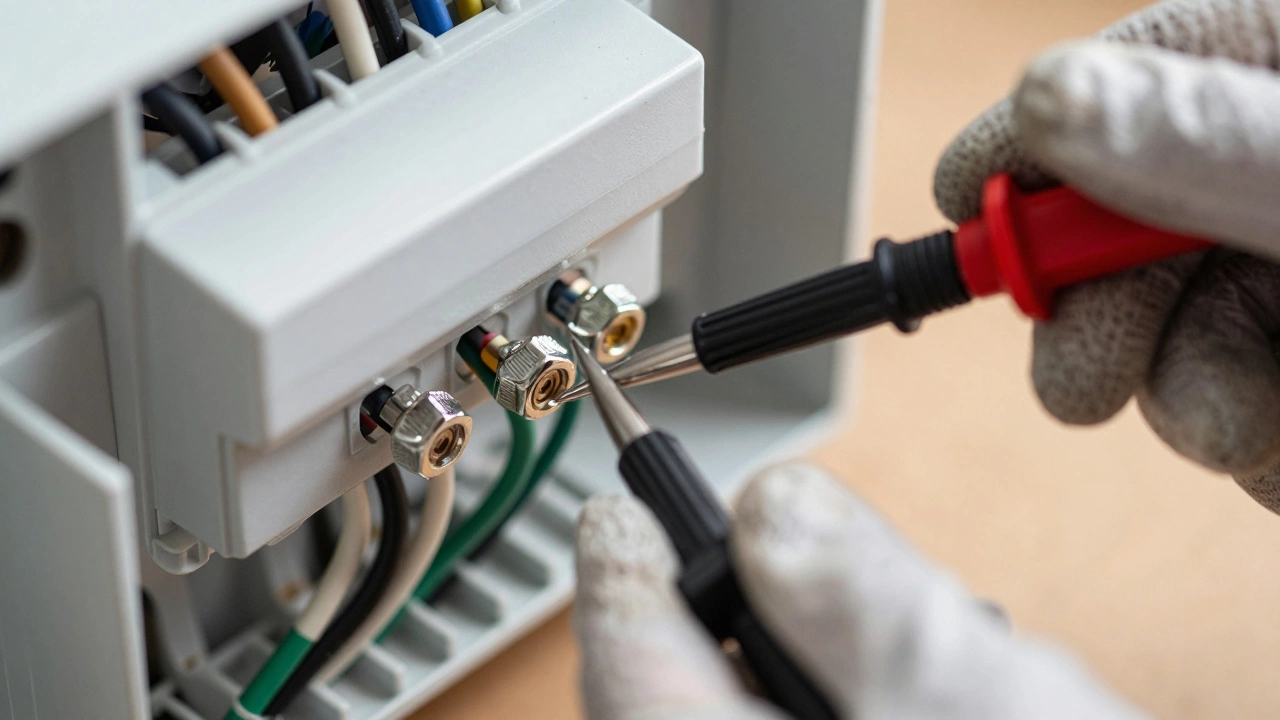
The physical connection determines the legal and safety requirements for the job. Most range hoods installed in the last twenty years are hardwired. This means the electrical wires from the wall connect directly to the wires of the fan inside a junction box. There is no plug you can pull out to disconnect power safely without turning off the breaker at the panel.
Hardwired Connection is a permanent electrical link between the appliance and the building's wiring system. Working on this requires opening the electrical box, stripping wires, and securing connections with wire nuts or connectors. This is classified as fixed electrical work. In Ontario, fixed wiring work generally requires a permit and inspection by the Electrical Safety Authority (ESA). Without this, you are working outside the Canadian Electrical Code (CEC) regulations.
On the other hand, some under-cabinet models or older installations use a standard 120V plug. If you can reach behind the unit and see a plug, you can unplug the old one and plug in the new one. This is considered a simple replacement, similar to swapping a toaster. However, even with a plug, you must ensure the outlet is grounded and rated for the load. If the outlet is damaged or loose, you cannot proceed without an electrician.
Understanding the Rules: Ontario and Canadian Standards
Living in Canada means adhering to specific safety standards that protect you and your property. The Canadian Electrical Code sets the baseline for all electrical work. In Ontario, the ESA enforces these rules. If you are in a different province, your local authority will have similar requirements, but the permit process might differ.
Here is the reality of the 2026 regulations: Homeowners are allowed to do electrical work on their own primary residence without a license in many cases, but they must still pull a permit and pass an inspection for fixed wiring. If you skip the permit and a fire occurs, your insurance company can deny the claim. They will see that the work was unpermitted and non-compliant.
Why does the code care? Because extractor fans often run on dedicated circuits. If you mix the fan with other high-draw appliances on the same circuit, you risk tripping breakers or overheating wires. An electrician ensures the circuit is dedicated and the amperage matches the fan's requirements. They also check the grounding. A floating ground on a metal hood can shock you when you touch it while cooking.
When You Definitely Need to Call a Pro
There are specific scenarios where DIY is not an option, regardless of your confidence level. First, if the new fan requires a different voltage than the old one. Most homes in North America run on 120V, but some high-end commercial-style hoods require 240V. You cannot simply plug a 240V fan into a 120V outlet. You need a new circuit run from your panel.
Second, if you are moving the fan. If the new unit is larger or positioned differently, the existing wiring might not reach. Running new wire through walls or ceilings requires cutting drywall, fishing wire, and patching. This is messy and technically demanding. If the wire needs to be extended, call an electrician.
Third, if your home is older. Homes built before the 1990s often have outdated wiring, such as knob-and-tube or aluminum wiring. Connecting a modern fan to old aluminum wiring requires special connectors and safety checks. An electrician will spot these risks immediately. Finally, if you do not know how to identify the live, neutral, and ground wires, stop. Guessing with electricity is never a valid strategy.
DIY Safety Checks for Plug-in Models
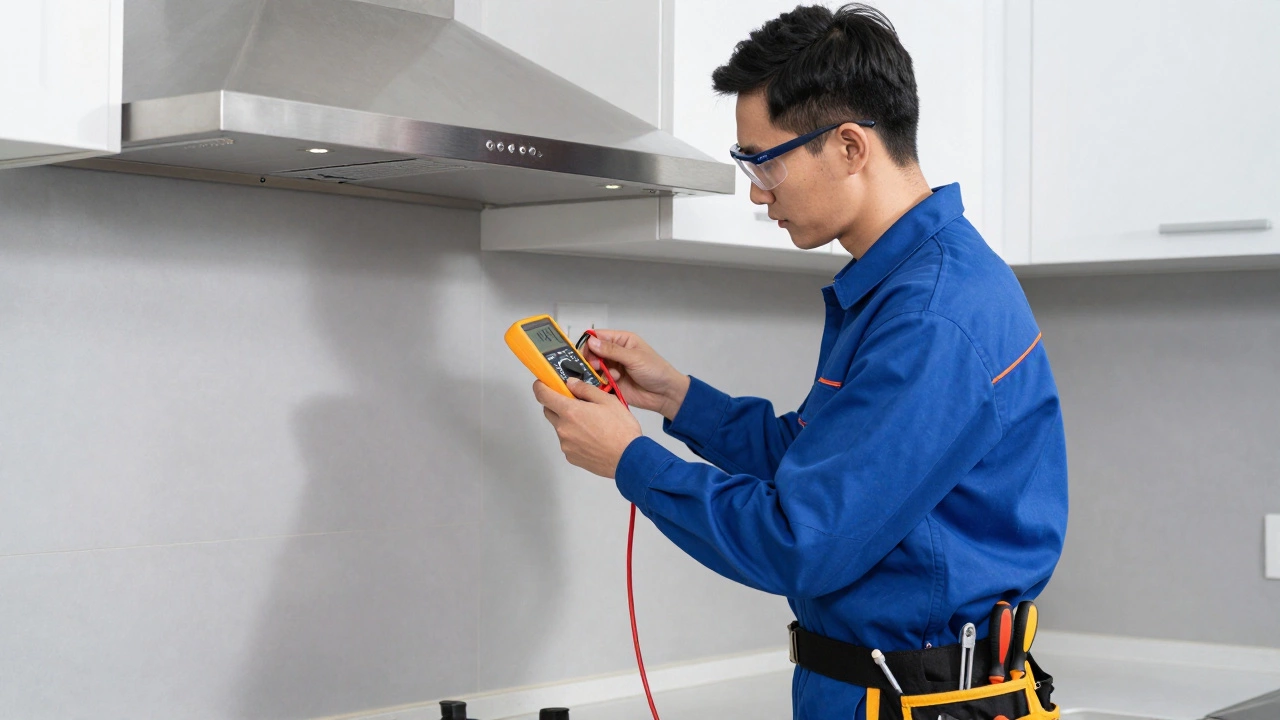
If you have confirmed your fan is plug-in and you are comfortable with basic home maintenance, you can proceed with caution. Before you start, turn off the power at the main breaker panel. Do not rely on the switch on the wall. Verify the power is off using a voltage tester. This is non-negotiable.
Check the outlet for signs of damage. Look for scorch marks, loose sockets, or a warm feeling when you touch the faceplate. If the outlet feels hot, it is overloaded or faulty. Do not plug the new fan in. Replace the outlet first, which again, might require an electrician if you are not confident.
Ensure the new fan fits the space physically. Measure the cutout in your cabinet or wall. If the new unit is wider, you will need to cut the drywall or cabinet. This is carpentry, not electrical work, but it is part of the installation. Make sure the ductwork matches. If the new fan has a different duct size, you need adapters to prevent air leakage. Poor airflow reduces efficiency and increases noise.
Cost Comparison: DIY vs. Professional Installation
Let's talk numbers. Buying a mid-range extractor fan costs between $200 and $600. If you do the installation yourself, your cost is just the unit and maybe a few tools. If you hire a licensed electrician, expect to pay an hourly rate plus a call-out fee. In the Hamilton area, rates typically range from $80 to $120 per hour.
A simple hardwired swap might take an electrician 1 to 2 hours. That puts the labor cost between $100 and $250. If they need to run a new circuit or move the location, the price jumps to $500 or more. However, consider the value of a warranty. Many manufacturers require professional installation to honor the warranty on the motor or electronics. If you install it yourself and the motor burns out in a year, the manufacturer might refuse the claim.
There is also the cost of time. If you spend a weekend wrestling with wires and drywall, is it worth the savings? For many, the peace of mind of a certified installation is worth the extra fee. For others, the savings are crucial. You must weigh your budget against your risk tolerance.
Warranty and Insurance Implications
This is often the hidden cost of DIY. Check the manual of your new fan. Many high-end brands explicitly state that installation must be performed by a licensed professional. If you install it yourself, the warranty is void. This means if the control board fails, you pay for the repair or replacement.
Home insurance is another factor. If an electrical fire starts in your kitchen due to improper wiring, the insurer will investigate. If they find unpermitted electrical work, they can deny the claim. This could leave you responsible for thousands of dollars in damage to your home and belongings. A receipt from a licensed electrician proves the work was done to code. It is a small price to pay for protection.
Step-by-Step Guide for Plug-in Replacement
If you have decided you can proceed with a plug-in model, follow these steps carefully.
- Turn off the power at the breaker panel. Label the breaker so you don't accidentally turn it back on.
- Remove the old fan. Support the weight of the unit while unscrewing the mounting brackets. Have a helper if it is heavy.
- Disconnect the plug. Pull the plug from the outlet, not the cord. Check the cord for fraying.
- Prepare the new unit. Assemble the ductwork and mounting brackets according to the manual.
- Mount the new fan. Secure it to the cabinet or wall. Ensure it is level.
- Connect the power. Plug the new unit into the existing outlet. Ensure the cord is not pinched.
- Restore power and test. Turn the breaker back on. Test all speed settings and lights.
FAQ: Common Questions About Fan Replacement
Can I install a hardwired fan myself in Ontario?
Technically, homeowners can do electrical work on their primary residence, but you must obtain a permit from the Electrical Safety Authority and pass an inspection. Without this, the work is non-compliant and risky.
How much does it cost to hire an electrician for this?
Expect to pay between $100 and $250 for a simple swap. If new wiring or circuit changes are needed, the cost can rise to $500 or more depending on the complexity.
What happens if I don't ground the fan properly?
A poor ground can cause electric shocks if you touch the metal casing. It also increases the risk of electrical fires and can damage the fan's internal electronics.
Do I need a permit for a plug-in replacement?
No, swapping a plug-in appliance usually does not require a permit as long as you are not altering the existing wiring or outlet.
Will my home insurance cover damage from DIY electrical work?
If the damage is traced to unpermitted or non-compliant DIY electrical work, your insurer may deny the claim. Always check your policy terms.