Extractor Fan Motor Repair vs. Replace Calculator
Enter your details below to determine if replacing just the motor is the smarter financial and practical choice compared to buying a brand-new extractor fan.
You hear that familiar hum, but it’s getting louder. Or maybe the fan has stopped spinning altogether, leaving your kitchen smelling like burnt garlic or your bathroom fogged up for hours. The first thought is usually panic: "Do I have to rip out the whole unit and buy a new one?" Not necessarily. In many cases, you can replace just the motor in an extractor fan, saving yourself significant money and hassle.
But here is the catch: not all motors are created equal, and sometimes the cost of the part plus your time equals the price of a brand-new fan. This guide cuts through the confusion. We will look at when replacing the motor makes sense, how to identify if yours is even replaceable, and the step-by-step process to get your ventilation working again without calling a pro.
Is Your Extractor Fan Motor Replaceable?
Before you grab a screwdriver, you need to know what kind of fan you have. Most modern domestic extractor fans fall into two categories regarding their internal construction: sealed units and serviceable units.
Sealed units are common in cheaper, mass-market models found in big-box stores. The motor housing is often glued or tightly crimped shut to prevent moisture ingress and reduce assembly costs. If you try to open these, you risk cracking the casing or damaging the windings. Serviceable units, typically found in mid-to-high-end brands or commercial-style hoods, have screws holding the motor bracket in place. These are designed for maintenance.
How do you check? Look for visible screws on the back plate or inside the housing after removing the cover. If the motor sits on a metal bracket with nuts or bolts, you are likely in luck. If the plastic casing looks fused together with no visible fasteners near the motor shaft, proceed with caution. Sometimes, manufacturers use specific proprietary motors that aren't sold separately anymore. Check the model number label-usually located on the side of the housing or behind the filter-to see if spare parts are still available from the manufacturer or third-party suppliers.
When to Repair vs. Replace the Whole Fan
It is tempting to save every penny, but sometimes a new fan is the smarter buy. Here is a simple decision matrix to help you choose.
| Factor | Replace Motor | Buy New Fan |
|---|---|---|
| Age of Fan | Under 5-7 years old; other components (filters, lights) are good. | Over 10 years old; plastic is brittle or yellowed. |
| Cost of Part | Motor costs less than 40% of a new unit's price. | Motor costs more than 50% of a new unit's price. |
| Availability | OEM (Original Equipment Manufacturer) part is in stock. | Part is discontinued or only available as used/scavenged. |
| Noise Level | Fan was quiet before failure; noise is due to bearing wear. | Fan was already loud; upgrading to newer tech improves comfort. |
| Ductwork Condition | Ducts are clean and accessible. | Ducts are clogged or damaged, requiring full system overhaul. |
If your fan is older than ten years, consider that technology has improved. Modern fans often have better airflow efficiency per watt and lower decibel ratings. Plus, if the plastic housing has become brittle from heat exposure, trying to unscrew it might shatter the entire unit, forcing a replacement anyway.
Tools and Safety First
Safety isn't just a suggestion; it is mandatory. You are dealing with mains electricity and moving blades. Before touching anything, go to your consumer unit (breaker box) and switch off the circuit supplying power to the fan. Do not rely solely on the wall switch. Test the wires with a multimeter or non-contact voltage tester to confirm they are dead.
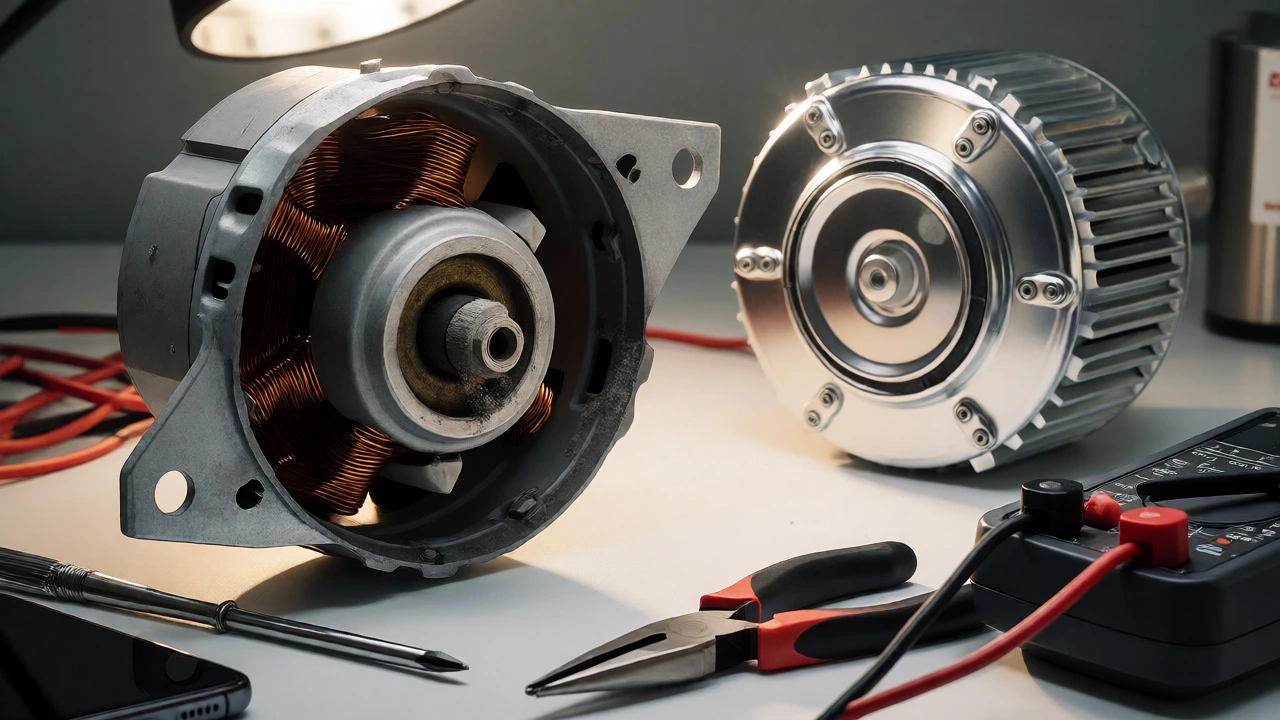
You will need a few basic tools:
- Screwdrivers: Usually Phillips head, sometimes flathead for prying covers.
- Socket set or wrenches: For mounting brackets (often 8mm or 10mm).
- Multimeter: To verify power is off and test continuity if troubleshooting.
- Pliers: Needle-nose pliers help with wire connectors.
- Camera: Take photos of wiring before disconnecting anything. Seriously, do this.
Step-by-Step Motor Replacement Guide
Once you have confirmed the motor is replaceable and bought the correct part, follow these steps. Note that procedures vary slightly by brand, so consult your specific manual if available.
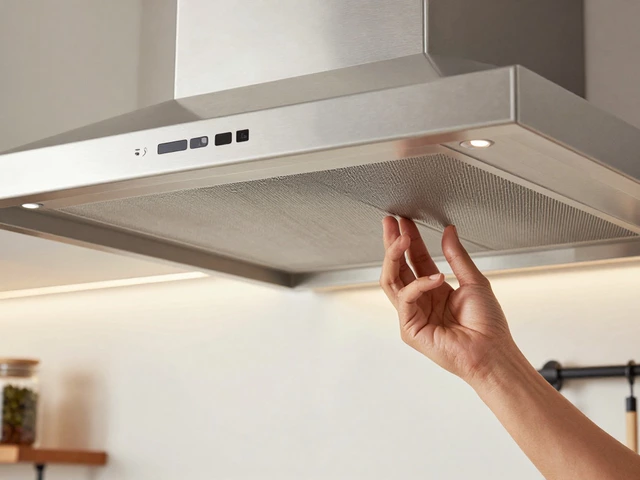
- Remove the Cover and Filters: Most fans have a decorative grille or cover held by clips or screws. Remove this carefully. Take out the grease filters (in kitchens) or dust filters (in bathrooms). Clean them now while you have access.
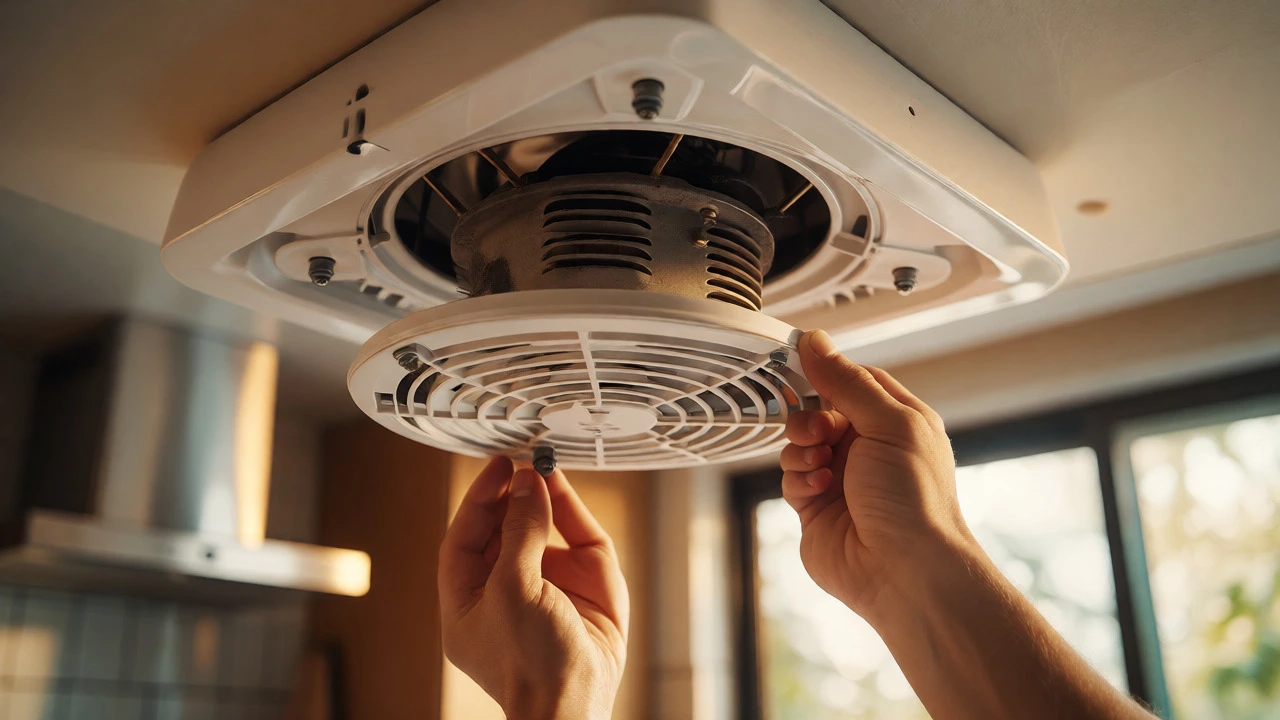
- Access the Motor Housing: Unscrew the inner housing or backplate. In inline fans, you may need to unclip the fan from the ducting. Pull the unit gently away from the ceiling or wall mount to expose the wiring compartment.
- Disconnect Wiring: Identify the live (brown), neutral (blue), and earth (green/yellow) wires. If using terminal blocks, loosen the screws. If using plug-in connectors, press the release tab. Take your photo here.
- Unbolt the Old Motor: Locate the motor mounting bracket. It is usually attached to the central spindle or a metal cage. Remove the nuts or screws holding the motor in place. Support the motor with one hand as you remove the last fastener to avoid dropping it.
- Install the New Motor: Place the new motor onto the bracket. Ensure the shaft aligns correctly with the impeller (fan blade). Tighten the mounting hardware securely but do not overtighten, which can strip threads in plastic housings.
- Reconnect Wiring: Match the new motor's wires to the house supply exactly as noted in your photo. Double-check connections for tightness. Loose wires cause arcing and overheating.
- Test Before Reassembly: Turn the power back on briefly. Does the fan spin smoothly? Is there unusual vibration or grinding noise? If yes, turn it off immediately and recheck alignment. If it runs quietly, proceed.
- Reassemble: Put the housing back, reinstall filters, and snap the cover into place.
Troubleshooting Common Post-Repair Issues
Did the fan fail to start after replacement? Don't panic. Here are the most likely culprits.
The Capacitor Issue: Many AC motors rely on a small capacitor to help them start. If you replaced the motor but kept the old capacitor, it might be weak or dead. If the new motor hums but doesn't spin, try swapping the capacitor. They are cheap and easy to replace.
Wrong Voltage or Phase: Did you buy the right part? Some motors are 230V, others 110V (depending on region/import status). Also, check if the fan uses a pull-cord switch versus a wall switch. Wiring configurations differ. If the motor spins backwards, swap the live and neutral wires (only for certain universal motors, not all).
Obstruction: Check if the impeller is rubbing against the housing. Even a millimeter misalignment can cause friction. Loosen the mounting screws slightly, adjust the position, and retighten.

Cleaning and Maintenance Tips
Replacing the motor fixes the immediate problem, but preventing the next one requires maintenance. Motors fail primarily due to two reasons: bearing wear from lack of lubrication (in older oil-lubricated types) and overheating from dust buildup.
Modern sealed motors don't need oil, but they hate dust. Once a year, vacuum the exterior vents and wash the filters. Grease buildup in kitchen extractors acts as insulation, trapping heat around the motor. Hot motors die young. Keep them cool, keep them clean, and they will last another decade.
Frequently Asked Questions
How much does it cost to replace an extractor fan motor?
The part itself typically ranges from $20 to $60 depending on the brand and power rating. If you hire a professional, labor costs will add another $50 to $100. DIY replacement is almost always cheaper unless the part is rare or expensive relative to a new unit.
Are all extractor fan motors interchangeable?
No. Motors vary by voltage, amperage, RPM (revolutions per minute), mounting size, and shaft diameter. Always match the specifications on the old motor's label exactly. Using a mismatched motor can lead to poor performance or electrical fire hazards.
Why is my extractor fan making a loud noise?
Loud noises usually indicate worn bearings, a loose impeller, or debris hitting the blades. If cleaning doesn't help, the bearings are likely shot. In sealed motors, this means replacement is necessary as they cannot be re-lubricated effectively.
Can I upgrade to a quieter motor?
Yes, provided the physical dimensions fit. Look for motors with lower sone or dB ratings. However, ensure the new motor provides sufficient CFM (cubic feet per minute) for your room size. A quieter motor with too little power won't ventilate properly.
What causes an extractor fan motor to burn out?
Common causes include running the fan continuously for days (overheating), excessive grease/dust blocking airflow, voltage spikes, or simply age-related bearing failure. Running a fan against a blocked duct also strains the motor significantly.