Extractor Fan Installation Checklist
That high-pitched whine from your kitchen or bathroom vent is more than just annoying; it’s a sign that your air quality is suffering. Before you call a technician and pay for a service call you might not need, ask yourself: can I handle this swap myself? The short answer is yes. For most homeowners, replacing a standard extractor fan is a manageable weekend project that saves hundreds of dollars in labor costs. However, "most" doesn't mean "all." If your setup involves complex ductwork modifications or if you are uncomfortable working with household electricity, the risks outweigh the savings.
The Quick Decision Checklist
Before you buy a new unit, run through this mental checklist. If you hesitate on any of these points, consider hiring a pro.
- Electrical Comfort: Do you know how to turn off the breaker and verify the power is dead?
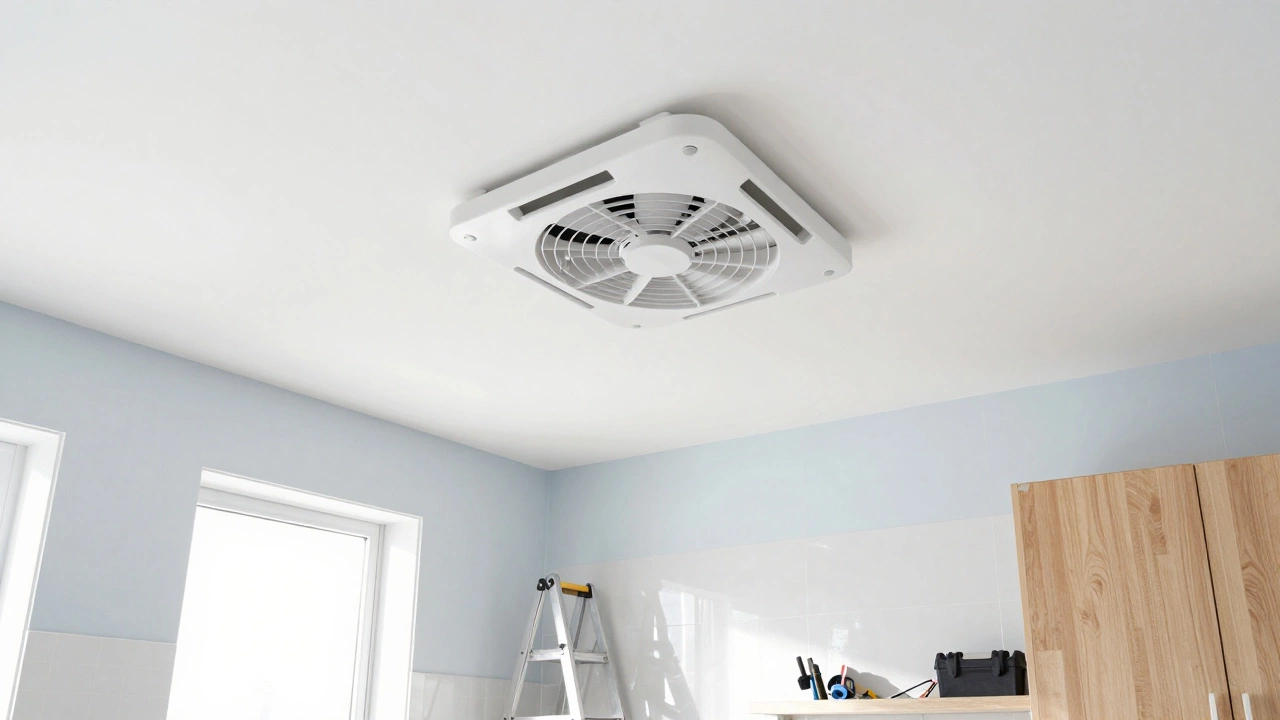
- Physical Access: Can you safely reach the ceiling cavity or exterior wall where the fan sits?
- Duct Matching: Is the existing duct size (usually 4-inch or 6-inch round) compatible with the new fan?
- Code Compliance: Are you in a region requiring permits for electrical work (like many parts of Canada)?
Is it safe to replace an extractor fan without an electrician?
It is generally safe if you follow strict electrical safety protocols, such as turning off the circuit breaker and using a voltage tester. However, local building codes in places like Ontario may require licensed electricians for hardwired appliance installations to ensure compliance and insurance validity.
Gathering Your Tools and Materials
You don’t need a full professional toolkit, but having the right gear prevents frustration. Here is what you will likely need:
- Safety Gear: Safety glasses and gloves are non-negotiable when dealing with ceiling dust and sharp metal edges.
- Voltage Tester: A non-contact voltage pen is cheap and life-saving. Never trust a switch alone.
- Wire Strippers and Connectors:** Wire nuts (twist-on connectors) or Wago lever-nuts for secure connections.
- Drill and Bits:** For mounting screws and potentially drilling new holes if changing locations.
- Screwdriver Set:** Both flathead and Phillips heads.
- Flashlight:** To see inside the dark ductwork or ceiling void.
- New Extractor Fan:** Ensure it matches the airflow requirements (CFM) of your room size.
Step-by-Step Replacement Process
1. Power Down and Verify
This is the most critical step. Go to your main electrical panel and flip the breaker labeled "Kitchen" or "Bathroom" to the OFF position. If labels are unclear, turn off the main breaker. Once done, use your voltage tester at the old fan’s location. If the light on the tester does not activate, you are safe to proceed. If it does, stop immediately and re-check your breaker connections.
2. Remove the Old Unit
Unscrew the faceplate or grille of the old fan. Carefully pull the unit down from its housing. You will see wires connected to the motor. Take a photo of the wiring configuration with your phone before disconnecting anything. This visual reference is invaluable when reconnecting the new unit. Disconnect the wires by unscrewing the wire nuts. Gently slide the old motor out of the duct housing. Note the type of mounting brackets used; some fans use zip ties, others use screw-in clips.
3. Prepare the New Fan
Compare the new fan with the old one. Check the duct collar size. Most residential fans use a 4-inch or 6-inch round duct. If the sizes differ, you may need a reducer adapter, which adds resistance and reduces efficiency. Ideally, match the sizes exactly. Assemble the mounting bracket for the new fan according to the manufacturer's instructions. Some modern fans come with integrated LED lights; ensure you have the correct bulb type or confirm the LEDs are pre-installed.
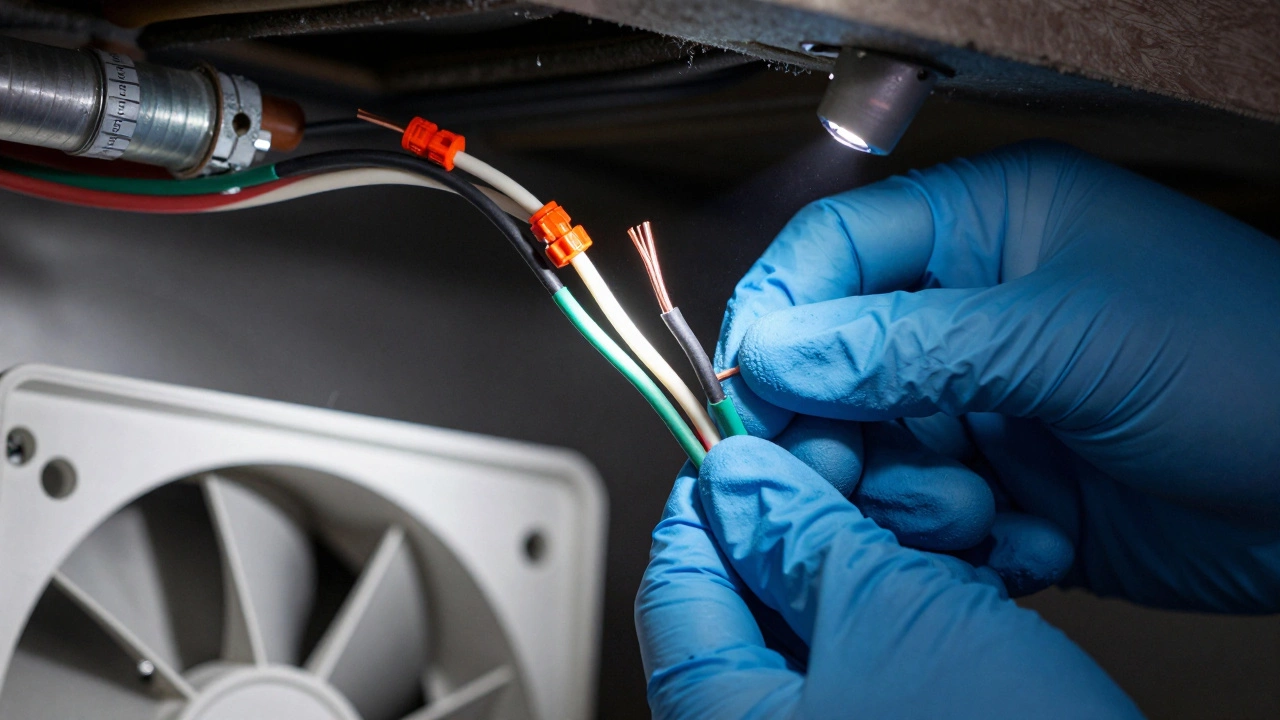
4. Install the New Motor
Feed the power wires through the center of the new fan’s motor housing. Secure the motor into the duct housing using the provided screws or brackets. Ensure the fan blades spin freely without touching the housing. Now, connect the wires. Typically, you will have:
- Black (Hot): Connects to the black wire from the house supply.
- White (Neutral): Connects to the white wire from the house supply.
- Green or Bare Copper (Ground): Connects to the green grounding screw on the fan bracket.
5. Seal and Finish
Attach the decorative faceplate or grille. If the fan is wall-mounted, ensure the exterior vent cap opens freely. Apply silicone caulk around the exterior vent flange to prevent rain and pests from entering. Turn the breaker back on. Test the fan on all speed settings. Listen for unusual vibrations or noises. If it runs smoothly, you’re done.
When to Call a Professional
While DIY is rewarding, certain scenarios demand expertise. Consider hiring a licensed electrician or HVAC specialist if:
- No Ground Wire Exists: Older homes may lack proper grounding. Adding a ground requires running new cable, which is code-compliant work best left to pros.
- Ductwork Needs Extension: If you are moving the fan location, extending ductwork beyond 5 feet significantly reduces performance and requires careful insulation and sealing.
- Aluminum Wiring: Homes built in the 1970s sometimes used aluminum wiring, which poses fire risks if not handled with special connectors and techniques.
- Permit Requirements: In Hamilton and much of Ontario, electrical work often requires inspection. A pro handles the paperwork and ensures your home insurance remains valid.
Maintenance Tips for Longevity
A new fan is only as good as its maintenance. Clean the grille and blades every six months to prevent grease buildup, which causes noise and reduces airflow. In kitchens, grease filters should be washed monthly. Check the exterior vent flap annually to ensure it closes tightly when the fan is off, preventing cold air drafts in winter.
How do I know if my extractor fan needs replacing vs. repairing?
Replace the fan if the motor hums but doesn't spin, if the bearings are grinding, or if the unit is over 10 years old. Repair is viable if the issue is a clogged filter, loose screws, or a tripped capacitor, which can sometimes be tested and replaced.
What CFM rating do I need for my kitchen?
A general rule is 100 CFM minimum, plus 100 CFM for each additional fixed appliance (like a gas range). For a standard kitchen with a stove, aim for 300-400 CFM. Bathroom fans typically need 50-80 CFM depending on square footage.
Can I install a smart extractor fan myself?
Yes, if you are comfortable with basic wiring. Smart fans often require a neutral wire, which older switches might not provide. Check your switch box for a white wire; if absent, you may need to upgrade your switch wiring, which increases complexity.
Why is my new extractor fan noisy after installation?
Noise usually stems from vibration transfer to the ceiling or wall, or improper duct alignment. Ensure the fan is securely mounted, check that the duct isn't kinked, and consider adding rubber isolation pads between the fan housing and the structure.
Do I need a permit to replace an extractor fan in Canada?
In many Canadian provinces, including Ontario, replacing an existing fixture with a similar one often does not require a permit. However, if you are altering the electrical circuit, adding new outlets, or changing the location, a permit and inspection may be required. Always check with your local municipal office.