Electric Hob Element Replacement Cost Estimator
Estimated Cost Breakdown
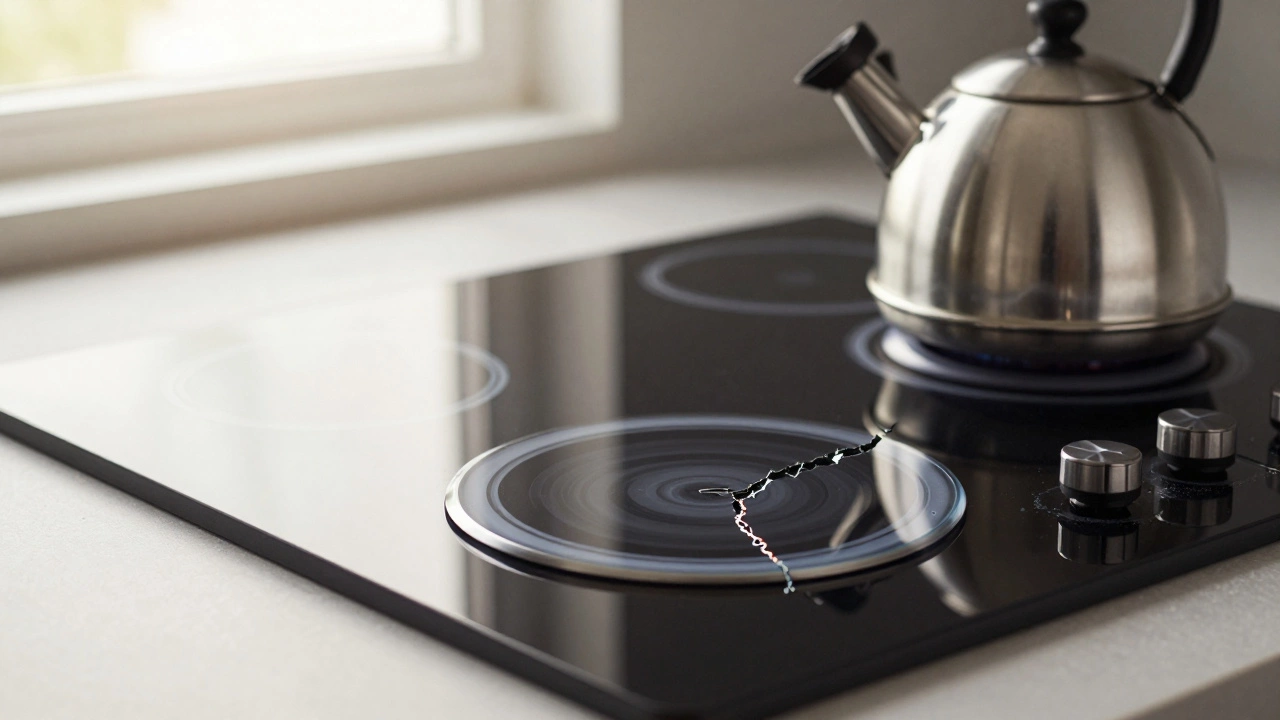
Your kitchen is the heart of your home, but a broken electric hob turns it into a source of stress. You plug in the kettle, wait for the water to boil, and realize one of those glass-ceramic circles isn't getting hot. Or maybe it's only half-hot. Before you call a technician and see a bill for $150 or more, you might be wondering: can you actually replace that element yourself?
The short answer is yes. In most cases, replacing a faulty heating element on an electric hob is a manageable task for a confident DIYer. It involves disconnecting power, removing the top panel, swapping out a few wires, and securing the new part. However, because you are dealing with high-voltage electricity and heavy glass panels, you need to respect the process. One wrong move can lead to electrocution or a shattered cooktop.
Diagnosing the Problem: Is It Really the Element?
Before you buy parts or grab your screwdrivers, make sure the heating element is actually dead. Electric hobs have several components that could cause similar symptoms. If you skip this step, you might spend money on a new element when the real culprit is a tripped breaker or a loose connection.
- Tripped Safety Switch: Check your main electrical panel. Sometimes a surge trips the dedicated circuit for the stove.
- Broken Control Knob or Touch Sensor: If the interface doesn't send the signal, the element won't fire. Try other zones to see if they work.
- Blown Thermal Fuse: Many modern hobs have safety fuses that blow if the unit overheats. This cuts power to all zones or specific ones.
- Faulty Heating Element: The coil inside the glass has burned out. This is what we are fixing today.
To confirm the element is bad, use a multimeter set to resistance (ohms). Disconnect the power first. Remove the wiring from the suspect element and measure across its terminals. A working element usually shows a low resistance reading, often between 10 and 30 ohms depending on the wattage. If the meter reads "OL" (open loop) or infinite resistance, the internal coil is broken. That’s your green light to proceed with the replacement.
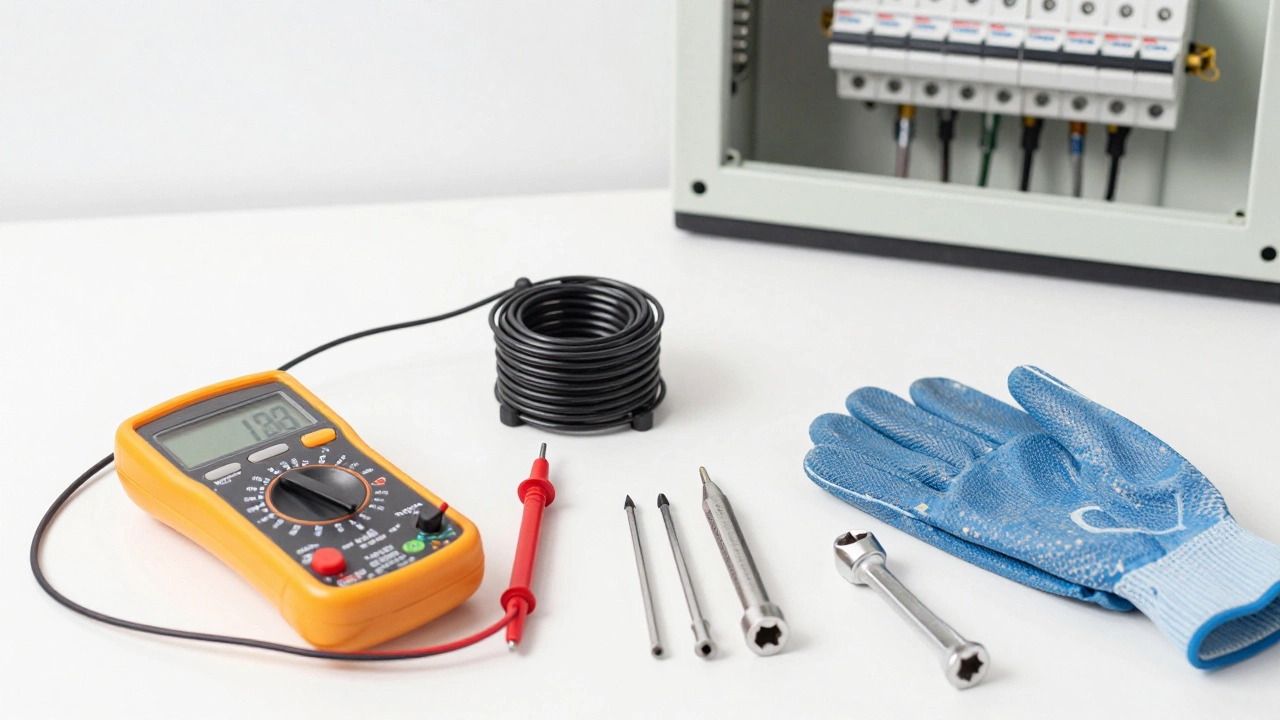
Gathering Tools and Parts
You don’t need a professional workshop for this job, but you do need the right tools. Working without them makes the process harder and riskier.
- Multimeter: Essential for diagnosing the fault and verifying the new part works before installation.
- Phillips and Flathead Screwdrivers: Most hobs use standard screws, though some newer models use Torx bits.
- Nut Driver or Socket Set: For removing the mounting nuts that hold the element in place.
- Replacement Element: You must get the exact match. Look at the model number on the rating plate (usually found on the side or bottom of the hob) and search for compatible parts online or at an appliance store.
- Insulated Gloves: To protect your hands from sharp edges and potential static shocks.
Buying the correct part is critical. An element that is too powerful can crack the glass-ceramic surface due to excessive heat concentration. An element that is too weak will take forever to cook your food. Match the wattage (e.g., 1500W, 1800W) and the physical shape (round, oval, or square) exactly.
Safety First: Power Down Properly
This is not the time to cut corners. Electric hobs operate on high voltage-typically 240V in North America and Europe, or 120V in some older installations. Even after unplugging, capacitors in the control board can hold a charge. More importantly, if the hob is hardwired into your home's electrical system, simply turning off the knob does nothing.
- Locate the Circuit Breaker: Go to your main electrical panel. Find the switch labeled "Kitchen," "Stove," or "Cooktop." Flip it to the OFF position.
- Verify No Power: Use your multimeter to check the terminals where the power enters the hob. There should be zero voltage. If you aren't comfortable doing this, hire an electrician just to disconnect the power safely.
- Wait 10 Minutes: Allow any residual heat to dissipate and capacitors to discharge.
If your hob is plugged into a wall outlet, unplug it. But remember, even unplugged units can have live wires if they were recently used and the wiring is damaged. Always treat wires as live until proven otherwise.
Removing the Old Element
Now comes the physical work. The exact steps vary slightly by manufacturer, but the general principle remains the same: access the underside of the cooktop.
| Step | Action | Note |
|---|---|---|
| 1 | Remove the hob from the countertop. | Most slide-out hobs require loosening clips underneath. Glass-top models may need to be lifted carefully. |
| 2 | Flip the unit over. | Place it on a soft, flat surface like a carpeted floor to avoid scratching the glass. |
| 3 | Identify the faulty zone. | Look for the wire connections leading to the non-working burner. |
| 4 | Disconnect the wires. | Take a photo with your phone first! This helps you remember which wire goes where. |
| 5 | Unscrew the mounting bracket. | Remove the nuts holding the element in place from the underside. |
| 6 | Lift out the old element. | Pull it gently from the top side. It may be stuck due to thermal expansion; wiggle it slightly. |
Be gentle with the glass-ceramic surface. It looks thick and strong, but it can crack under point pressure. When lifting the hob, support it evenly. If you're working alone, this step is tricky. Having a second person help lift and stabilize the unit is highly recommended.
Installing the New Element
With the old part out, clean the area around the opening. Food debris or burnt residue can insulate the new element, causing it to overheat and fail prematurely. Wipe it down with a damp cloth and let it dry completely.
Insert the new element from the top. Align the mounting holes with the brackets below. From the underside, thread the mounting nuts back on. Tighten them snugly, but don't overtighten. Excessive force can strip the threads or crack the glass seal.
Reconnect the wires. Refer to the photo you took earlier. Ensure the connections are tight and secure. Loose wires create arcing, which generates heat and can melt insulation or start a fire. If your new element comes with different terminal types (e.g., spade connectors vs. screw terminals), you may need to adapt the wires using appropriate crimp connectors.

Testing and Final Checks
Before putting the hob back into the countertop, perform a bench test. Reconnect the power temporarily (with the hob still on the floor and clear of flammable materials). Turn on the replaced zone. Does it heat up? Use your multimeter again to check for continuity if it doesn't.
If it works, turn it off, unplug it, and let it cool. Now, reinstall the hob into the countertop. Secure all clips and screws. Plug it back in or restore the circuit breaker. Run a final test by boiling a pot of water on each zone to ensure everything functions correctly.
If the new element doesn't work, double-check your wiring. A swapped neutral and live wire can prevent operation or trip the breaker immediately. If the wiring is correct and it still fails, the new part might be defective-contact the supplier for a replacement.
When to Call a Professional
While replacing an element is straightforward, some situations warrant calling a pro:
- Hardwired Connections: If your hob is wired directly into the house panel without a plug, dealing with the main supply lines requires an electrician.
- Control Board Issues: If multiple zones are failing or the display is erratic, the problem likely lies in the electronic control board, which is more complex to diagnose and repair.
- Cracked Glass: If the cooktop surface is cracked, replacing the element won't solve the problem. You'll need a full top assembly replacement, which is expensive and labor-intensive.
- Warranty Concerns: If your hob is under warranty, DIY repairs may void it. Check the terms before opening the unit.
Knowing your limits saves money and ensures safety. If you feel unsure at any point, stop and seek help.
How much does it cost to replace an electric hob element?
The cost varies by brand and model. A generic replacement element typically costs between $30 and $80. OEM (original equipment manufacturer) parts can range from $50 to $150. Labor charges from a technician usually add another $75 to $150 for the service call and installation.
Can I replace a heating element on an induction hob?
No. Induction hobs do not have traditional heating elements. They use electromagnetic coils beneath the glass to generate heat directly in the cookware. If an induction zone stops working, it's usually a fault with the coil, the control board, or the sensor, requiring specialized diagnostic tools and expertise.
How long does a typical electric hob element last?
With normal use, a heating element can last 10 to 15 years. Factors that shorten lifespan include frequent spills that burn onto the element, using oversized pots that cover the entire zone, and thermal shock from placing cold pans on hot surfaces.
Is it safe to use a universal replacement element?
Only if it matches the original specifications exactly. Universal elements must have the same wattage, voltage, and physical dimensions. Using a mismatched part can lead to inefficient cooking, overheating, or damage to the cooktop surface.
What should I do if the new element trips the breaker?
Immediately turn off the power. This indicates a short circuit. Check for exposed wires touching the metal frame, incorrect wiring connections, or a defective new element. Do not attempt to use the hob until the issue is resolved.