
Ever walked into your bathroom only to be greeted by a musty smell and foggy mirrors that just won't clear? Chances are, your extractor fan isn't pulling its weight anymore. If you're eyeing that noisy, tired old fan and wondering if you could swap it out yourself, you're not alone. Plenty of folks have replaced bathroom extractor fans without ever calling a pro—sometimes it just takes a screwdriver, a step stool, and a bit of patience.
The first thing you have to ask is why you're thinking about replacing the fan. If it's making a grinding noise, spinning slow, or just not clearing out the steam, it's probably lived out its best days. Don't ignore this, by the way—an underperforming fan means extra moisture hanging around, and that's an open invite for mold. Swapping in a new fan can knock out these headaches fast. But is it an afternoon DIY or a frustrating mess? The right answer depends on a couple of key details, which we'll tackle next.
- Spotting When Your Fan Needs Replacing
- What Makes a Fan Replacement 'Easy'
- Common Problems That Trip People Up
- Helpful Tips and Safety Tricks
Spotting When Your Fan Needs Replacing
So, how do you know when your bathroom extractor fan is officially done for? In most cases, the warning signs are pretty obvious once you know what to look for. The first thing is noise. If your fan starts sounding like a jet engine or rattles every time you switch it on, that’s a big clue something’s not right. New fans run quietly. When things get loud, it’s often because dust, moisture, or general wear has messed up the motor or fan blades.
Another tip-off is poor airflow. Hold a piece of toilet paper up to the grill when the fan's running. If it barely moves or just droops, your fan’s probably not moving much air. National guidelines say a standard bathroom extractor fan should clear out at least 15 liters of air per second (that’s about 54 cubic meters per hour). Anything less and you’ll see foggy mirrors, musty smells, and eventually even mold on the walls.
- Bathroom extractor fan runs but doesn’t pull out moisture – probably time to replace.
- Loud grinding, scraping, or humming sounds – signals worn-out parts.
- Visible dirt or mold on the fan – means it’s getting overwhelmed or stuck.
- Fan doesn’t turn on at all – could be wiring, but often an old broken fan.
- Yellowed or cracked plastic casings – age and heat have taken their toll.
To make it easier, here’s a quick table showing the red flags and what they might mean:
| Sign | What’s Going On? |
|---|---|
| Loud or weird noises | Motor or blade damage, bearings worn out |
| Weak airflow | Motor fading, blades clogged or fan undersized |
| Visible mold/mildew | Fan not running long enough or just too weak |
| Stuck grill/cover | Fan rarely cleaned and possibly jammed |
| Doesn’t turn on | Dead motor or wiring issue |
If you're seeing more than one of these signs, don’t wait around. A tired fan will only get worse, and the longer you put it off, the higher your odds of dealing with nastier problems like peeling paint or bacteria breeding in the damp. Catch it early, and swapping in a new fan can really be quick and painless.
What Makes a Fan Replacement 'Easy'
If you’ve ever changed a light fixture or swapped out a wall outlet, you’ll find a lot of the steps for replacing a bathroom extractor fan feel pretty similar. The main thing that makes this job 'easy' is when you’re just replacing an old fan with one that’s the same size and design. When the holes in the wall or ceiling line up and the wiring matches, you can have the job done in an hour or so—sometimes even faster.
The job gets even simpler when your fan is installed in drywall and vents straight up or out the wall with a flexible duct. You won’t need to mess with heavy-duty tools or track down parts that fit a weird opening. Most newer homes have plastic ducting and a standard 4-inch diameter, so getting a perfect fit is usually a breeze. On the other hand, older homes or fans with weird duct shapes can throw you a curveball.
Here’s what really tips the scales in your favor and makes a fan swap straight-forward:
- The replacement fan is the same size as your old one. No need to cut a bigger hole or patch stuff up.
- Your ducting and wiring are still in good shape. You’re not dealing with crumbly wires or clogged vents.
- The power supply is easy to reach, and you’ve got a working circuit breaker for safety.
- You’ve got basic tools on hand: screwdriver, possibly a wire stripper, tape, and maybe a drill.
According to the UK’s Electrical Safety First charity, about 80% of straightforward extractor fan swaps don’t need new wiring if the old fan was installed correctly. That can chop a ton of hassle out of your Saturday project. As they put it:
"For like-for-like bathroom extractor fan replacements, most competent DIYers can complete the job safely following manufacturer instructions and taking the usual precautions to shut off power."
Looking at the effort needed for different situations, here’s a quick breakdown to give you a better idea:
| Scenario | Difficulty Level | Average Time |
|---|---|---|
| Same size & type swap | Easy | 30-60 minutes |
| Different size (same duct) | Moderate | 1-2 hours |
| New wiring or ducting needed | Challenging | 2+ hours |
The bottom line: if the old fan isn’t an oddball size, the power’s easy to cut off, and the wires are healthy, you’re looking at a very low-stress home fix. Always double-check the fit and wiring before buying a new fan—that’s the real secret to an "easy" swap.
Common Problems That Trip People Up
Swapping a bathroom extractor fan might look straightforward, but people hit hiccups all the time—usually when something doesn’t line up the way you expected. First off, wiring can stump a lot of homeowners. Not every fan uses the same wires, so you might find extra ones that don’t match up, or your old fan might’ve been wired in some creative way by whoever installed it last. Always shut off the power at the breaker before poking around—shocks aren’t just a myth.
Next up, size is sneaky. New fans aren’t always the same size as the old cut-out, so you might end up having to patch drywall or widen a hole just to make things fit. Sometimes, the vent ducting in your ceiling won’t line up with the new fan, which can mean you’re wrestling with clamps or chasing down new ductwork at the hardware store.
Mounting brackets are another pain. The screws on your new fan probably aren’t in the same spots as your old one. Some ceiling fans need supports you can only reach from the attic, and if you’ve never crawled up there, be ready for some dust and tight spaces.
- Wrong voltage: Some fans run on different electric setups. Double-check what your bathroom needs before you buy.
- Tight spaces: Tiny bathrooms or low ceilings make for awkward installation. Keep a flashlight handy and maybe a friend to help.
- Broken or missing parts: It’s not rare to open a box and find you’re missing a bracket or screw. You might need an extra trip to the store.
Biggest tip: snap a photo of the wiring before you disconnect anything. It might save you half an hour of head-scratching later. If you’re ever unsure, just pause and look up a guide for your exact fan model. There’s no shame in double-checking.
Helpful Tips and Safety Tricks
Before you grab your tools, let's talk about how to keep yourself safe and make this swap as painless as possible. There's nothing fancy about replacing a bathroom extractor fan, but messing with electricity over your head needs a little respect.
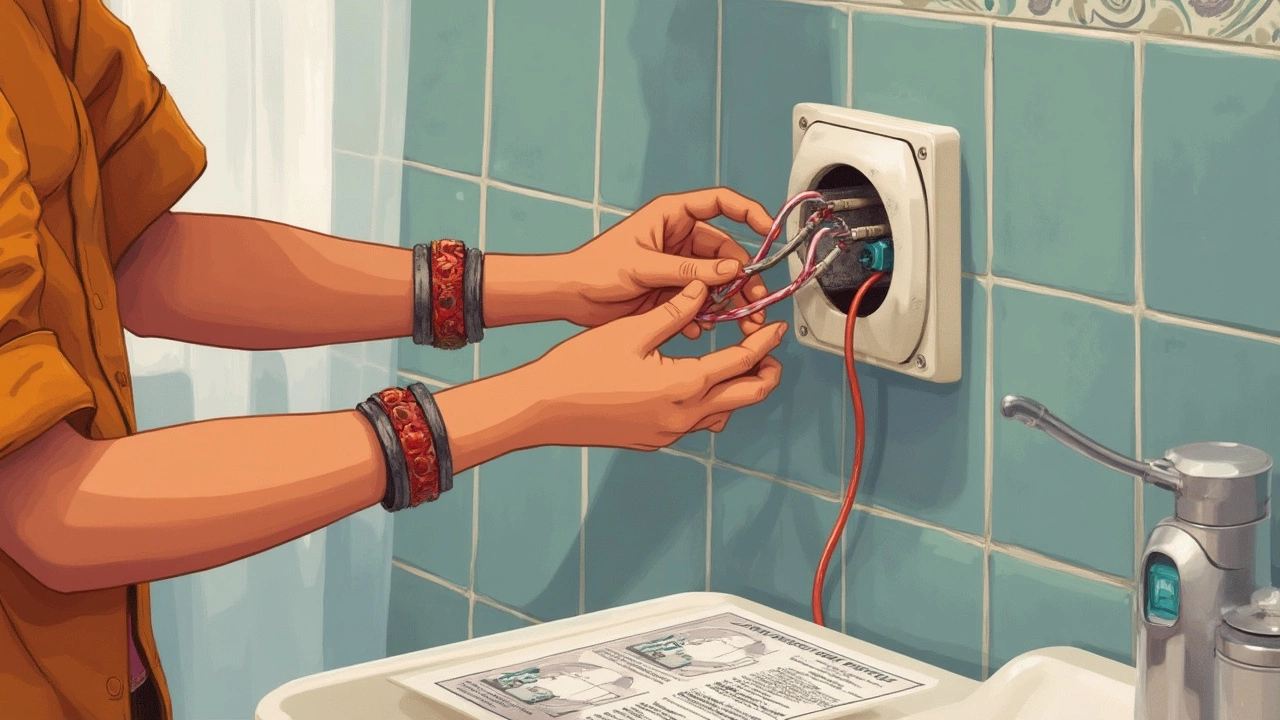
First up, kill the power at the breaker. Don't trust just flipping the switch to "off"—a lot of bathrooms have power from more than one source. Grab a non-contact voltage tester if you've got one and double-check the wires before you touch anything. Wet environments and electricity do not mix; don't give yourself a dumb story to tell at work tomorrow.
- Wear non-slip shoes. Tile floors get slick, and you'll probably be on a stool.
- Use a sturdy step ladder—not a wobbly chair from the kitchen. This makes reaching the ceiling safer.
- Have everything at arm’s length: screwdriver, pliers, the new fan, and wire nuts. Nothing worse than getting halfway through and realizing what you forgot.
- Before you unhook wires, snap a photo of the wiring setup. This is your cheat sheet when installing the new fan.
- If you’re not confident about electrical stuff, do not wing it. Call in a friend who knows or hire an electrician. The good news: a basic fan replacement usually takes under an hour for a pro.
Look out for hidden insulation, too. Sometimes you'll open up the old fan and find loose insulation crammed around it. Wear a dust mask and gloves if you spot any. Breathing this stuff in isn't good for your lungs.
Now, let’s talk about the numbers people ignore: airflow and noise stats. A typical bathroom fan should move at least 50 cubic feet per minute (CFM) for a small bathroom. To see how your old and new models stack up, use this quick data comparison:
| Fan Type | Recommended CFM | Typical Noise (Sones) |
|---|---|---|
| Standard Small Bath | 50–80 | ~2.0–3.0 |
| Master Bath | 100–150 | ~1.0–2.5 |
| Modern Ultra-Quiet | 60–150 | ~0.3–1.5 |
Lower sone ratings mean quieter operation. If your fan roars like a jet, it’s way too loud. When picking your replacement, don’t just go by price—check those CFM and sone stats so you don't wind up with another dud.
Last thing: check the vent. If the ducting is clogged with lint or debris, your new bathroom extractor fan won’t work any better than the old one. Take a quick look and clear it out, even if it means running the vacuum hose up there for a minute.
Play it smart, stay safe, and you’ll have fresh air in your bathroom with way less hassle than you think.