Thinking of swapping your extractor fan? Learn how tough it really is, what tools you'll need, and pro tips to avoid common mistakes.
Replace Extractor Fan – Simple Steps, Costs & DIY Tips
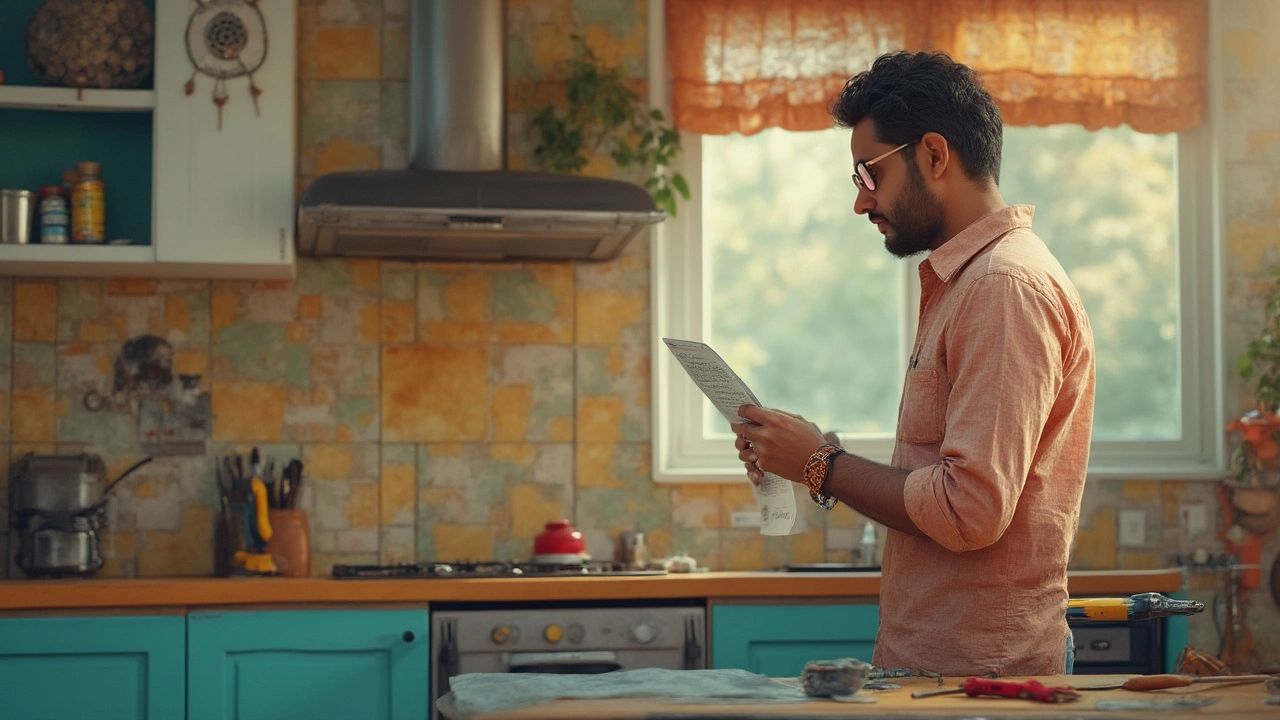
Is your bathroom or kitchen fan humming weakly, making a rattling noise, or just not turning on at all? Most of the time the problem is the fan motor or the housing, and swapping it out is easier than you think. Below you’ll find the signs that it’s time for a new fan, a straight‑forward DIY walk‑through, and the price range you should expect if you decide to hire an expert.
When and Why to Replace Your Extractor Fan
Fans don’t last forever. If you notice any of these clues, it’s a good moment to consider replacement:
- Reduced airflow – the room stays steamy after a shower.
- Odd smells or a burning scent – could be a failing motor.
- Constant noise – rattles, whirring, or a high‑pitched squeal.
- Intermittent operation – the fan turns on and off by itself.
Older fans also become less energy‑efficient. Upgrading to a newer, low‑watt model can shave a few dollars off your electricity bill every month. Plus, newer fans often come with humidity sensors or auto‑on features that make life easier.
DIY Guide: Swapping the Fan in 5 Easy Steps
Before you start, gather these basics: a screwdriver set, wire nuts, a voltage tester, and the replacement fan that matches your existing mounting size. Most fans use a standard 4‑inch or 6‑inch duct, so double‑check the dimensions.
- Turn off power. Switch off the circuit breaker for the fan’s outlet. Use a voltage tester to confirm the wires are dead – safety first.
- Remove the old unit. Unscrew the grille or cover, then disconnect the wiring harness. Take note of which wire is live (usually black) and which is neutral (white). If there’s a ground wire, it’s green or bare copper.
- Detach the mounting bracket. Most fans are bolted to a ceiling joist or wall frame. Loosen those bolts and set the old fan aside.
- Install the new fan. Attach the new fan to the same bracket, ensuring it’s level. Connect the wires: match live to live, neutral to neutral, and ground to ground. Secure the connections with wire nuts and wrap with electrical tape.
- Seal and test. Re‑attach the grille, tighten all screws, and turn the breaker back on. Run the fan for a minute – you should hear a steady, smooth hum and feel strong airflow.
If anything feels off – sparks, tripping breakers, or no power – shut it off again and double‑check your connections. A loose wire is the most common hiccup.
When you’re done, clean the vent and ductwork. Dust buildup reduces performance, so a quick vacuum can keep your new fan running at peak efficiency.
Even though the DIY route saves money, some situations are better left to a pro. If the fan is hard‑wired into a complex circuit, if you spot damaged wiring, or if you’re unsure about the mounting structure, call a licensed electrician or a ventilation specialist. Professional installation typically costs between ₹1,200 and ₹3,500 in Mumbai, depending on the fan model and labor.
Choosing the right pro? Look for someone who is licensed, offers a clear quote, and has good reviews for bathroom or kitchen fan work. Ask if they include a warranty on both labor and the fan itself – that’s a sign they stand behind their work.
Bottom line: replacing an extractor fan is a quick weekend project for most DIY‑savvy homeowners. Spot the warning signs, follow the safety steps, and you’ll have fresh, dry air in no time. If you hit a roadblock, a qualified technician will get the job done safely and efficiently.