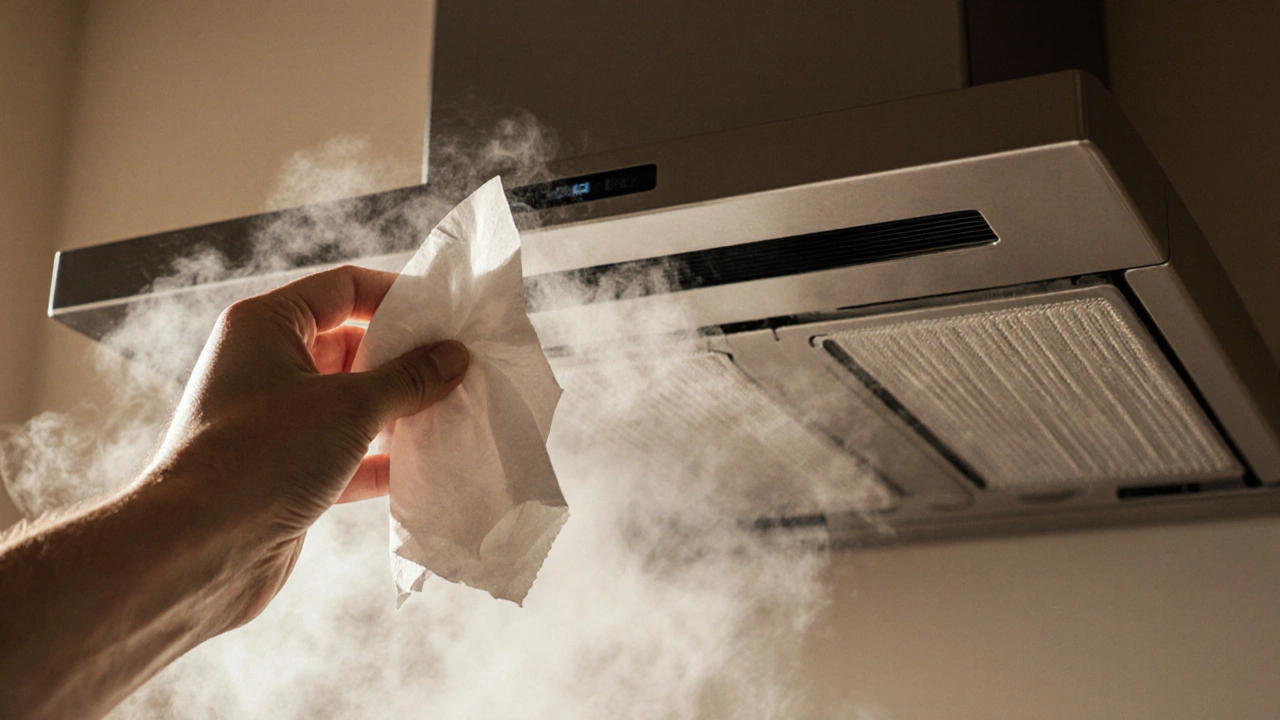
Learn how to test if your extractor fan is working right - from checking airflow and ducts to spotting signs it needs replacing. No tools needed.
Extractor Fan Not Working: Fast DIY Fixes and Pro Tips
Woke up to a bathroom that smells like steam? Your extractor fan probably gave up. Before you call anyone, check a few easy things that cause a fan to stop. Most of the time the problem is something you can see and fix in minutes.
Common Reasons Your Extractor Fan Stops
First, look at the power. A tripped breaker or a loose plug can make the whole unit dead. Flip the switch, reset the breaker, and feel the fan housing – any vibration means the motor still gets juice.
Next, dust builds up on the blades and motor. A clogged fan can overheat and shut off. If you hear a faint hum but see no movement, the motor is likely stuck by grime.
Another frequent culprit is a broken fan blade or a loose mounting screw. When the blade wobbles it can jam the motor, and the safety switch will cut power.
Finally, the internal capacitor might have gone bad. A weak capacitor lets the motor start slowly or not at all. You’ll notice the fan trying to spin but stopping after a second.
DIY Steps to Get It Running Again
1. Turn off the power. Safety first – switch off the circuit breaker or unplug the unit.
2. Remove the cover. Most extractor fans have two or three screws. Unscrew them, set the panel aside, and you’ll see the motor and blades.
3. Clean the blades. Use a soft brush or a vacuum with a brush attachment to clear dust. Wipe the motor housing with a damp cloth. Let everything dry for a minute.
4. Check the blade balance. Spin the blade by hand. If it wobbles, tighten the mounting screw or replace a broken blade.
5. Test the motor. With the cover off, restore power just long enough to hear the motor. If it whirs, the problem was dirt or a loose blade. Switch back off and reassemble.
6. Replace the capacitor. If the motor still won’t start, locate the capacitor (usually a small metal can). Note the voltage rating, unsolder the old one, and solder a new matching part. This step needs basic soldering skills; if you’re unsure, call a tech.
7. Reassemble and test. Put the cover back, tighten the screws, and turn the power on. The fan should run smoothly and pull air out of the room.
If after these steps the fan is silent or makes a grinding noise, the motor itself is likely burned out. Motors are cheap enough to replace, but the job involves rewiring, so many people prefer a professional.
When you decide to call a pro, ask if they cover both the fan and any wiring work. A licensed electrician or a ventilation specialist can replace the motor, check the wiring, and ensure the fan meets local safety codes.
Remember, regular maintenance keeps your fan from quitting. A quick wipe‑down every few months prevents dust overload, and a visual check of the wiring each year catches loose connections early.
So the next time your extractor fan stops, try the power check, clean the blades, and give the motor a quick test. Most issues are solved in under ten minutes, and you’ll save the cost of an unnecessary service call.
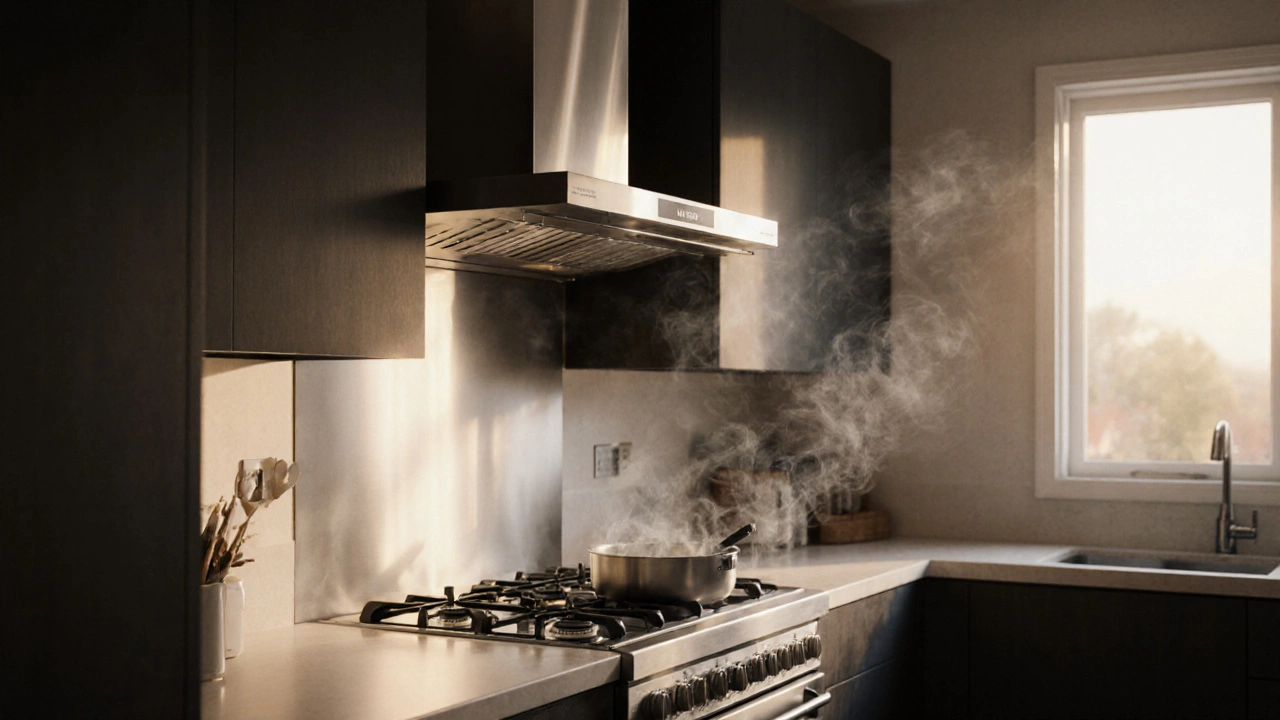
Discover why kitchen extractor fans stop working, the most common faults, DIY diagnostics, repair tips, and maintenance habits that keep your fan humming.

Uh-oh, your extractor fan is on the fritz! No worries, we'll walk you through some simple solutions. From checking the power source to performing deeper troubleshooting, learn how to deal with common problems. We'll break down what to do if your fan's acting up and when you might need to call in a pro. Keep your kitchen fresh and functioning with these handy tips.