Refrigerator Problem Diagnostic Tool
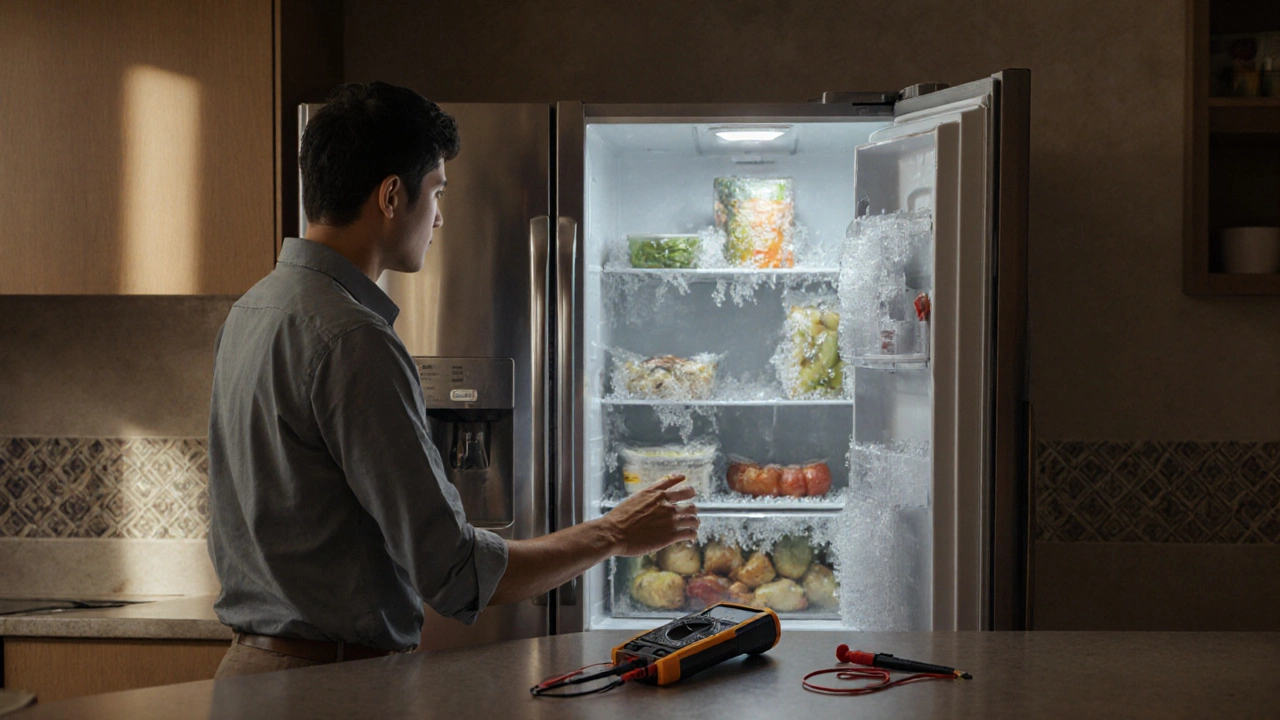
Not Cooling at All
Compressor, refrigerant, or thermostat failure
Freezer Frosting Up
Defrost timer, drain, or door seal issues
Water Pooling Inside
Blocked drain or ice maker overflow
Loud Buzzing or Clicking
Start relay, compressor, or fan motor issues
Bad Odors
Spilled food, clogged drain, or dirty interior
Key Components to Check
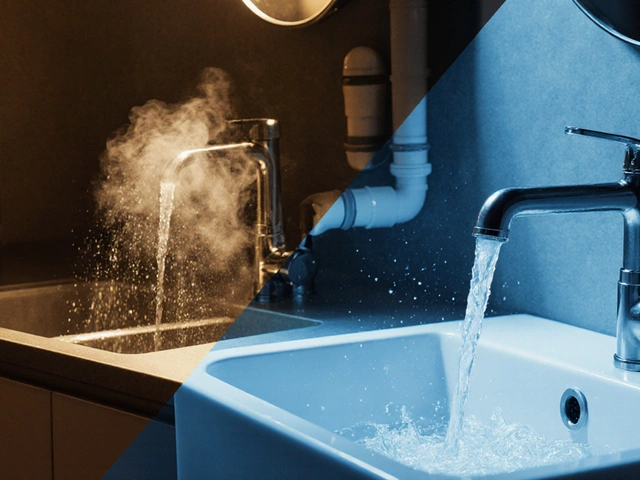
Ever opened the freezer only to find ice crystals where frozen food should be, or watched the fridge hum without ever getting cold? Those moments are frustrating, but you don’t need to call a technician right away. With a systematic approach, you can pinpoint most issues yourself, save money, and decide when a pro is truly needed.
Quick Takeaways
- Identify the symptom first - temperature, noise, leaks, or frost buildup.
- Check power and basic settings before opening the back.
- Use a multimeter to test the Compressor and Thermostat for continuity.
- Clean condenser coils, verify door seal integrity, and ensure proper airflow.
- Call a professional if you encounter refrigerant leaks, compressor failure, or complex electrical faults.
Below is a practical roadmap that walks you through the diagnostic process, explains the key parts of a refrigerator, and helps you decide whether a DIY fix is safe.
Understanding How a Refrigerator Works
A modern Refrigerator is essentially a heat‑pump cycle. The Compressor pressurizes the refrigerant, sending it through the Condenser coil where heat is expelled. The cooled liquid then travels to the Evaporator coil inside the freezer compartment, absorbing heat from the interior and creating the cold environment you need.
Key components you’ll encounter during diagnosis:
- Thermostat - measures interior temperature and signals the compressor to turn on or off.
- Defrost timer - cycles the fridge between cooling and defrost modes to prevent ice buildup.
- Door gasket - seals the door; cracks let warm air in.
- Temperature sensor - works with the thermostat for precise control.
- Ice maker (if equipped) - draws water, freezes it, and ejects ice trays.
- Refrigerant - the fluid that circulates, typically R-600a in newer models.
Understanding each part’s role helps you match symptoms to likely culprits.
Common Symptoms and What They Mean
| Symptom | Likely Cause |
|---|---|
| Not cooling at all | Faulty compressor, lost refrigerant, or thermostat failure |
| Freezer frosting up | Defrost timer stuck, clogged evaporator drain, or door seal leak |
| Water pooling inside | Blocked defrost drain or ice maker overflow |
| Loud buzzing or clicking | Start relay issue, compressor struggling, or fan motor fault |
| Bad odors | Spilled food, clogged drain line, or dirty interior |
Use this table as a quick reference. Once you’ve narrowed the likely cause, move on to the diagnostic steps.
Step‑by‑Step Diagnosis Process
- Verify Power Supply
Check that the unit is plugged in, the outlet works, and the circuit breaker isn’t tripped. A simple reset can solve intermittent problems. - Inspect Temperature Settings
Make sure the thermostat dial is set to the recommended range (usually 37‑40°F for the fridge, 0°F for the freezer). Incorrect settings are a common oversight. - Examine Door Gasket
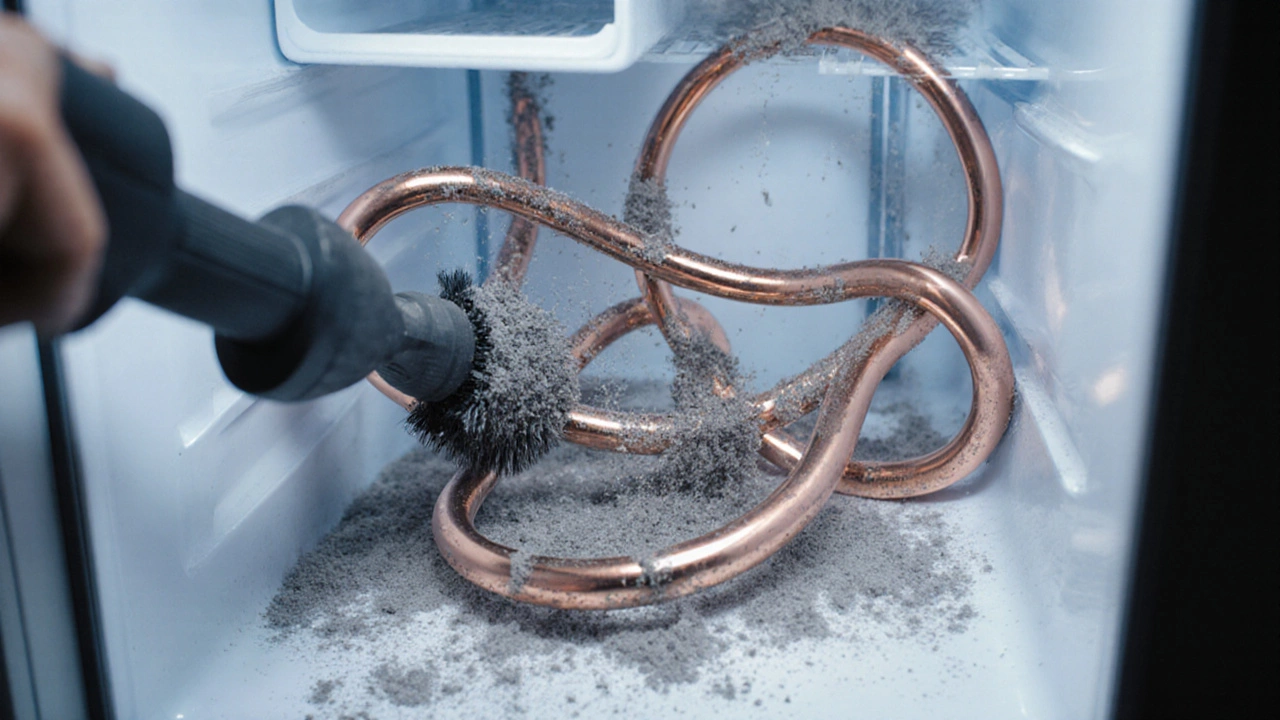
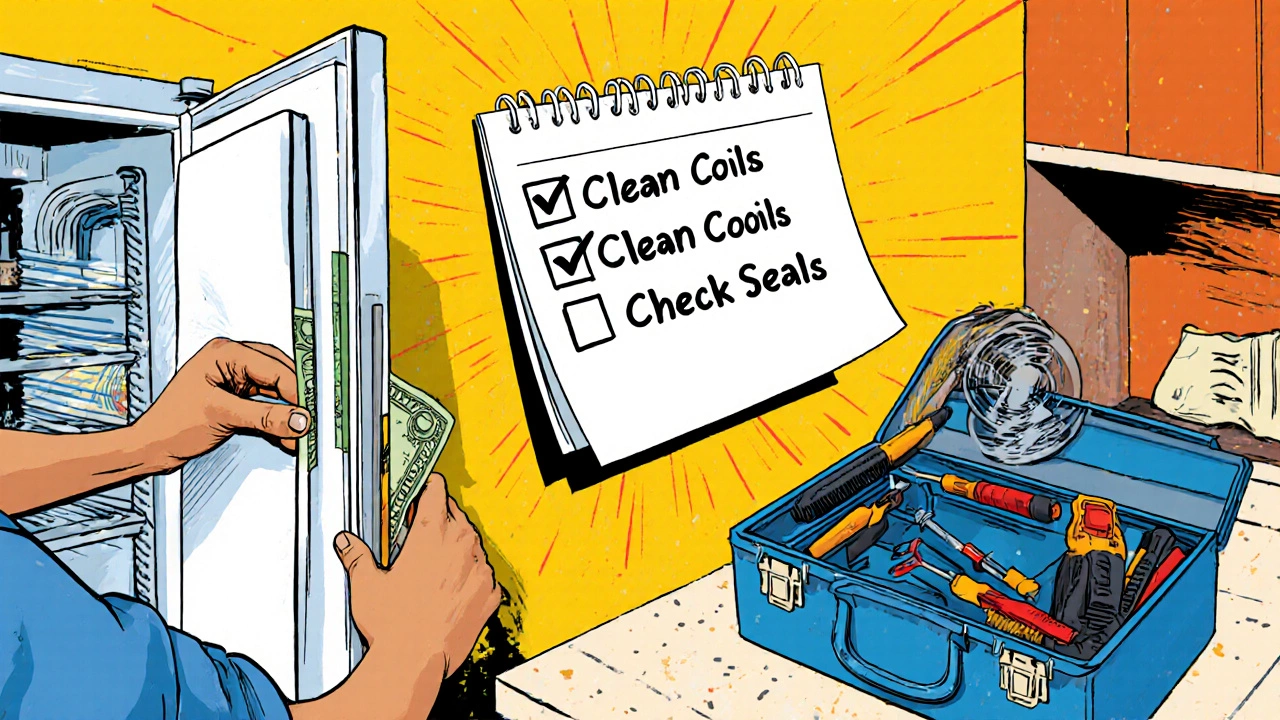
Close the door on a dollar bill; if it slides out easily, the seal is compromised. Replace or reseal the gasket to restore efficiency. - Clean Condenser Coils
Locate the coils (usually behind or beneath the appliance). Use a coil brush or vacuum to remove dust. Dirty coils cause overheating, making the compressor cycle off early. - Listen for the Compressor
When the thermostat calls for cooling, you should hear a low‑humming click as the compressor starts. No sound may indicate a failed start relay or motor. - Test the Start Relay
Unplug the fridge, locate the relay on the side of the compressor, and give it a gentle shake. A rattling sound means it’s faulty and should be replaced. - Check the Evaporator Fan
Open the freezer panel and listen for the fan running. If it’s silent, test it with a multimeter for continuity. A dead fan leads to uneven cooling and frost buildup. - Measure Thermostat Continuity
With power off, remove the thermostat sensor and place the multimeter leads on its terminals. A reading of zero or infinite resistance indicates failure. - Inspect the Defrost System
If you see heavy ice on the evaporator coil, the defrost timer or heater may be stuck. Use the manual override (usually a pinhole on the timer) to force a defrost cycle; if ice melts, the system is working. - Look for Refrigerant Leaks
Apply a soap‑water solution to joints and listen for bubbles. Refrigerant leaks require a certified technician; attempting DIY recharge is illegal in many regions.
Document each step’s result. If you encounter a component that fails the test, you now know whether it’s a simple replacement (e.g., start relay) or a job for a professional (e.g., compressor or refrigerant leak).
Diagnostic Tools You Might Need
- Multimeter - for continuity and voltage checks.
- Coil brush or vacuum - to clean condenser coils.
- Flashlight - to see inside the freezer compartment.
- Soap‑water spray bottle - for leak detection.
- Screwdriver set - to remove back panels and access internal parts.
These tools are inexpensive and will serve you for many other appliance repairs, not just refrigerators.
DIY Fixes vs When to Call a Pro
| Issue | DIY Viability | When to Call a Pro |
|---|---|---|
| Dirty condenser coils | Easy - just brush or vacuum | Never |
| Faulty start relay | Simple replacement (usually <$15) | Never |
| Bad door gasket | Replace gasket yourself if you have the right size | Never |
| Defrost timer or heater failure | Can be swapped if you locate the correct part | If you’re unsure about electrical connections |
| Compressor failure | Not recommended - requires specialized tools | Immediately - risk of further damage |
| Refrigerant leak | Not allowed for DIY in most jurisdictions | Always - need certified technician |
When you’re in doubt, weigh the cost of a part against the risk of causing more damage. Replacing a cheap component yourself can save $30‑$50, but a botched compressor repair could end up costing several hundred dollars.
Maintenance Checklist to Prevent Future Problems
- Clean condenser coils every 6-12 months.
- Check door seals quarterly; replace if cracked.
- Keep the interior at recommended temperatures.
- Remove food after it spoils to avoid odors.
- Defrost manually if frost exceeds a quarter‑inch thickness.
- Run a quick cycle of the defrost timer annually to keep the heater functional.
Following this routine dramatically reduces the chance of a sudden breakdown, keeping your fridge humming happily for years.
Frequently Asked Questions
Why is my refrigerator making a clicking noise?
A clicking sound usually means the start relay is trying to fire the compressor but fails. Verify the relay’s condition (shake test) and replace it if it rattles or shows no continuity.
My freezer is frosting over - is that a defrost timer issue?
Often yes. The defrost timer controls the heating element that melts frost. Use the manual override (pinhole) to trigger a defrost cycle; if the frost melts, the timer or heater was stuck.
Can I recharge refrigerant myself?
In most countries, handling refrigerant requires certification due to environmental regulations. Attempting a DIY refill can be illegal and dangerous. Call a licensed technician for any leak or recharge.
What’s the best way to test the evaporator fan?
First, listen for the fan when the compressor runs. If silent, unplug the fridge, locate the fan motor, and use a multimeter to check for continuity. No continuity means the fan is burned out and should be replaced.
How often should I clean the condenser coils?
Aim for every six months, or more often if the fridge sits in a dusty garage or near a pet. Clean coils improve efficiency and reduce compressor wear.