Extractor Fan Maintenance Calculator
How often do you cook in your kitchen? Your cooking frequency determines how frequently you should clean your extractor fan to keep it running efficiently and safely.
Maintenance Recommendation
Recommended Cleaning Frequency:
Energy Savings: Up to $ per year
Your fan should be cleaned every . This reduces energy consumption and prevents fire hazards from grease buildup.
Replacement needed? Your fan is over 8 years old and may need replacement. Consider upgrading for better energy efficiency and performance.
Extractor fan motors get dirty fast. If you cook often, grease, steam, and dust build up inside the motor and blades-slowing it down, making noise, or even causing it to overheat. A clogged fan doesn’t pull smoke or smells out of your kitchen. It just spins harder, uses more power, and wears out sooner. Cleaning it isn’t hard, but most people skip it until the fan sounds like a dying lawnmower. Here’s how to do it right, without calling a technician.
What You’ll Need
You don’t need special tools. Just grab these:
- Phillips screwdriver
- Soft-bristle brush or old toothbrush
- Microfiber cloths
- Warm water
- White vinegar or degreaser (like Dawn Powerwash)
- Plastic bag or tray to catch drips
- Gloves (grease is stubborn)
Don’t use steel wool, harsh chemicals, or pressure washers. They’ll scratch the motor housing or damage the wiring.
Step 1: Turn Off Power
Safety first. Go to your circuit breaker and shut off power to the extractor fan. Don’t just unplug it-many are wired directly into the wall. If you’re unsure which breaker controls it, turn off the whole kitchen circuit. Use a non-contact voltage tester on the switch to confirm no electricity is flowing. This step isn’t optional. You’re working near live wires, even if the fan’s off.
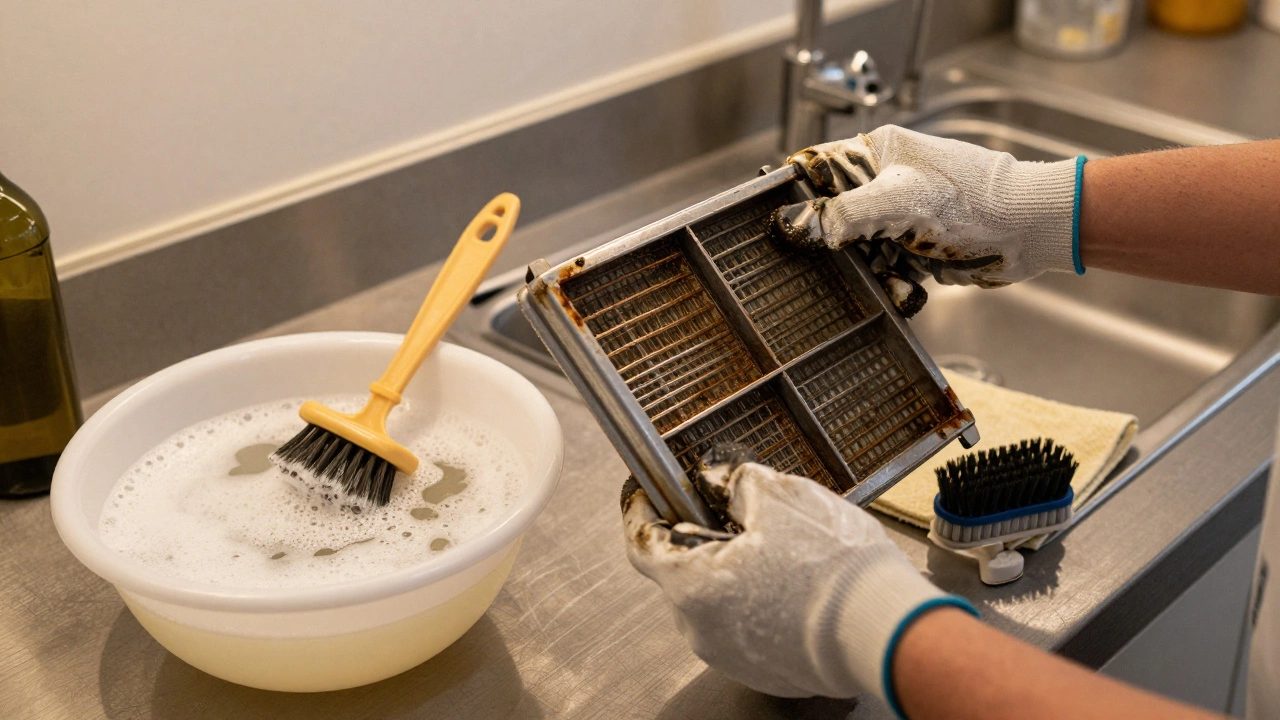
Step 2: Remove the Fan Cover and Filters
Most extractor fans have a removable grease filter-usually metal or mesh. Slide it out or unscrew it. Some have two layers: a mesh filter and a charcoal filter underneath. Throw away the charcoal filter; they’re not cleanable. Wash the metal filter in hot, soapy water. Scrub with a brush until the grease comes off. Rinse and let it dry completely before reinserting.
Next, remove the fan housing cover. Look for screws around the edges. Some are hidden under trim or behind the filter slot. Keep track of where each screw goes. Place them in a small bowl or tape them to a piece of paper labeled with the step. Losing screws is the #1 reason people give up on DIY repairs.
Step 3: Access the Motor and Blades
Once the cover is off, you’ll see the fan blades and the motor housing. The motor is usually a small cylindrical unit with wires connected. Don’t touch the wires. Your goal is to clean the blades and the area around the motor-not the motor itself.
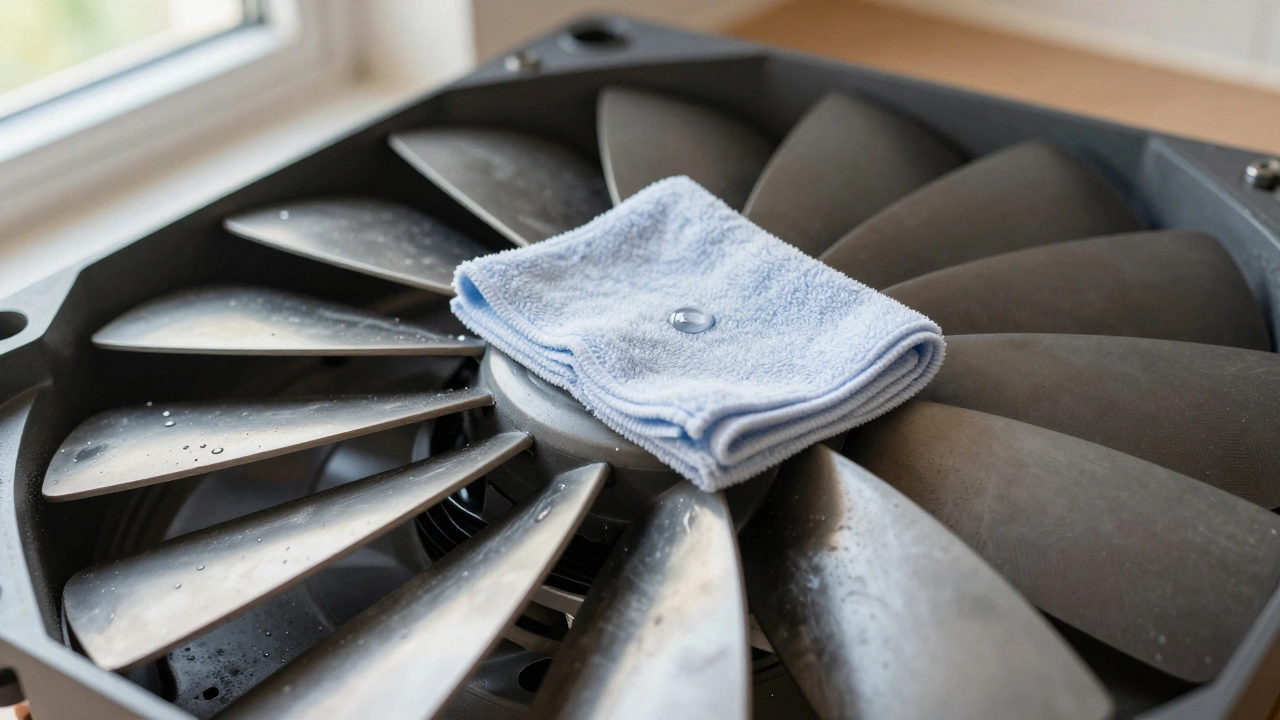
Use the soft brush to gently remove loose grease and dust from the blades. Wipe each blade with a damp microfiber cloth. If grease is baked on, dip the cloth in warm vinegar. Vinegar cuts grease without leaving residue. Wipe slowly. Don’t force the blades to spin. They’re attached to a delicate bearing.
Step 4: Clean the Motor Housing
The motor housing is the metal or plastic casing around the motor. Grease builds up here, especially near the vents. Use the brush to sweep out dust from the cooling fins and air gaps. Then wipe the surface with a vinegar-dampened cloth. Don’t spray liquid directly onto the motor. Moisture can seep into the windings and cause corrosion.
Some motors have small vents on the sides. Use a dry cotton swab to gently clean those. If you see black, crusty buildup, it’s carbon from worn brushes inside the motor. That’s a sign the motor is aging. Cleaning helps, but if the fan is over 8 years old, you might need a replacement soon.
Step 5: Reassemble and Test
Once everything is dry, put the fan cover back on. Tighten all screws-don’t overtighten. Reinsert the clean metal filter. Slide the charcoal filter out if you didn’t replace it; it’s not helping anymore.
Turn the power back on. Run the fan on high for 5 minutes. Listen. A clean fan should hum smoothly. If it still rattles or smells like burning, the motor bearings might be worn out. That’s a job for a pro.
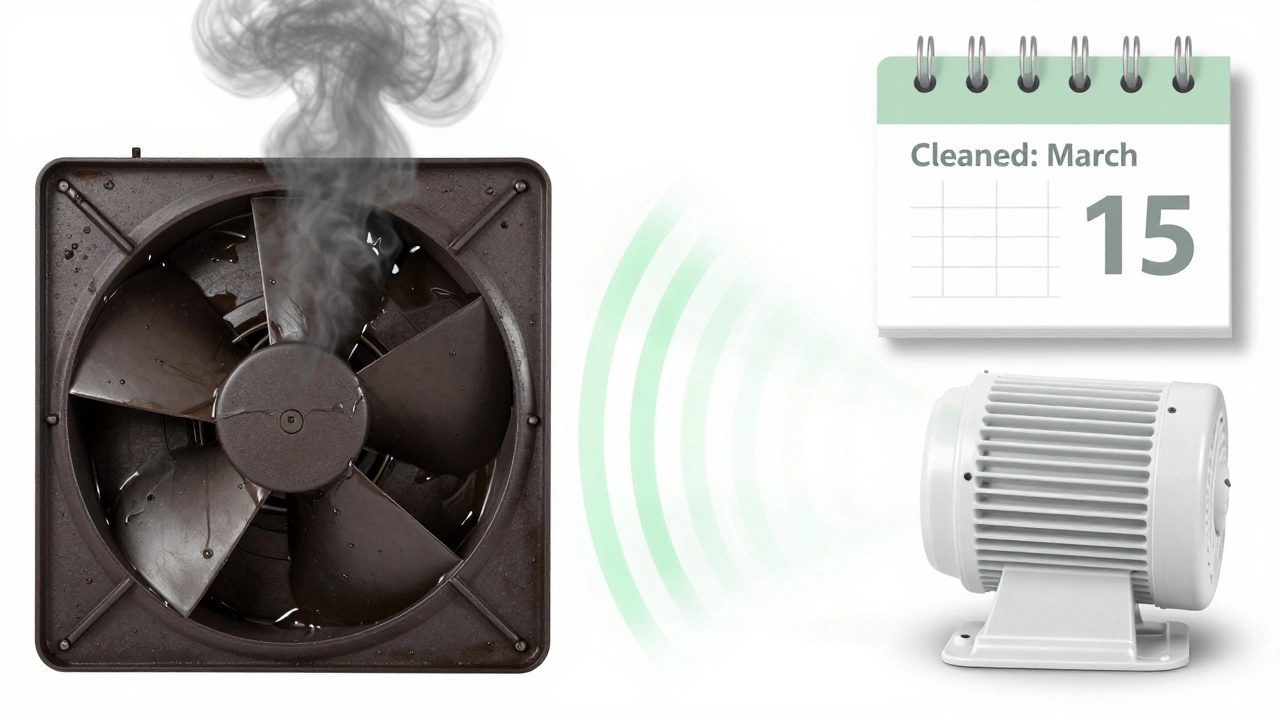
How Often Should You Clean It?
Most manufacturers say every 3-6 months. But if you fry food daily, clean it every 2 months. If you only use the fan occasionally, once a year is enough. Keep a note on your fridge: “Clean fan: March 15”. It’s easier to remember than you think.
Signs You Need a New Motor
Even after cleaning, your fan might still act up. Here’s when to replace it:
- It makes grinding or screeching noises
- It runs slower than before, even after cleaning
- It smells like hot plastic or burning wires
- It trips the circuit breaker when turned on
- It’s over 10 years old
Replacing the whole unit costs $150-$400, depending on model. But a new fan can cut your energy bill and last 15+ years. If you’re replacing it, choose one with a higher CFM (cubic feet per minute) rating than your old one. Look for models with washable metal filters and quiet operation ratings.
Why This Matters
A dirty extractor fan isn’t just annoying-it’s a fire hazard. Grease buildup inside the motor housing can ignite if the motor overheats. The U.S. Fire Administration reports over 1,700 kitchen fires each year are linked to poorly maintained exhaust systems. Cleaning your fan regularly cuts that risk by 80%.
It also saves money. A clogged fan works harder, using up to 30% more electricity. Over a year, that adds up to $25-$50 in extra power bills. Clean it once, and you’ll pay less for years.
Pro Tip: Prevent Future Buildup
Put a piece of aluminum foil over the grease filter when frying. It catches splatter without blocking airflow. Replace it weekly. It’s cheap, easy, and keeps grease out of the motor entirely.
Or install a fan with a self-cleaning mode. Some newer models have a hot-air cycle that melts grease off the blades automatically. They cost more upfront but save time and extend motor life.
Can I clean the motor with water?
No. Water can damage the motor’s internal windings and cause rust on the bearings. Always use a damp cloth with vinegar or mild degreaser. Never spray liquid directly onto the motor. If moisture gets inside, let the unit dry completely for 24 hours before turning it on.
What if the fan still makes noise after cleaning?
If the fan still rattles or grinds, the bearings inside the motor are likely worn out. Cleaning won’t fix that. You’ll need to replace the motor or the entire fan unit. Try searching for your fan’s model number online-many manufacturers sell replacement motors for under $50. If you can’t find one, it’s time to upgrade.
Can I use a vacuum to clean the fan?
Yes, but only for loose dust. Use the brush attachment on low suction. Don’t try to suck grease out-the vacuum won’t handle it, and you risk clogging the hose. Vacuuming helps before you wipe down surfaces, but it’s not a substitute for wiping with vinegar or degreaser.
Do I need to turn off the gas too?
No. Gas lines aren’t connected to the extractor fan. You only need to turn off the electricity. But if you’re working near a gas stove, make sure the burners are cool and the knobs are turned off. It’s good practice, but not required for this task.
Is it worth replacing the fan instead of cleaning it?
If your fan is over 8 years old, has visible rust, or runs louder than a refrigerator, replacing it is smarter. New models are quieter, more energy-efficient, and come with better filters. A $200 fan can save you $100+ in energy over 3 years. Plus, modern fans have auto-shutoff timers and smart sensors. Cleaning extends life, but replacement gives you performance.