Water Heater Maintenance Calculator
Enter your water heater details below to determine how often you should flush the tank to prevent sediment buildup and extend its lifespan.
Recommended Schedule
Select your options and click calculate to see when you need to flush your tank.
Imagine turning on your shower and getting a lukewarm trickle instead of a hot blast. Or worse, hearing that ominous rumbling noise coming from the basement that sounds like a washing machine full of rocks. These aren't just annoyances; they are classic signs that your water heater is suffering from severe sediment buildup. Most homeowners ignore this issue until the unit fails completely, costing hundreds or even thousands in replacement costs. The simple, often overlooked fix? Flushing the tank.
You might be wondering if you really need to do this yourself or if it’s just another chore plumbers invent to make money. It’s neither. Regular flushing extends the life of your appliance by years and keeps your energy bills lower. But how often should you actually do it? The answer isn't one-size-fits-all. It depends heavily on your local water quality, the type of heater you have, and how hard you use it. Before we get into the step-by-step process, it helps to understand what’s happening inside that metal tank when you ignore maintenance. For those looking for other resources during their home improvement journey, you can find various listings at this directory, though staying focused on your plumbing will save you more money in the long run.
Why Sediment Is the Enemy of Hot Water
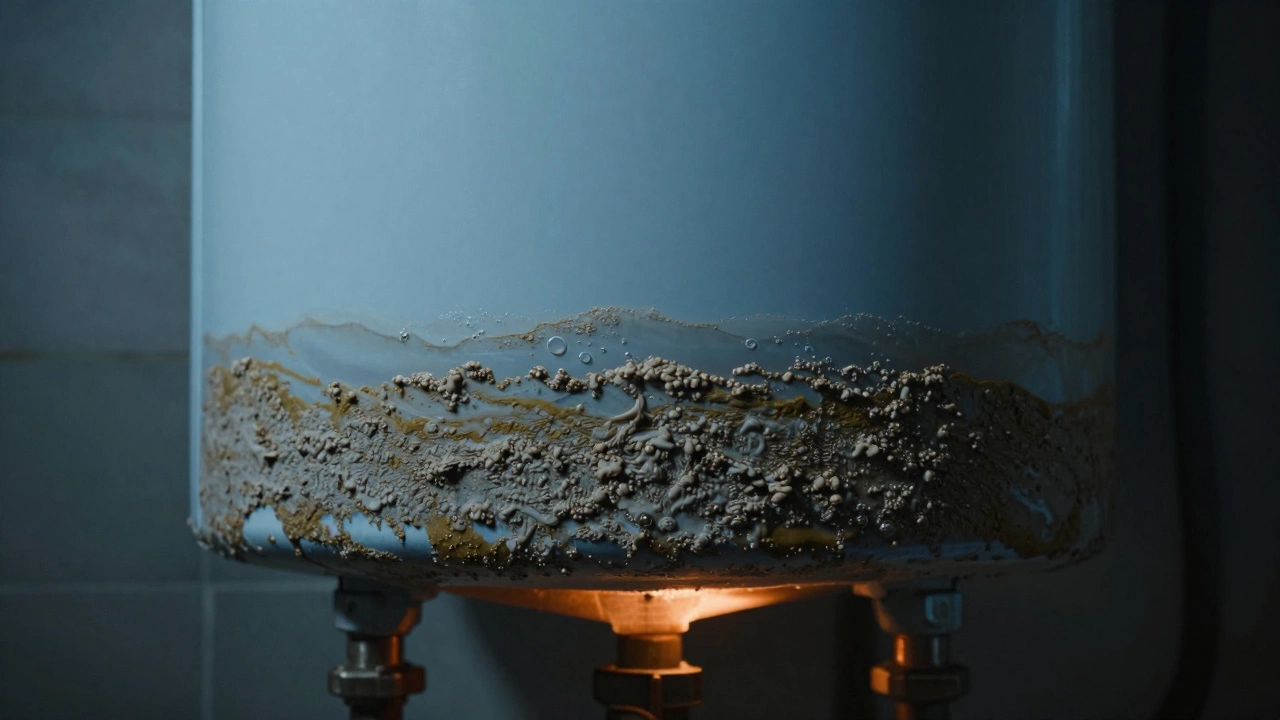
To understand why flushing matters, you need to know what’s inside your tank. When cold water enters your heater, it brings with it minerals like calcium and magnesium, especially if you live in an area with "hard water." As the water heats up, these minerals precipitate out of the solution and settle at the bottom of the tank as a layer of rock-hard sediment.
This sediment acts as an insulator between the heating element (or gas burner) and the water. Here is the problem: your thermostat thinks the water is cold because it’s measuring the temperature of the water above the sediment, not the heat being blocked below. So, the heater runs longer and hotter to reach the set temperature. This leads to two major issues:
- Higher Energy Bills: You are paying to heat a layer of rocks instead of water. Efficiency drops significantly, sometimes by 10-20%.
- Premature Failure: The excessive heat causes the steel lining of the tank to expand and contract rapidly, leading to cracks, leaks, and eventual catastrophic failure.
If you hear popping or rumbling noises, that is the sound of small pockets of water trapped under the sediment boiling and escaping. It’s a warning shot. If you don’t flush the tank, that warning becomes a leak.
The Golden Rule: How Often Should You Flush?
So, what is the magic number? For most standard tank-style water heaters, the general recommendation is to flush the system once a year. However, this is a baseline. You should adjust this frequency based on three key factors:
- Water Hardness: If you have very hard water (high mineral content), you may need to flush every six months. If you have soft water, once a year is usually sufficient.
- Tank Size vs. Usage: A large family using a lot of hot water creates more turbulence and sediment movement, potentially requiring more frequent checks.
- Age of the Unit: Older units (8+ years) accumulate sediment faster due to corrosion and wear. Newer units might go a bit longer without issues.
A good rule of thumb: if you notice your hot water lasting less time than it used to, or if your water looks cloudy or smells musty, it’s time to flush immediately, regardless of the calendar.
Step-by-Step Guide to Flushing Your Water Heater
Flushing your water heater is a DIY task that requires basic tools and about an hour of your time. You don’t need to be a plumber, but you do need to be careful with hot water and pressure. Here is how to do it safely.
What You’ll Need
- A garden hose rated for hot water
- A flathead screwdriver or wrench (depending on your drain valve type)
- Gloves and safety glasses (hot water can cause burns)
- A bucket (optional, for initial drainage)
The Process
Step 1: Turn Off the Power Source
If you have an electric water heater, turn off the circuit breaker at your main electrical panel. Do not just turn the dial to "off." You want zero electricity going to the heating elements while the tank is empty, or they will burn out instantly.
If you have a gas water heater, turn the gas control knob to "Pilot" or "Off."
Step 2: Shut Off the Cold Water Supply
Locate the cold water inlet valve at the top of the tank. Turn it clockwise until it stops. This prevents fresh water from entering while you’re draining the dirty stuff out.
Step 3: Let the Water Cool
This is crucial. Wait at least a few hours, preferably overnight, for the water in the tank to cool down. Draining scalding hot water is dangerous and can damage your drains.
Step 4: Connect the Hose
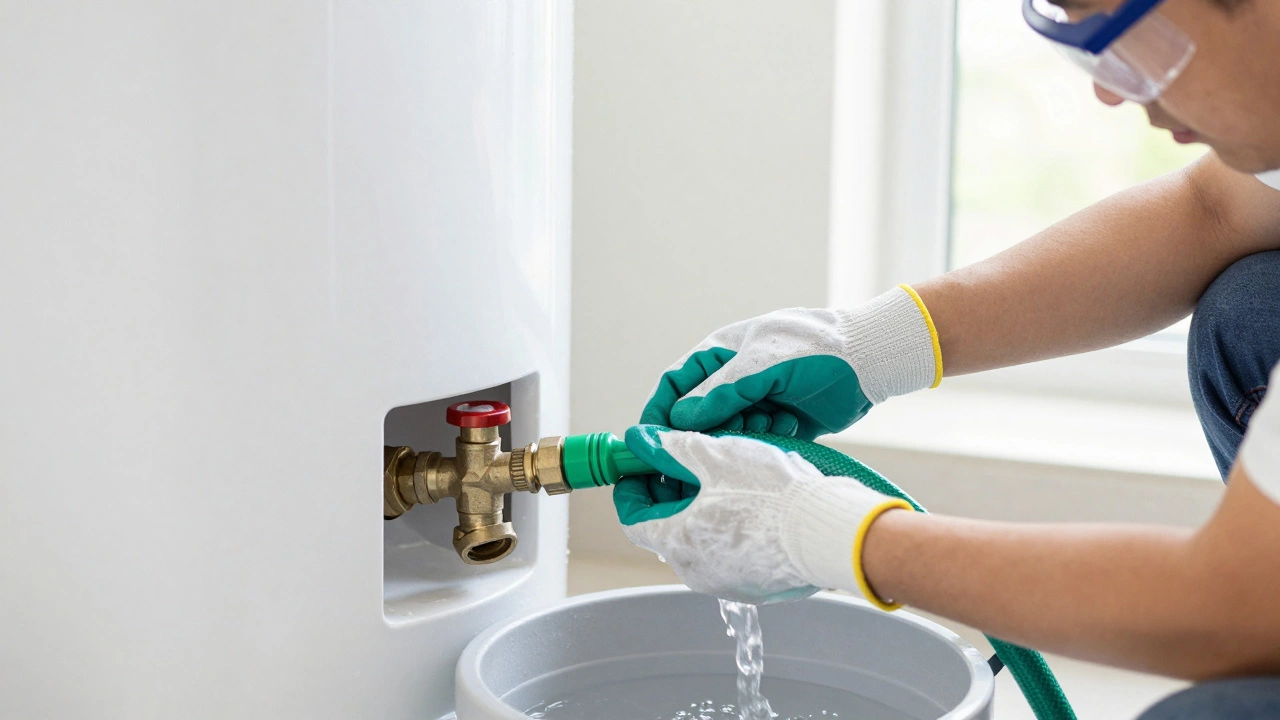
Attach one end of the garden hose to the drain valve near the bottom of the tank. Run the other end to a floor drain, outside, or a large bucket. Make sure the hose is secure; pressurized water can whip around if it disconnects.
Step 5: Open a Hot Water Faucet
Go to the highest hot water faucet in your house (usually an upstairs bathroom sink) and turn it on. This breaks the vacuum seal and allows air into the system, helping the tank drain faster. Leave it open until the job is done.
Step 6: Open the Drain Valve
Using your tool, slowly open the drain valve. Start slow! The first bit of water will be incredibly dirty and filled with sediment. Let it flow into the hose. If the flow is sluggish, gently tap the area around the drain valve with a hammer to dislodge stuck sediment. Be careful not to dent the tank.
Step 7: Flush Until Clear
Let the water run until it comes out clear and free of particles. This might take 10-20 minutes depending on the amount of buildup. Once the water is clear, close the drain valve tightly.
Step 8: Refill and Restart
Turn the cold water supply back on. Let the tank fill completely. You’ll know it’s full when water starts flowing steadily from that hot water faucet you opened earlier. Turn off the faucet. Finally, restore power to your electric heater or turn the gas back on to "On" and relight the pilot if necessary.
Signs You’ve Waited Too Long
Sometimes, you realize you haven’t flushed your heater in five years. Can you still save it? Maybe. Here are the red flags that indicate severe neglect:
- No Water Comes Out: If the drain valve is clogged shut, sediment has hardened into a concrete-like mass. You may need a professional to cut into the tank or use specialized chemicals to dissolve the buildup.
- Rusty Water: If the water coming out is brown or red, the internal glass lining may have cracked, exposing the steel to rust. This usually means the tank needs replacement, not just flushing.
- Leaks Around the Valve: If the drain valve itself is leaking after you try to open it, the threads may be stripped or corroded. Replace the valve immediately, or risk a flood.
Comparison: Tank vs. Tankless Water Heaters
| Feature | Traditional Tank Heater | Tankless (On-Demand) Heater |
|---|---|---|
| Flushing Frequency | Once a year | Every 1-2 years (more critical) |
| Sediment Impact | Reduces efficiency, causes noise | Can block narrow pipes, causing total failure |
| DIY Difficulty | Easy | Moderate (may require descaling chemicals) |
| Lifespan Extension | Adds 3-5 years | Adds 5-10 years |
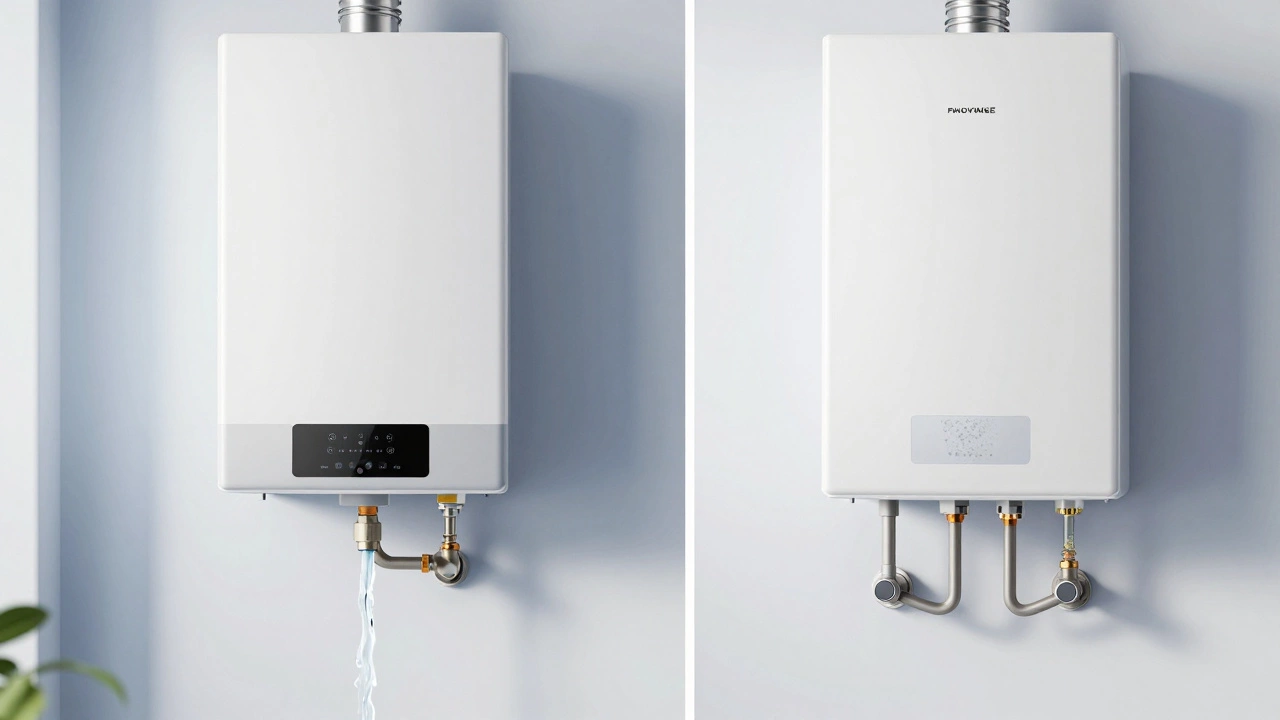
Note that tankless units are particularly sensitive to sediment because their internal heat exchangers have very narrow passages. A little bit of scale can restrict flow enough to trigger error codes or shut the unit down entirely. For tankless systems, many manufacturers recommend using a descaling solution rather than just plain water flushing.
Pro Tips for Better Results
Want to make your flushing routine more effective? Try these tricks:
- Use a Descaling Agent: If you have extreme hardness, mix a vinegar solution or a commercial descaler into the tank before flushing. Let it sit for an hour, then flush. This dissolves stubborn calcium deposits.
- Check the Anode Rod: While you’re doing maintenance, check the sacrificial anode rod. If it’s completely corroded, replace it. This rod takes the hit from corrosion so your tank doesn’t have to. It’s cheap insurance.
- Install a Water Softener: If you live in a hard water area, a whole-house water softener is the best long-term investment. It reduces sediment formation at the source, meaning less flushing and longer-lasting appliances.
When to Call a Professional
While flushing is a great DIY task, there are times when you should hand over the wrench. Call a licensed plumber if:
- The drain valve won’t open or leaks uncontrollably.
- You suspect a leak in the tank body itself.
- You have a high-efficiency condensing unit with complex venting requirements.
- You are uncomfortable working with electrical panels or gas lines.
Remember, a small maintenance fee now is infinitely cheaper than an emergency repair call at 2 AM when your tank bursts. Treat your water heater with respect, and it will keep your showers hot for years to come.
What happens if I never flush my water heater?
If you never flush your water heater, sediment will build up to the point where it insulates the heating element from the water. This causes the heater to work overtime, raising your energy bills. Eventually, the overheating will crack the tank's interior lining, leading to leaks and premature failure. You could lose years of expected lifespan.
Can I flush my water heater myself?
Yes, flushing a standard tank water heater is a safe DIY task for most homeowners. You just need a garden hose, a wrench, and some caution regarding hot water and electricity. However, if you have a tankless unit or are unsure about turning off power/gas correctly, it’s safer to hire a pro.
How do I know if my water has hard minerals?
Hard water leaves white, chalky spots on dishes, faucets, and showerheads. You might also notice soap doesn’t lather well, leaving a film on your skin. If you see these signs, your water heater is likely accumulating sediment faster than average, requiring more frequent flushing.
Is it safe to use vinegar to clean my water heater?
Yes, white vinegar is a safe and effective natural descaler. You can pour a gallon of vinegar into the tank through the cold water inlet (after draining most of the water), let it sit for an hour, and then flush it out. Avoid using harsh acids unless recommended by the manufacturer, as they can damage the tank’s glass lining.
Does flushing void my warranty?
Generally, no. Most manufacturers encourage regular maintenance like flushing. In fact, some warranties may be voided if you *don’t* perform recommended maintenance. Always check your specific owner’s manual to confirm the required maintenance schedule for your model.