Extractor fans might not be the most glamorous devices in your home, but they are essential for maintaining a clean and comfortable environment. From keeping your kitchen free of smoke and odors to ensuring proper ventilation in bathrooms, these unsung heroes of the household work hard to keep our living spaces pleasant.
But like any appliance, extractor fans can break down over time, leading to all sorts of inconveniences. Whether it's unusual noises, reduced air flow, or complete stoppage, a faulty fan can quickly turn a cozy home into a stuffy enclosure. Before you rush to the store or call in a professional repair service, there might be a few things you can try on your own.
This article will walk you through the common issues that plague extractor fans and provide you with the know-how to fix them. By understanding the basics, you will not only save money but also gain the satisfying experience of DIY repairs.
- Understanding the Importance of Extractor Fans
- Common Problems with Extractor Fans
- Tools and Materials Needed for Repair
- Step-by-Step Repair Guide
- Preventative Maintenance Tips
- When to Call a Professional
Understanding the Importance of Extractor Fans
Extractor fans are more than just modern conveniences; they are vital components of a healthy home environment. These fans play an intricate role in regulating air quality by expelling unwanted elements such as smoke, steam, and odors from the interior of our homes. When we fry bacon or take a steamy shower, moisture and particles fill the air, which could lead to condensation-related issues like mold if not properly managed. This is where extractor fans come into play, drawing out the unhealthy elements and ensuring the room's stability and cleanliness remain intact.
In a kitchen setting, the extractor fan becomes even more crucial. It acts as the silent guardian against the greases and cooking fumes that tend to hover and stick to surfaces, leaving unpleasant residues. Situations such as these can compromise air quality, affecting those who suffer from respiratory conditions. Moreover, with the increase of open-concept living spaces, where kitchens, dining areas, and lounges coexist without barriers, a robust fan becomes essential in preventing cooking odors from infiltrating every corner of your home.
Another less talked about benefit is energy efficiency and the protection of home infrastructure. Constant exposure to moisture and cooking residues can damage wall paint and finishes, leading to peeling and increased maintenance costs over time. DIY fan fix operations and proper maintenance help keep them running smoothly, thereby preserving the value of your property. Extractor fans thus not only protect the appearance and structure of your home but also contribute to a more energy-efficient habitation, as they reduce the need for excessive air conditioning.
It's interesting to note that extractor fans contribute significantly to compliance with building regulations in many regions, which mandate adequate ventilation in certain areas like kitchens and bathrooms. This isn't merely a suggestion but a rule set in place to ensure that homes are built with inhabitants' well-being in mind. The World Health Organization emphasizes the importance of maintaining healthy indoor air quality, and having an efficient extractor system is one way to achieve this.
"Good ventilation is a key element in achieving high indoor air quality, reducing exposure to smoke and environmental tobacco smoke, and preventing the spread of infectious diseases." - World Health Organization
Given the importance of an extractor fan, knowing your unit's capacity and ensuring it is suited to the size and requirements of the room are practical steps towards enhanced living conditions. Manufacturers offer various models tailored to different scenarios, from powerful kitchen fans suited to heavy cooking to silent bathroom models designed for relaxation spaces. Taking the time to understand these aspects can help homeowners make informed choices, enhancing comfort and functionality within their living spaces.
Common Problems with Extractor Fans
The humble extractor fan might appear straightforward, but it can encounter unique challenges that often lead to troubles in your home. One common issue is the buildup of grease and dust. Over time, especially if the fan is installed in a kitchen, steam mixed with cooking grease can create sticky layers that clog the fan's blades and filter. This not only reduces its efficiency but also increases the strain on the motor, potentially causing total failure. In areas like the bathroom, the problem might be more related to dust and lint, but the results are frequently the same – a fan that works loudly or not at all.
Another issue faced by extractor fans is electrical malfunction. An extractor fan relies on a combination of electrical wiring and motors to function. Faulty wiring connections or a blown motor can render the fan useless. It could either stop working entirely or operate with diminished power. Diagnosing electrical issues requires caution – a healthy knowledge of your home's electrical system is beneficial. If you lack confidence in managing electrical tasks, calling for professional help might be a safer option.
Mechanical wear and tear is also a prominent issue. Bearings in the fan motor can wear out over time, leading to a grinding or whining sound that often indicates it's time for replacement parts. This is typically more prevalent in older fans but can happen any time if accumulated debris damages the motor components.
"Regular maintenance is key to preventing extractor fan issues," explains John Windham, a certified HVAC technician. "Neglect can lead to major breakdowns, which is why periodic checks and cleanings are essential."
Sometimes, a lack of proper ventilation can lead to poor performance in extractor fans. If the ducts venting outside are blocked or if the vent cap is damaged, then the fan won't be able to push air effectively out of the space. Checking the exterior vent covers and ensuring they are free from obstruction is a simple yet frequently overlooked task that can restore fan functionality.
Environmental factors, such as humidity, can impact how well a fan performs. In particularly humid regions or seasons, a fan might have to work harder to remove moisture, especially in bathrooms. The increased humidity can shorten the life of the fan if it isn’t built to handle such conditions. It’s always wise to match the capacity of your fan to the room requirements for efficient operation.
As homeowners opt to fix their own fans, these common challenges present learning opportunities. They invite you to better understand your DIY fan fix skills and grow more resourceful in maintaining a comfortable, functional home. Should you encounter these issues, remember that solutions are often simpler than they appear.

Tools and Materials Needed for Repair
Knowing what tools and materials you need before diving into a project like repairing an extractor fan is essential. It saves time and ensures you're well-prepared to tackle any issue that may arise during the process. First off, you'll need a sturdy set of screwdrivers, both flathead and Phillips, as these will be your primary instruments for opening the fan's casing and accessing its components. Many extractor fan models use screws to keep the cover in place, and having the correct screwdriver is crucial to avoid stripping them.
Next, consider acquiring a voltage tester. This device is vital for ensuring the power supply to the fan is functioning correctly. A voltage tester helps verify that the wires are live, which is crucial for identifying whether power issues are at the root of the problem. Electrical faults can often cause extractor fans to fail, so confirming that electricity is flowing properly is a good early step in the diagnostic process.
For cleaning components, a gentle detergent and a soft cloth are recommended to remove grime and dust that may have accumulated over time. A dirty fan can result in reduced functionality. Regular maintenance, including cleaning, can often prevent or resolve issues without further intervention. Make sure to also have a soft brush, like a toothbrush, on hand for those hard-to-reach areas.
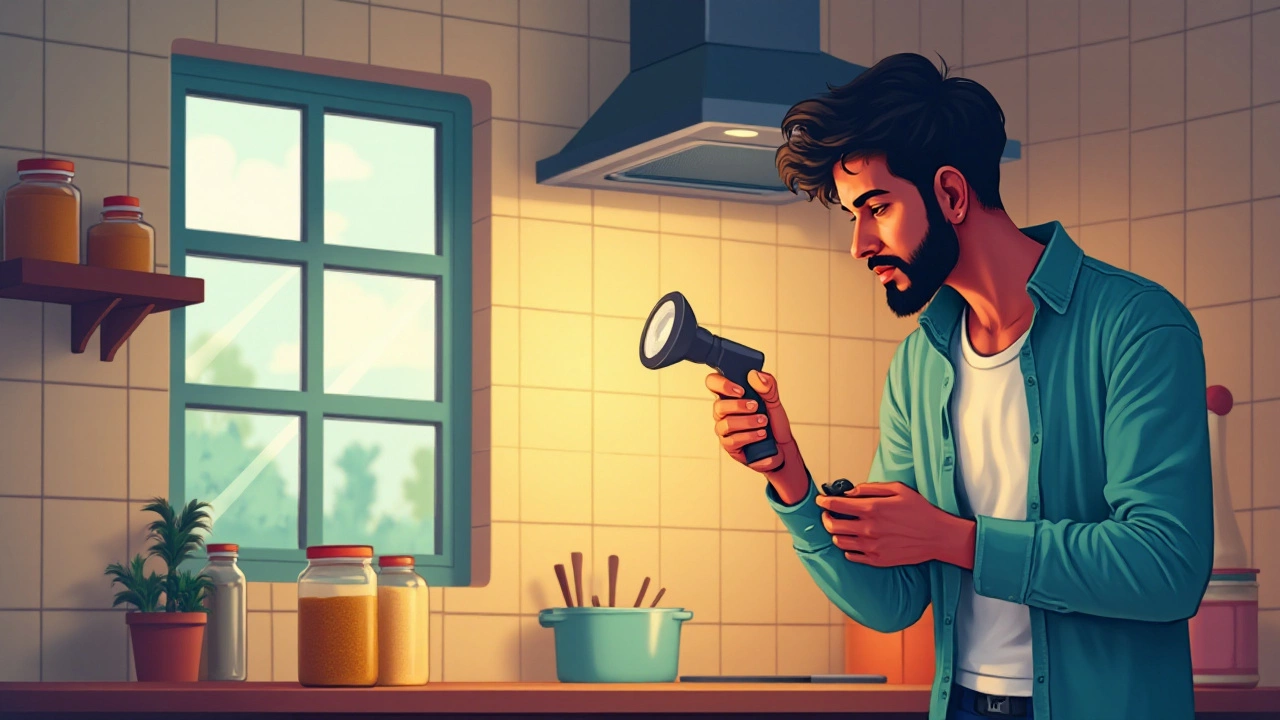
An extension cord and portable light can be incredibly beneficial, especially if you're working in a dimly lit area. Extractor fans are often fitted in places that are not well lit, like high corners of kitchens or bathrooms. A portable light will help you see what you're doing more clearly and reduce the risk of accidental damage to the fan or its surroundings.
Moreover, a replacement part kit specific to extractor fans can be a smart purchase. These kits typically contain parts that are prone to wear and tear, like fan blades and motor components. Investing in such a kit can save a trip back to the store mid-repair. They are usually available from the fan manufacturer or reputable appliance stores. This leads me to a crucial point: make sure to check if any warranties are still valid before tampering with the fan components, as this might void any service agreements.
| Tool/Material | Purpose |
|---|---|
| Screwdrivers | To open the casing |
| Voltage Tester | Check power supply |
| Detergent & Cloth | Clean components |
| Brush | Reach small areas |
| Extension Cord & Light | Provide visibility |
| Replacement Kit | Spare parts |
"Taking the time to prepare with the right tools can often save hours of headache down the line," suggests Home Fix Magazine, known for their profound advice on DIY home repairs. Their insight highlights the importance of gathering these essential items before tackling a repair project.
In addition, don't forget to wear safety gear, such as gloves and goggles. Safety during electrical repairs cannot be overemphasized. Dryer and safer conditions make for more reliable and successful repairs. The right preparation and attention to detail dramatically increase your chances of restoring your *extractor fan* to full working order without any additional hassle.
Step-by-Step Repair Guide
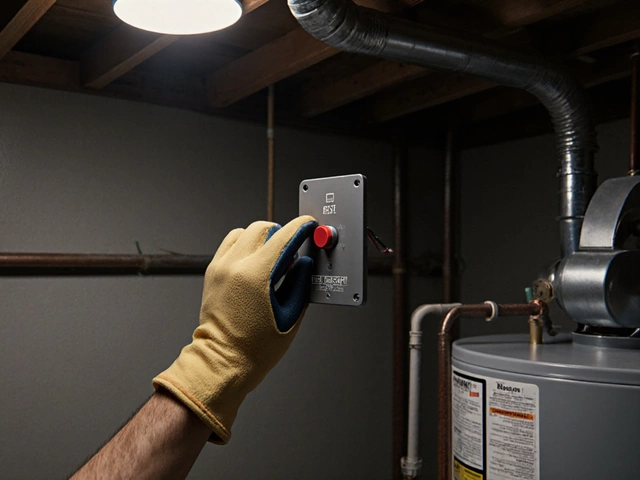
Unraveling the mysteries of why your extractor fan has suddenly stopped working might seem daunting at first glance, but with a bit of patience and curiosity, you'll find it’s quite manageable. The journey to repairing your fan begins with ensuring safety, so make sure your fan is unplugged before you dive in. It’s always better to air on the side of caution and avoid accidental jolts or injuries.
Once safety is assured, start by cleaning the fan. Dust and grime are faithful companions of a broken fan, often leading to its downfall. Use a dry brush or a vacuum cleaner with a soft brush attachment to remove dust from the fan blades and housing. After cleaning, inspect the blades for any visible damage like cracks or warps that might impede movement.
Next, let’s jump into troubleshooting the electrical connections. The perpetual adversary of a malfunctioning fan is often found in loose wires. Open the housing and carefully check the wired connection between the fan switch and the motor. You’re looking for signs of wear or disconnection. Use a multimeter if necessary to test the continuity of the circuit. This step may sound technical, but it's essentially about making sure electricity is flowing where it should.
Moving on, it's time to test the motor itself. If there’s no blockage and electrical flow is sound, the issue might lie with the motor. Spin the fan blades manually. If they don’t move freely, the motor could be seized. A drop or two of machine oil on the bearings can sometimes work wonders, reducing friction and returning smooth motion to the motor.
Troubleshooting More Advanced Issues
In some cases, you’ll find issues that demand more intensive solutions, like a fan that buzzes without spinning. That could signal a faulty capacitor. The capacitor helps kick-start the motor; without it, the motor may struggle to energize. Replacing a capacitor can be done with basic tools and a bit of patience. Always ensure the replacement part matches the original specifications for safe and effective operation.
“If you really want to understand the mechanism, nothing beats opening it up and getting your hands involved,” says a seasoned electrician.
Before closing everything up, take a moment to check any mounting brackets or screws. Loose fittings lead to vibrations, and these often contribute to unpleasant noise and reduced fan efficiency. Tightening up these components can significantly improve your fan’s performance. This process might seem involved, but once done, it greatly extends the fan's life and reliability.
If you've reached this stage and your fan remains stubbornly inactive, maybe it's time to reconsider the investment of effort against the cost of professional assistance. A malfunction beyond these fixes might be due to more intricate mechanical failure requiring a professional’s touch. But, in most cases, following these steps will breathe new life into your extractor fan and save you a good deal of time and money.
Preventative Maintenance Tips
Maintaining your extractor fan isn’t just about fixing problems when they arise. To ensure longevity and optimal performance, you need to engage in consistent preventative maintenance. Just like any other household appliance, a little care goes a long way. The idea is to keep your fan in peak condition so it doesn’t give up on you at a critical moment. The first step in preventative maintenance is to establish a regular cleaning routine. Over time, dust, grease, and debris can accumulate on the fan blades and housing, decreasing efficiency and causing unpleasant odors. This is particularly important for kitchen exhaust fans which are exposed to oily particles from cooking.
Start by turning off the power to the fan for safety. Once it’s safe, remove the cover or grille and soak it in warm soapy water. Use a vacuum or a damp cloth to clean around the fan blades and motor but be gentle, as rough handling can damage the delicate parts. Some fans have washable filters which also need regular attention. A monthly check-up can keep everything working smoothly. Fans in high-use areas like kitchens might need more frequent attention. Besides cleaning, it’s essential to tighten any loose screws or components that might have become loose due to vibrations. Unexpected noises often result from components being out of alignment.
Next, lubrication is your friend when it comes to ensuring your extractor fan functions quietly and efficiently. Once every couple of months or as recommended by the manufacturer, apply a light machine oil to the motor’s bearings. This minimizes friction and helps the fan to move freely, reducing wear and tear. Don’t use too much oil, as this can attract more dirt and become counterproductive. Electrical components also need periodic checks. Always double-check connections for corrosion or damage. If you notice any burnt wires or damaged parts, consider replacing them promptly. Ignoring these could lead to more severe electrical issues. As an interesting note, the National Fire Protection Association has noted that malfunctioning fixtures like extractor fans contribute to household fires.
An ounce of prevention is worth a pound of cure.
Aside from performing your own checks, annual professional inspections can help ensure your fan is up to code and functioning correctly. Professional inspections can identify issues that aren't obvious at a glance or during regular maintenance. Your friends or neighbors might have local recommendations for reliable services. Think of it as an investment in safety and efficiency.
Extractor fan repair can often be avoided with consistent care. Preventative maintenance not only extends the life of your fan but also ensures that your home’s air remains clean and healthy. The next time you hear your fan running smoothly, take a moment to appreciate how your diligent efforts keep your home functioning well.
When to Call a Professional
While a DIY approach to repairing an extractor fan can be both fulfilling and cost-effective, there are instances when reaching out to a professional is the best course of action. Knowing when to step back is crucial for your safety, ensuring the functionality of the appliance, and often preventing further damage that might incur additional costs. One of the first indicators that it's time to call in a professional is if you're not comfortable handling electrical components. Extractor fans are tied into your home's electrical system, and without proper know-how, you risk electrical shock or damaging the wiring. Safety should always trump bravado, so if there's any hesitation when it comes to dealing with the wiring, professional intervention is a must.
Moreover, if the issue persists even after following all troubleshooting steps and repairs, it's a sign that the underlying problem might be more complex. Plenty can go wrong behind the scenes - from burned-out motors to dysfunctional parts that require special tools or replacements not accessible to typical homeowners. A professional will have the expertise and tools required to address these deeper issues.
"Specialized training equips technicians with the knowledge to identify and resolve mechanical issues swiftly," mentions John Stone, a master electrician with over 25 years of experience.Additionally, bizarre noises, such as grinding or rattling, indicate mechanical problems that may be associated with bearings or fan blades that can't be easily fixed without professional equipment. These repairs are beyond the casual DIY fixes and need an expert's assessment to ensure the long-term viability of the fan.
Strikingly, persistent performance issues can lead you to wonder if you're dealing with more than a faulty fan, especially in older properties where the entire ventilation system might be outdated. In these situations, an evaluation by an HVAC professional could reveal larger systemic issues that address why your extractor fans repeatedly misfire or fail. Another point where professionals prove invaluable is after incidents, such as leakage from ceilings or signs of water damage associated with your vent system. Water can severely damage an extractor fan's motor and electronic components, resulting in significant malfunctions. Expert assessment can prevent further damage and offer solutions to waterproofing or repairing the system.
Moreover, if repair instructions specify complex tools or replacement parts, a professional might have ready access to OEM (Original Equipment Manufacturer) parts. This is often overlooked, but it's another key reason professionals should be engaged, making sure your repair lasts without compromise to parts quality. Their connections and industry knowledge facilitate getting the right components quickly. Cost analysis might also reveal that a one-time professional repair is more economical compared to serial attempts that end up raising costs incrementally. So if you're stuck after a few attempts, some prudence when considering professional services could be financially savvy in the long run. Lastly, warranties and insurance can sometimes be voided by unauthorized repairs, so always verify whether professional intervention is required to maintain your warranties intact and protect your appliance investments.