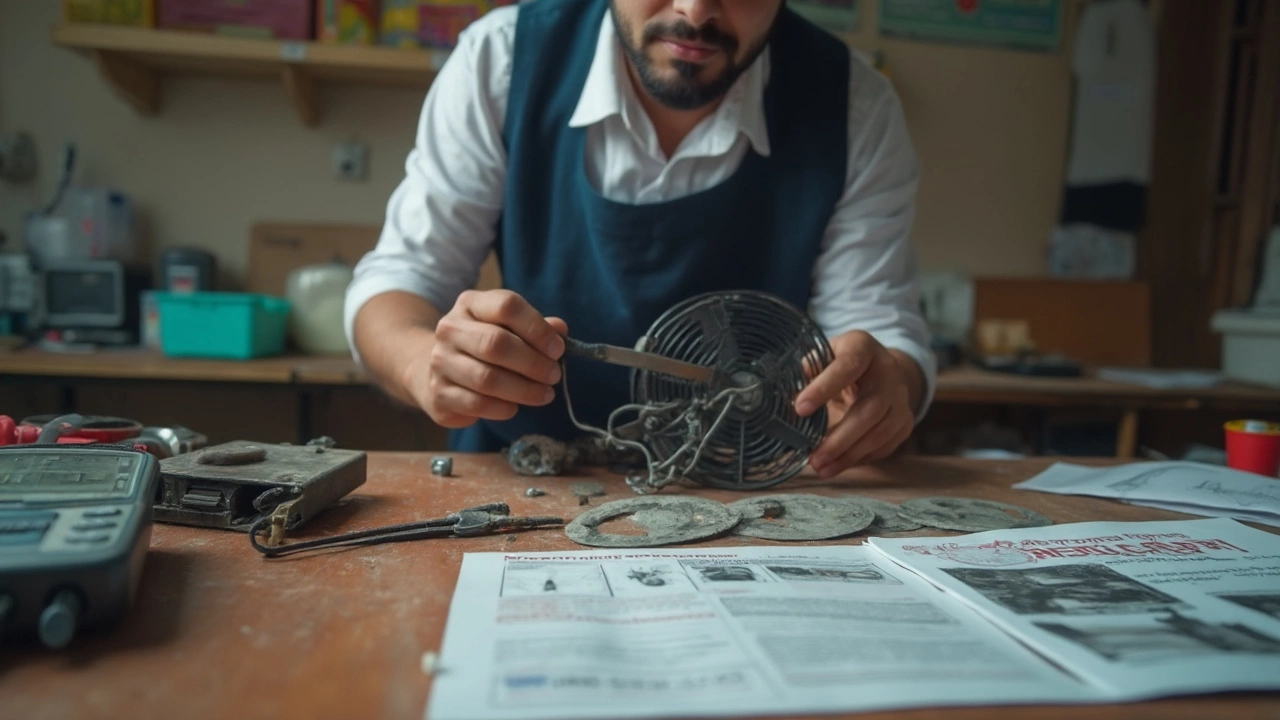
If your extractor fan suddenly quits or starts making weird noises, don't rush to buy a new one yet. Most fans don’t just fail out of the blue. Usually, there’s a simple cause—like dust build-up, a loose wire, or a clogged vent. The first step is always to cut the power. Seriously, you don’t want to mess around with live wires. Basic tools like a screwdriver and a flashlight are all you really need to start poking around.
A lot of people are surprised to learn that exhaust fans can actually be repaired more often than replaced. Blown fuses, jammed blades, and worn-out switches cause way more problems than motor failure. Even a stubborn fan can often be salvaged with just a little cleaning or a quick part swap. Brands like Vent-Axia and Broan actually design their kitchen and bathroom fans so the main parts are easy to reach by regular folks, not just electricians.
- Why Exhaust Fans Stop Working
- DIY Troubleshooting: What You Can Fix
- When a Repair Makes Sense (and When It Doesn’t)
- Pro Tips to Keep Your Fan Running Longer
Why Exhaust Fans Stop Working
When an exhaust fan gives up, there’s usually a clear reason. The most common problem? Dirt and grease. Fans in bathrooms and kitchens suck up a ton of moisture, dust, and oily residue. Over time, this gunk coats the blades and motor, making the fan work harder—until it just stops. Regular cleaning can prevent this mess, but let’s face it, most people don’t bother unless the fan already sounds like a dying animal.
Electrical issues are the next big culprit. A burnt fuse, a tripped breaker, or loose connections can all take your fan offline in seconds. Old wiring is risky too, especially in homes built before the 1980s. Sometimes, it’s just a bad switch—seriously, you flip it and nothing happens. That’s not always a fan issue; often the wall switch or the wiring behind it is at fault.
Mechanical wear is also a big one. If you hear squeaking or grinding, bearings inside the motor are probably shot. A jammed blade or worn mounting bracket can make the fan rattle or not spin at all. Some fans simply aren’t built to last—cheap units under heavy use usually don’t make it past the 5-year mark.
Humidity and water leaks can fry the motor. In bathrooms, especially those without decent ventilation, excess moisture leads straight to rust and short-circuits. If your fan is above a stove, steam and sticky cooking residue double the risk.
| Common Issue | Percent of Cases (Est.) |
|---|---|
| Dirt/Gunk Buildup | 40% |
| Electrical Fault (Fuse, Wire, Switch) | 30% |
| Mechanical Wear (Bearings, Blades) | 20% |
| Water Damage/Humidity | 10% |
If you’ve noticed your exhaust fan repair needs keep popping up—chances are it’s one of these headaches. Stay on top of cleaning and check the wiring every few years, and your fan will stick around much longer.
DIY Troubleshooting: What You Can Fix
Before calling a repair guy or shopping for a new fan, there are a bunch of easy fixes you can try on your own. Most exhaust fan repair attempts just need a little patience and some basic tools.
Here’s what to check:
- Power Problems: First up, see if the circuit breaker tripped. Flick it back on if it did. If nothing changes, test the switch. Sometimes it’s just a bad wall switch needing a cheap replacement.
- Grimy Fan Blades: Layers of lint and greasy dust are super common. Unclip the cover and vacuum or wipe down the blades. You’ll be surprised how many fans roar back to life after a solid clean.
- Loose Wires: Fans vibrate over time, which can shake wires loose, especially at junctions. Check if connectors are snug, but always cut the power first.
- Worn-Out Parts: The motor rarely dies before the fan gets noisy or rattly. If your fan hums but the blades won’t spin, the motor’s capacitor or bearings might be shot. Swapping the capacitor costs less than a takeaway pizza, and it’s usually easy to access from the fan’s back plate.
- Clogged Vents: Sometimes the fan runs, but airflow is weak. Look for blockages in the duct or grille—lint and debris stop the fan from moving air efficiently.
Here’s a quick look at common issues, fix times, and DIY costs.
| Problem | Avg. Fix Time | DIY Cost (US$) |
|---|---|---|
| Replace switch | 15 min | 5–15 |
| Clean blades/cover | 10 min | Free |
| Tighten wires | 10 min | Free |
| Swap capacitor | 25 min | 10–25 |
| Unclog vent | 15 min | Free |
If the fan still won't budge after these fixes, the problem might be bigger—like a burned-out motor or fried circuit board. But honestly, most fixes are easy to manage and cost next to nothing compared to buying a new unit.
When a Repair Makes Sense (and When It Doesn’t)
You’d be surprised how often people swap out a whole unit when a quick fix would’ve done the trick. So, how do you tell if it's worth fixing your exhaust fan or just replacing it?
First, check the age. If the fan is under 10 years old, a repair often makes sense—most modern fans are designed to last at least a decade. For models older than that, replacement might save you more trouble in the long run.
Next, look at the problem. If it’s something like:
- Loud or rattling noise (usually from a loose blade or worn bearing)
- No power (could be a blown fuse or a faulty switch)
- Poor airflow (often just a clogged cover or duct)
These jobs are quick and don’t need special tools. Spare parts—like switches, fuses, or blades—are cheap and easy to score online or at a local hardware store. Fixing these keeps costs low and avoids a bunch of hassle.
But, when should you walk away from a repair? If the motor’s cooked—if you smell burning, see melted wires, or the motor’s locked up—forget it. Replacing the whole motor is usually more expensive than buying a new unit, especially with labor factored in. Same goes for really outdated fans that don’t meet current safety or energy standards. Upgrading gives you better performance and saves on power bills long term.
Here's a quick trick: if the cost of repair (including parts and a pro’s fee, if you need one) is over half the price of a new fan, it’s smarter to replace. Also, if you spot heavy rust, water damage, or cracks in the body, don’t bother—just get a new one.
Pro Tips to Keep Your Fan Running Longer
Want your extractor fan to work like a champ for years? It’s way easier (and cheaper) than buying replacements every time you hear a rattle. Here’s what really works to keep your kitchen or bathroom fan in good shape, so you don’t have to Google exhaust fan repair every few months.
- Clean the grille and blades regularly. Dust and grease stick to fan parts, especially in the kitchen. Every three to six months, pop the cover off, wipe down the blades with a damp cloth, and vacuum the vent. You’ll be amazed by the gunk you find—it slows the fan down and heats up the motor.
- Make sure the vent isn’t blocked. Lots of fans blow air out through a duct. Birds, leaves, or even a pile of lint can plug things up. Double-check the outside vent at least twice a year. If you see debris or a wasp nest, clear it out right away.
- Check screws and electrical connections. Vibration from daily use will shake screws loose over time, especially on ceiling fans. Once a year, tighten up visible screws and gently tug on wires (with the power off!) to make sure everything is snug.
- Don’t ignore weird noises or slow spinning. Chirping, grinding, or humming are warning signs. Stop using the fan until you figure out what’s going on. A few drops of motor oil on the shaft might do the trick, but sometimes you need to clean or replace a worn part before real damage sets in.
- Let your fan run a bit longer after showers or cooking. Moisture and smells linger, and shutting the fan off too soon makes it work harder next time. If your fan has a timer, use it; if not, set a phone reminder to keep it going 10-20 minutes after finishing up.
Most extractor fans aren’t designed to last forever, but if you follow the steps above, you’ll get the most out of yours. Here’s a quick look at average lifespan stats for common fan types:
| Fan Type | Typical Lifespan | How to Maximize Life |
|---|---|---|
| Bathroom Extractor | 6-10 years | Regular cleaning, run after showers, check vent flaps |
| Kitchen Range Hood | 7-12 years | Clean grease filters monthly, check motor |
| Ceiling-Mounted Fan | 8-15 years | Tighten screws, dust blades, balance the fan |
One last thing: keep the user manual handy. It has the best cleaning tips for your fan’s exact model. A few simple moves every month can keep your fan (and your air) fresh for ages.