Electric Oven Repair Cost Estimator
- Part Cost $0
- Labor (Your Time) $0
- Service Fee $0
Total Estimated Cost
$0
- Part Cost (Marked Up) $0
- Labor (1 Hour Avg.) $0
- Service Call Fee $75
Total Estimated Cost
$0
By choosing the DIY route, you could save enough money to replace your entire set of kitchen utensils!
Your oven refuses to heat up. You open the door, and instead of a warm glow, you see a cold, dark interior. The clock ticks forward, your dinner is ruined, and you’re left staring at that stubborn metal coil wondering what it’s going to cost to fix. This is one of the most common frustrations for home cooks, but the good news is that replacing an electric oven element is a relatively straightforward repair that often costs far less than people expect. Whether you decide to tackle the job yourself or call in a professional, understanding the true cost breakdown will save you money and prevent unnecessary panic.
The Real Cost Breakdown: Parts vs. Labor
When you ask how much it costs to replace an electric oven element, you are actually asking two separate questions. First, what does the part cost? Second, what does the labor cost? These two figures vary wildly depending on your skill level and where you live. Let’s look at the numbers so you can make an informed decision without getting ripped off by a high-pressure sales pitch from a technician.
| Cost Component | DIY Approach | Professional Service |
|---|---|---|
| Part Price (Universal/OEM) | $15 - $60 | $40 - $150 (marked up) |
| Labor Cost | $0 (your time) | $80 - $150 per hour |
| Service Call Fee | $0 | $50 - $100 (often waived if repair proceeds) |
| Total Estimated Cost | $15 - $60 | $170 - $350+ |
The difference is stark. If you do it yourself, you are looking at spending roughly the same amount as a nice dinner out. If you hire a pro, you could easily spend three times that amount. However, price isn’t the only factor. Time, safety, and warranty implications play a huge role in this equation.
Identifying the Problem: Is It Really the Element?
Before you buy a single screwdriver, you need to be sure that the heating element is actually broken. Misdiagnosis is the number one reason people waste money on parts they don’t need. An oven heating element comes in bake element and broil element varieties, usually located at the bottom and top of the oven cavity respectively. They are simple resistive coils that glow red hot when electricity passes through them.
Here is how to tell if yours is dead:
- Visual Inspection: Look for obvious damage. Are there holes in the coil? Is the enamel coating bubbling or cracked? Does it look like it has been physically bent out of shape? If yes, it needs replacement.
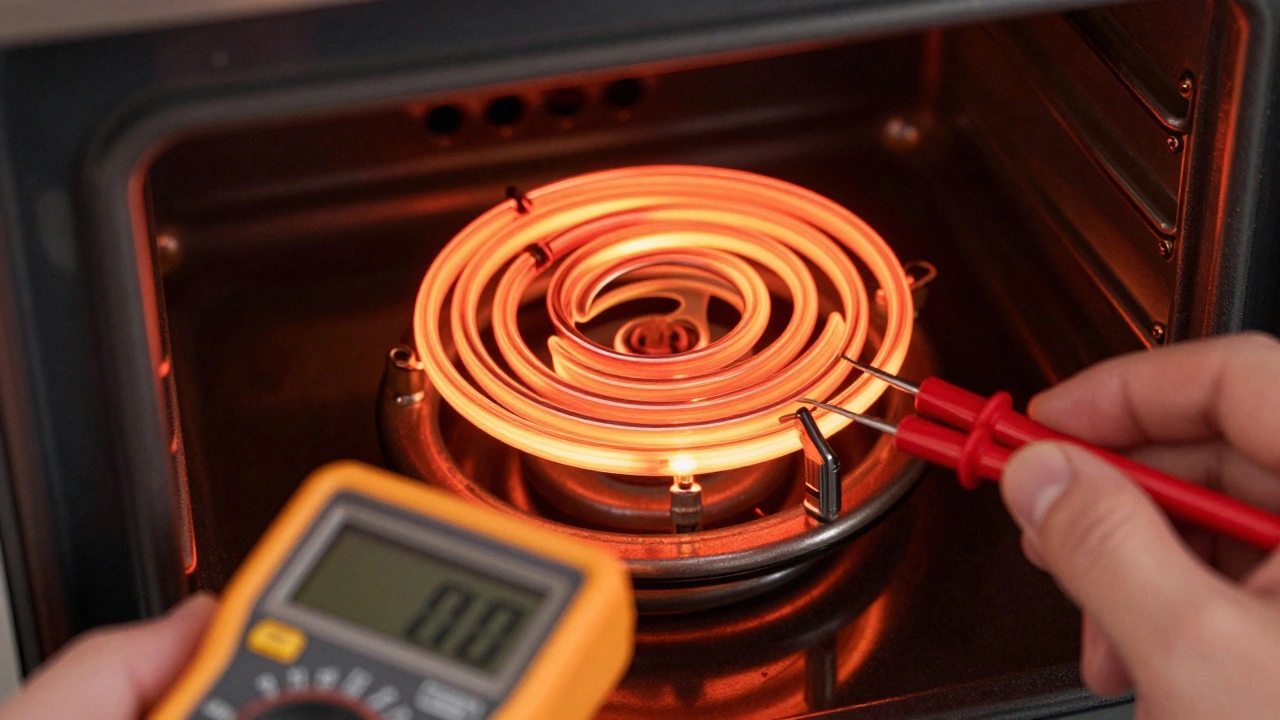
- The Glow Test: Turn the oven on to 350°F (175°C). Watch the bottom element closely. It should begin to glow bright orange within a few minutes. If it stays dull red or doesn’t change color at all, it is likely failed.
- The Multimeter Test: This is the gold standard. Unplug the oven. Remove the element terminals. Set your multimeter to measure resistance (Ohms). Place the probes on the terminals. A working element typically reads between 10 and 30 Ohms. If it reads "OL" (Open Loop) or infinite resistance, the internal wire has snapped, and the element is dead.
If the element glows fine but the oven still won’t heat, stop. Your problem might be the thermal fuse or the control board, not the element. Replacing the element in that scenario will cost you money and solve nothing.
Buying the Right Part: OEM vs. Universal
Once you confirm the element is bad, you need to buy a replacement. This is where many people get stuck. Ovens are not one-size-fits-all. The mounting tabs, the terminal spacing, and the wattage must match your specific model. Using the wrong part can lead to poor heating performance or even fire hazards.
You have two main options for sourcing the part:
- OEM (Original Equipment Manufacturer): These parts come directly from brands like Whirlpool, GE, Samsung, or Bosch. They are guaranteed to fit perfectly. However, they carry a premium price tag. An OEM element might cost $50-$100.
- Aftermarket/Universal: Third-party manufacturers produce compatible elements. These are significantly cheaper, often ranging from $15 to $30. As long as the physical dimensions (tab size, terminal distance) and electrical ratings (wattage/voltage) match, these work just as well as OEM parts. For most household repairs, aftermarket is the smart financial choice.
To find the right part, locate the model number sticker inside the oven door frame or on the back of the unit. Search online using that exact model number. Never guess based on the brand alone. A 2015 Whirlpool element will not fit a 2020 Whirlpool oven.
DIY Replacement: Step-by-Step Guide
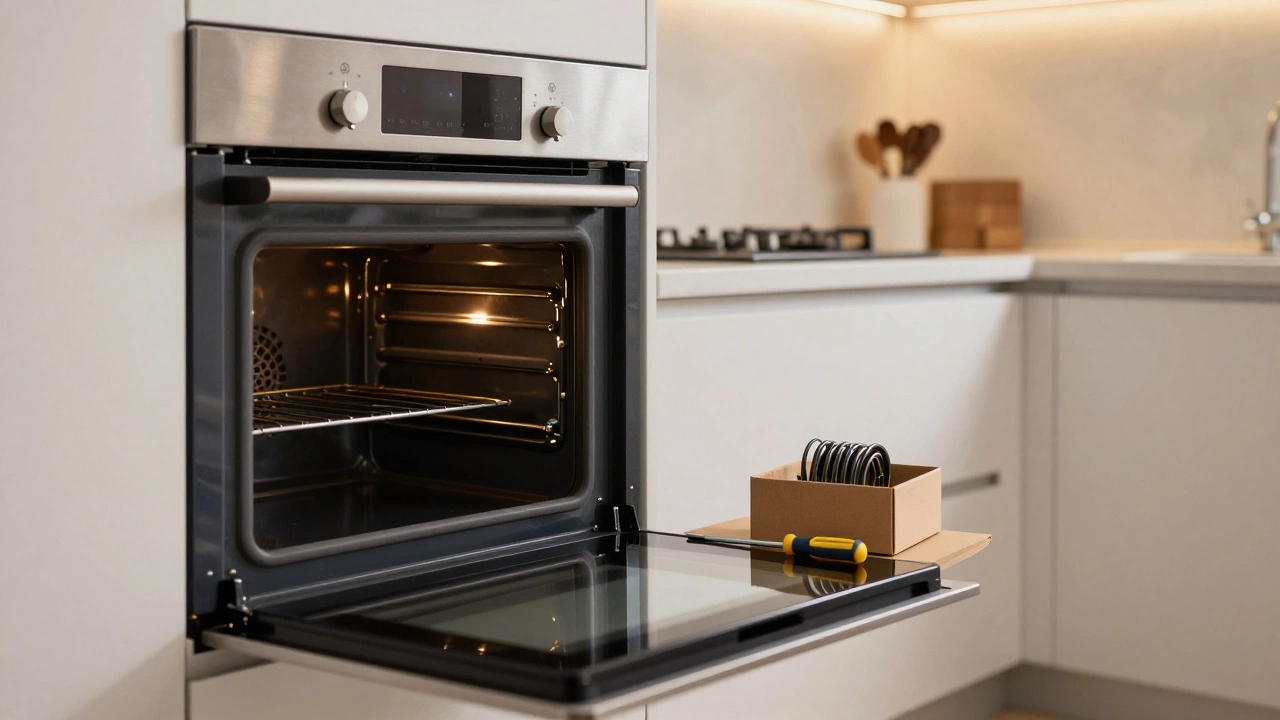
Replacing an oven element is widely considered an easy DIY task. It requires no special tools beyond a basic screwdriver set and, ideally, needle-nose pliers. Here is how to do it safely and correctly.
Step 1: Safety First. Unplug the oven from the wall outlet. If it is a built-in unit hardwired into the circuit, turn off the breaker at your main electrical panel. Verify power is off with a non-contact voltage tester if you have one. Electricity does not care about your intentions; respect it.
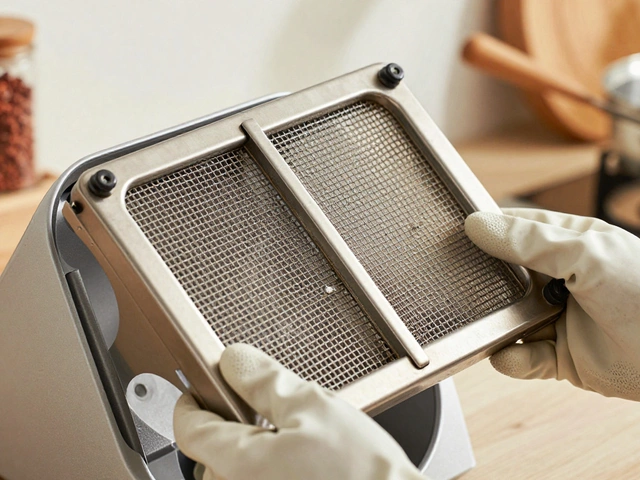
Step 2: Access the Element. Open the oven door. Locate the screws holding the element in place. Usually, there are two screws at the back of the oven cavity near the element’s mounting points. Unscrew them carefully. Keep the screws in a safe place; they are small and easy to lose down the back of the oven.
Step 3: Disconnect Wires. Pull the element forward slightly to expose the wiring terminals at the back. Take a photo of the wiring configuration with your phone. This is crucial. Note which wire goes to which terminal. Disconnect the wires. Some may be pushed on, others may have nuts securing them. Loosen any nuts before pulling wires free.
Step 4: Install New Element. Slide the new element into position. Reconnect the wires exactly as they were before (refer to your photo). Tighten any terminal nuts securely. Loose connections cause arcing and can burn out the new element quickly. Screw the element back into place.
Step 5: Test. Restore power. Turn the oven on. Watch for the glow. If it heats up, you’ve saved hundreds of dollars. If not, double-check your connections.

When to Call a Professional
While DIY is tempting, there are scenarios where hiring a pro is the smarter move. Do not attempt this repair if:
- You are uncomfortable with electricity: Even unplugged appliances can hold residual charge in capacitors. If you feel nervous handling wires, pay someone else to do it.
- The oven is under warranty: Opening the chassis or removing internal components can void the manufacturer’s warranty. Check your warranty terms first. A $50 part cost is worth more than losing a $1,000 warranty coverage.
- The issue is complex: If the element tests fine but the oven still won’t heat, the problem could be the thermostat, the relay board, or the wiring harness. Diagnosing these issues requires specialized knowledge and tools.
- Access is difficult: Some modern ovens require removing the entire back panel or even detaching the oven from the cabinetry to access the element terminals. This adds significant complexity and risk of damaging surrounding structures.
A licensed appliance repair technician brings expertise, liability insurance, and a guarantee on their work. While their hourly rate is high, they diagnose accurately and fix it right the first time. For older ovens, however, weigh the repair cost against the price of a new unit. If the oven is over 10 years old and costing $300+ to fix, replacement might be the better long-term investment.
Preventing Future Failures
Oven elements don’t last forever. The average lifespan is between 5 to 10 years, depending on usage. But you can extend that life with simple habits. Avoid slamming the oven door, which can jar the delicate coils. Clean spills immediately; baked-on grease and sugar create hot spots that degrade the element’s insulation. Finally, do not stack racks tightly against the element, as this restricts airflow and causes overheating.
Understanding the cost structure empowers you to make the best choice for your budget and skill level. Whether you spend $20 on a part and an hour of your time, or $250 on a certified technician, you now know exactly what you are paying for. No more guessing, no more anxiety. Just a hot oven and a happy kitchen.
How long does it take to replace an oven element?
For a DIYer, replacing an oven element typically takes 15 to 30 minutes. This includes unscrewing the old part, disconnecting wires, installing the new one, and testing. A professional technician might take longer due to diagnostic steps and travel time, but the actual swap is quick.
Can I use a universal oven element?
Yes, provided the physical dimensions and electrical specifications match. You must ensure the mounting tab size, terminal spacing, and wattage are identical to your original part. Universal elements are cheaper and function identically to OEM parts when matched correctly.
Is it dangerous to replace an oven element myself?
It is low-risk if you follow safety protocols. The primary danger is electrical shock. Always unplug the oven or turn off the circuit breaker before touching any wires. If you are unsure about electrical safety, hire a professional.
Why is my oven element glowing but not heating?
If the element glows but the oven temperature doesn’t rise, the element might be partially failed or undersized. More commonly, the issue lies with the oven thermostat or temperature sensor, which fails to signal the element to stay on long enough to heat the cavity.
Does replacing the element void the warranty?
It depends on the manufacturer. Many warranties cover parts but not labor. However, some void the warranty if unauthorized personnel open the unit. Check your warranty documentation before attempting any DIY repairs to avoid losing coverage.