Water Heater Flush Assistant
Setup & Safety Check
Confirm you have these supplies:
Ensure power is OFF.
Turn off circuit breaker (Electric) or dial to Pilot/Off (Gas).
Step-by-Step Guide
Step 0 of 8Have you noticed your hot water running out faster than usual? Or maybe your water heater is making a strange popping noise that sounds like popcorn exploding in the basement? These are classic signs of sediment buildup. The good news is that you don’t always need to call a professional immediately. For most homeowners, flushing the water heater is a manageable DIY task that can extend the life of your unit and improve efficiency.
However, before you grab a garden hose, you need to know if it’s safe for *your* specific situation. While flushing is generally straightforward, mistakes can lead to scalding burns, water damage, or voided warranties. This guide will walk you through exactly how to do it safely, when to stop and call a pro, and why this simple maintenance step matters so much.
Why You Should Flush Your Water Heater
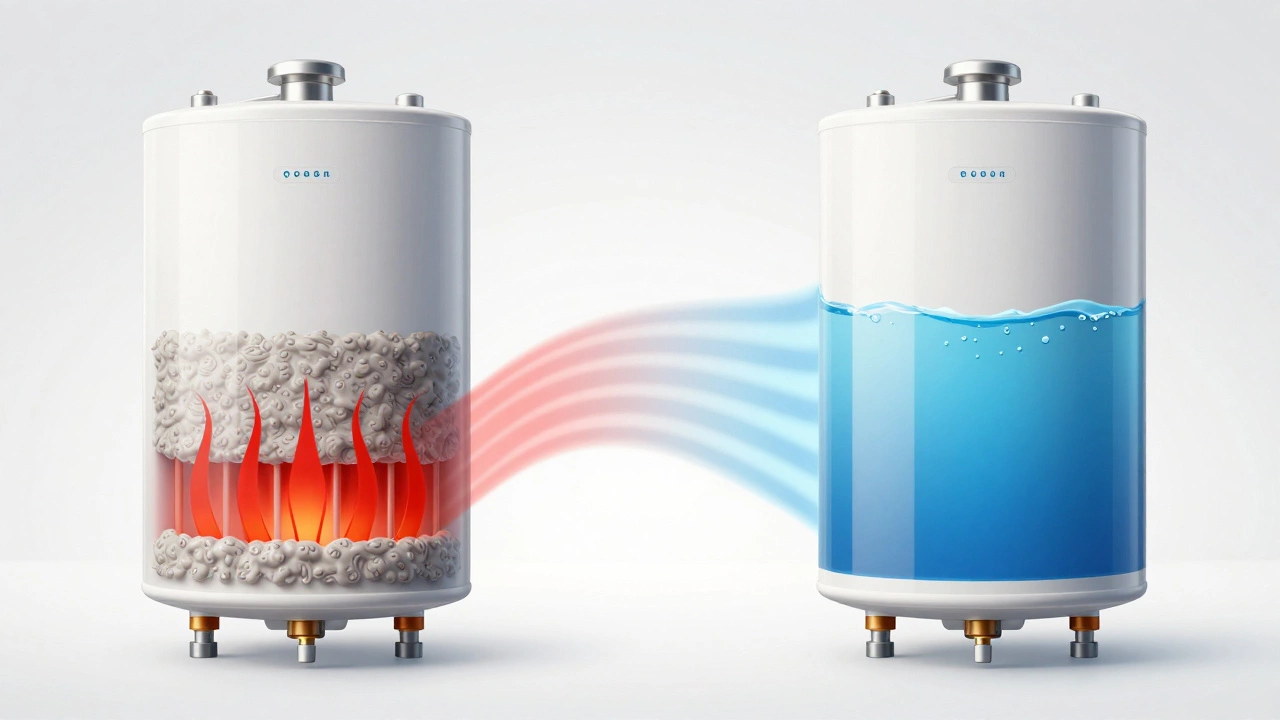
Water heaters aren't just tanks; they are active systems dealing with minerals found in municipal water supplies. In many regions, including parts of Canada where we have "hard water," calcium and magnesium accumulate at the bottom of the tank over time. This layer of sediment acts as an insulator between the heating element (or gas burner) and the water.
When the heater tries to warm the water through this sediment layer, it has to work harder. This leads to higher energy bills and puts excessive stress on the tank walls. Over years, this overheating can cause the metal to crack, leading to leaks. Flushing removes this debris, restoring efficiency and preventing premature failure. Most manufacturers recommend doing this once a year.
Safety First: What You Need Before Starting
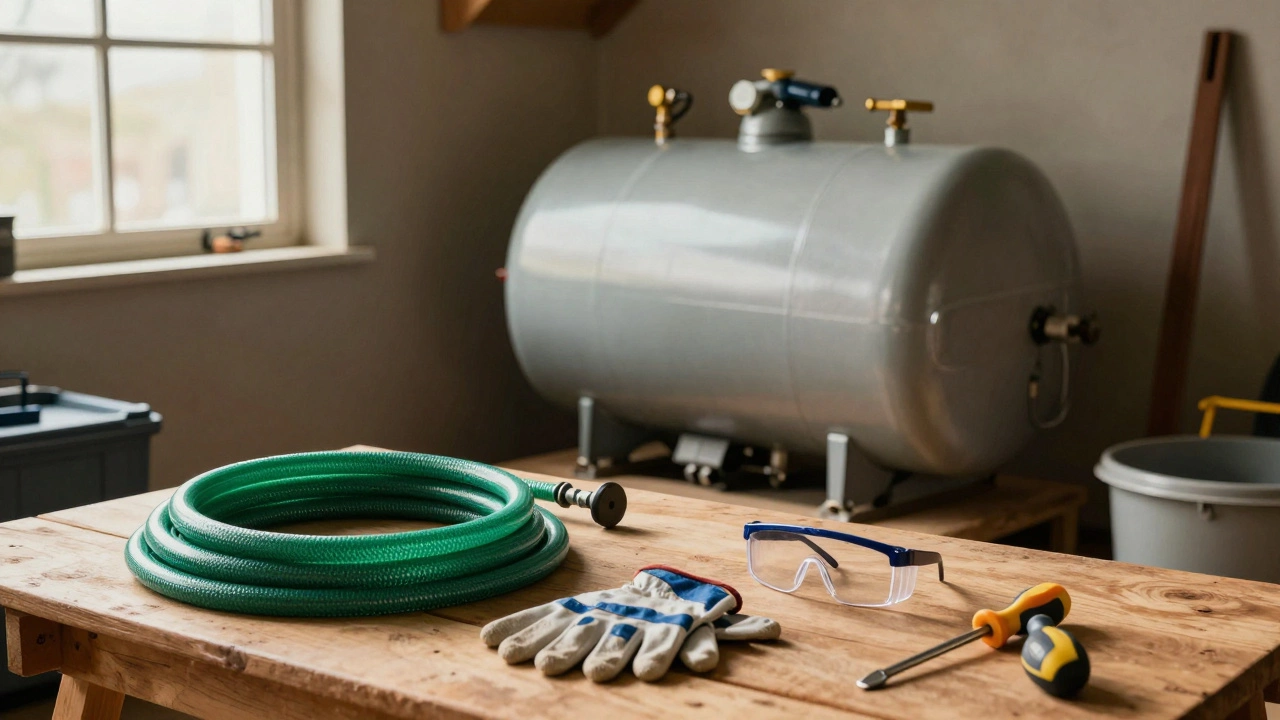
Working with a water heater involves high temperatures and electrical or gas connections. Safety isn't just a suggestion here; it's critical. Before you touch anything, gather these items:
- A standard garden hose: Make sure it’s long enough to reach from the drain valve to a floor drain, outside, or a large bucket.
- Gloves and safety glasses: Hot water and mineral deposits can spray out unexpectedly.
- A flathead screwdriver: Some drain valves require a tool to turn.
- Plumber’s tape (Teflon tape): Just in case the valve needs resealing afterward.
Crucially, ensure the water temperature is set to "Low" or turned off completely at the thermostat. Never attempt to flush a tank while the heating elements are active. If you have a gas unit, turn the pilot light off. If electric, switch off the breaker at the main panel.
Step-by-Step: How to Flush a Tank Water Heater
The process is similar for both electric and gas models, though the power source differs. Here is the safest way to proceed.
- Turn off the power source. For electric heaters, flip the circuit breaker. For gas heaters, rotate the dial to "Pilot" or "Off."
- Shut off the cold water supply. Locate the cold water inlet valve near the top of the tank and turn it clockwise until it stops.
- Connect the hose. Attach one end of the garden hose to the drain valve located at the bottom of the tank. Run the other end to a safe drainage area. Note: The water will be extremely hot initially. Let it run until it cools down if possible, or use caution.
- Open a hot water faucet. Go upstairs and open a hot water tap (like a kitchen sink). This relieves pressure and prevents air locks, allowing the tank to drain smoothly.
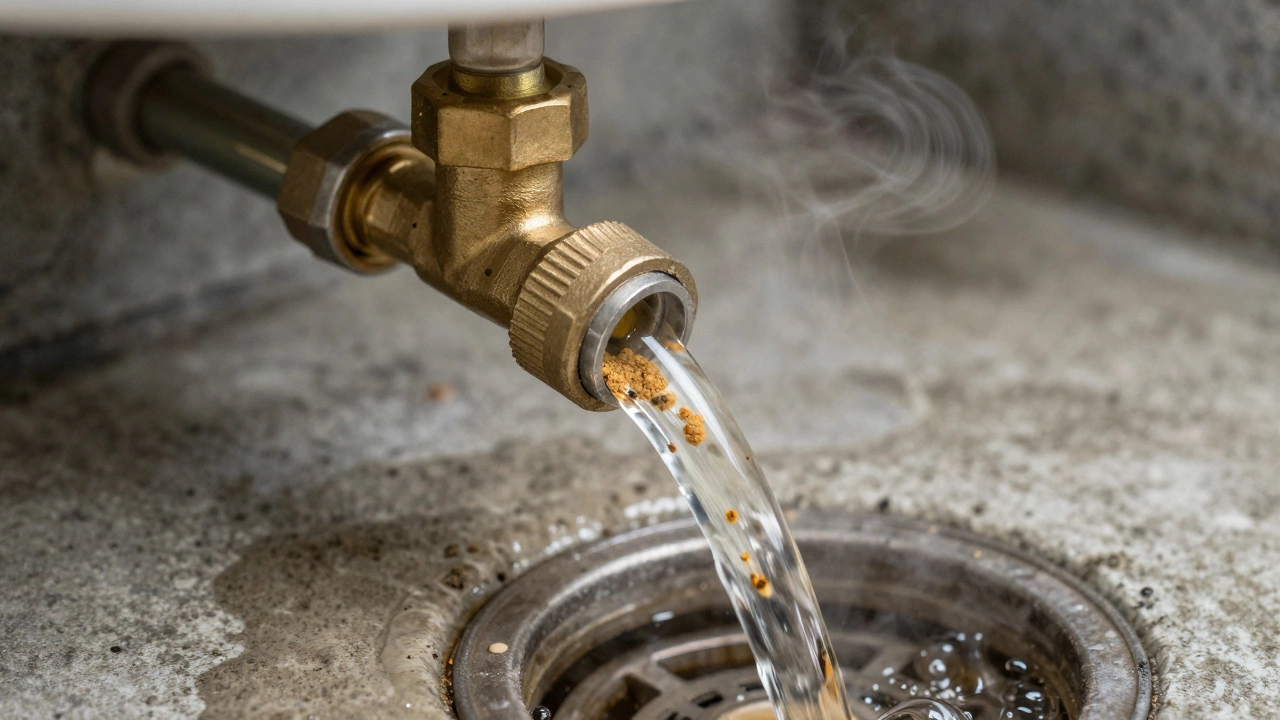
- Open the drain valve. Slowly open the valve using your screwdriver or hand. Let the water flow out. You may see brown, sandy sediment coming out. This is normal.
- Rinse the tank. Once the tank is mostly empty, briefly turn the cold water supply back on for 10-15 seconds. This stirs up remaining sediment. Turn it off again and let it drain. Repeat this 2-3 times until the water runs clear.
- Close the drain valve and refill. Close the drain valve tightly. Turn the cold water supply back on fully. Keep the upstairs hot water faucet open until steady water flows out (this ensures all air is purged from the system).
- Restore power. Only after the tank is full and no air is escaping, turn the electricity or gas back on.
When DIY Flushing Is Not Enough
While flushing works for mild to moderate sediment, there are scenarios where you should stop and call a professional. If the water remains cloudy after three rinse cycles, the sediment might be too compacted. Professionals have specialized tools, such as jetting hoses, that can blast away stubborn buildup without damaging the tank lining.
Also, consider the age of your unit. If your water heater is more than 10-12 years old, aggressive flushing can sometimes dislodge corrosion particles that reveal existing weaknesses in the tank. In these cases, a technician can assess whether replacement is more cost-effective than repair.
| Factor | DIY Flushing | Professional Service |
|---|---|---|
| Cost | $0-$20 (supplies) | $100-$250 |
| Effectiveness | Good for loose sediment | High; removes compacted buildup |
| Risk | Scalding, minor leaks | Minimal (insured experts) |
| Time Required | 1-2 hours | 45-60 minutes |
Special Considerations for Tankless Water Heaters
If you have a Tankless Water Heater is a compact unit that heats water on demand rather than storing it in a tank., the process is different. Tankless units are prone to scale buildup inside their heat exchangers, which can severely reduce flow rate. Flushing a tankless system usually requires a chemical descaling solution (like vinegar or a commercial inhibitor) and a pump to circulate it through the unit. This is a more complex procedure that often requires specific fittings. Unless you are comfortable working with chemicals and plumbing manifolds, hiring a pro for tankless maintenance is highly recommended.
Maintaining Your Water Heater Long-Term
Flushing is just one part of maintenance. To keep your water heater running efficiently in Hamilton and beyond, check the Anode Rod every 3-5 years. This sacrificial rod protects the tank from rusting. If it’s heavily corroded, it needs replacement. Also, inspect the Pressure Relief Valve annually by lifting the lever briefly to ensure it opens and closes properly. These small checks can prevent catastrophic failures down the road.
How often should I flush my water heater?
It is generally recommended to flush your water heater once a year. However, if you live in an area with very hard water, you may need to do it twice a year to prevent significant sediment buildup.
Can I flush my water heater if it is leaking?
No. If your water heater is leaking, especially from the bottom of the tank, flushing it will not fix the problem and could worsen the leak. A leaking tank usually indicates internal corrosion or a failed seal, requiring professional assessment or replacement.
Is it dangerous to flush a water heater yourself?
It can be if proper precautions aren't taken. The primary risks are scalding from hot water and burns from steam. Always turn off the power/gas source and let the water cool slightly before opening the drain valve. Wear protective gear like gloves and glasses.
What if the drain valve won't open?
If the valve is stuck due to mineral buildup, do not force it with excessive torque, as this can break the valve stem. Try tapping it gently with a hammer or applying a penetrating oil. If it still won't budge, call a plumber to replace the valve safely.
Does flushing void my warranty?
In most cases, routine maintenance like flushing does not void the warranty. However, always check your manufacturer's specific guidelines. Some warranties require proof of annual maintenance by a certified technician to remain valid.